What accommodations are available in Progress Learning?
 Updated
by
Gayle McKee
Updated
by
Gayle McKee
Progress Learning offers many ways to accommodate the many needs of your students.
Text to Speech
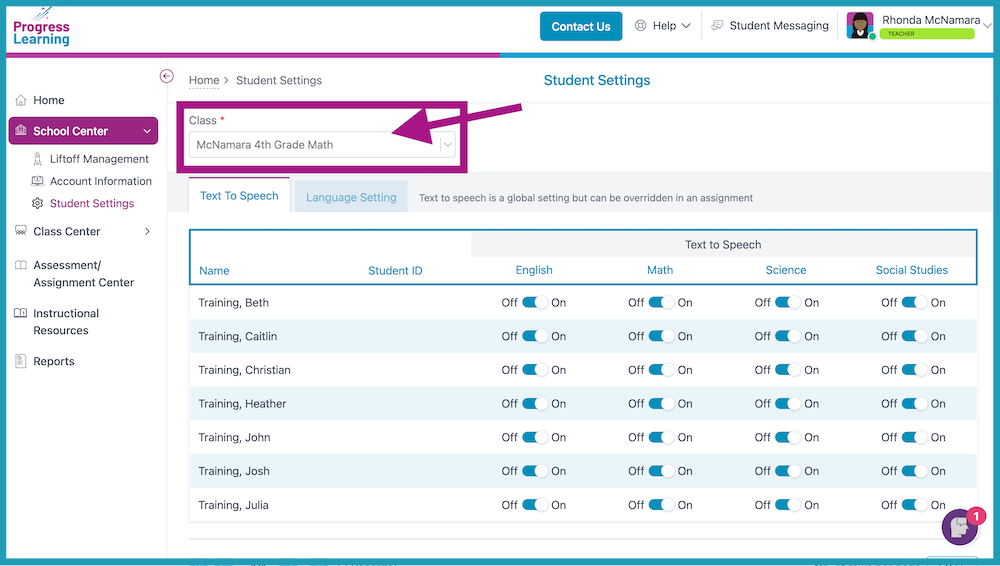
You can enable Text to Speech accommodations in two places.
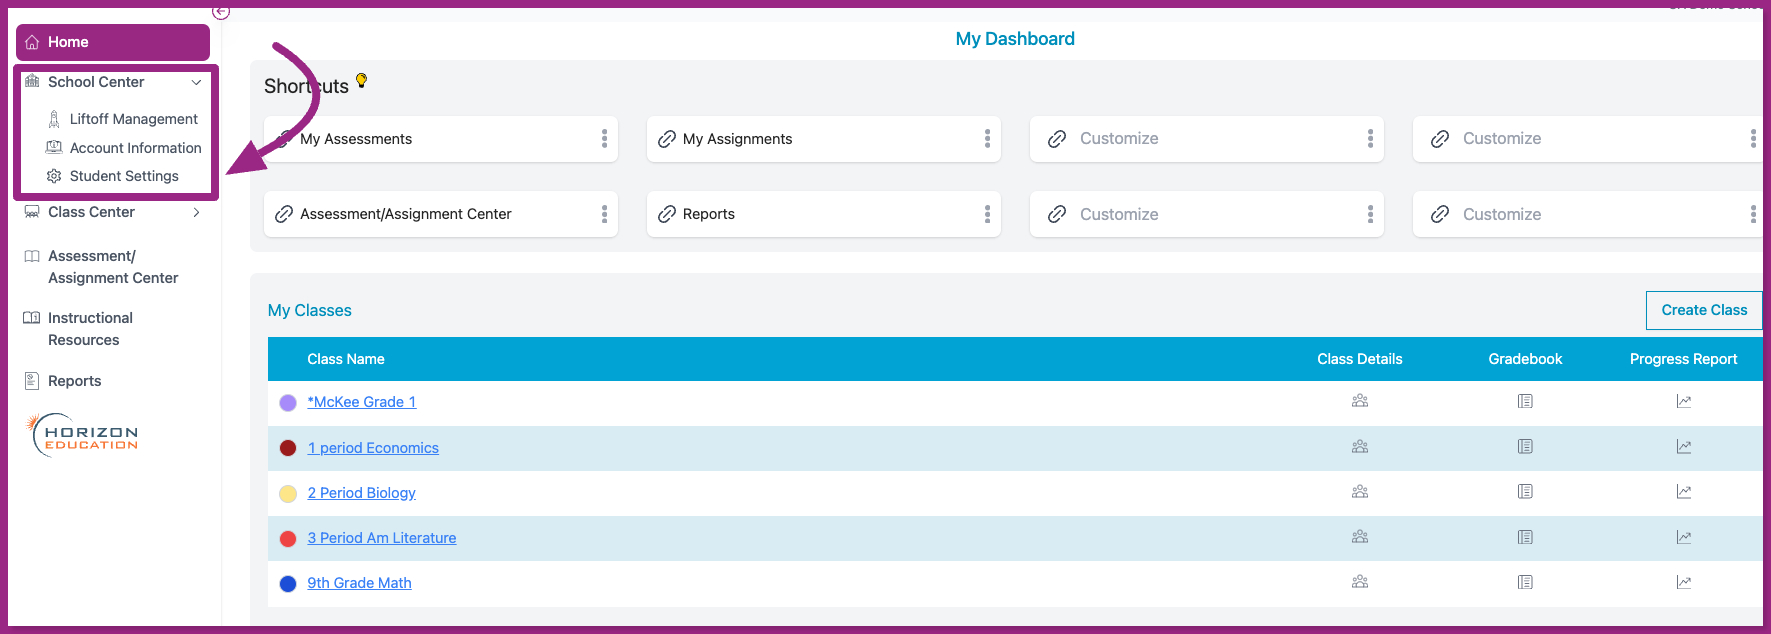
- In your teacher dashboard, click on School Center, then select Student Settings.
- You will then select one of your classes from the drop down menu.

- You can then toggle on or off the Text to Speech setting for individual students for the core subject that you teach.
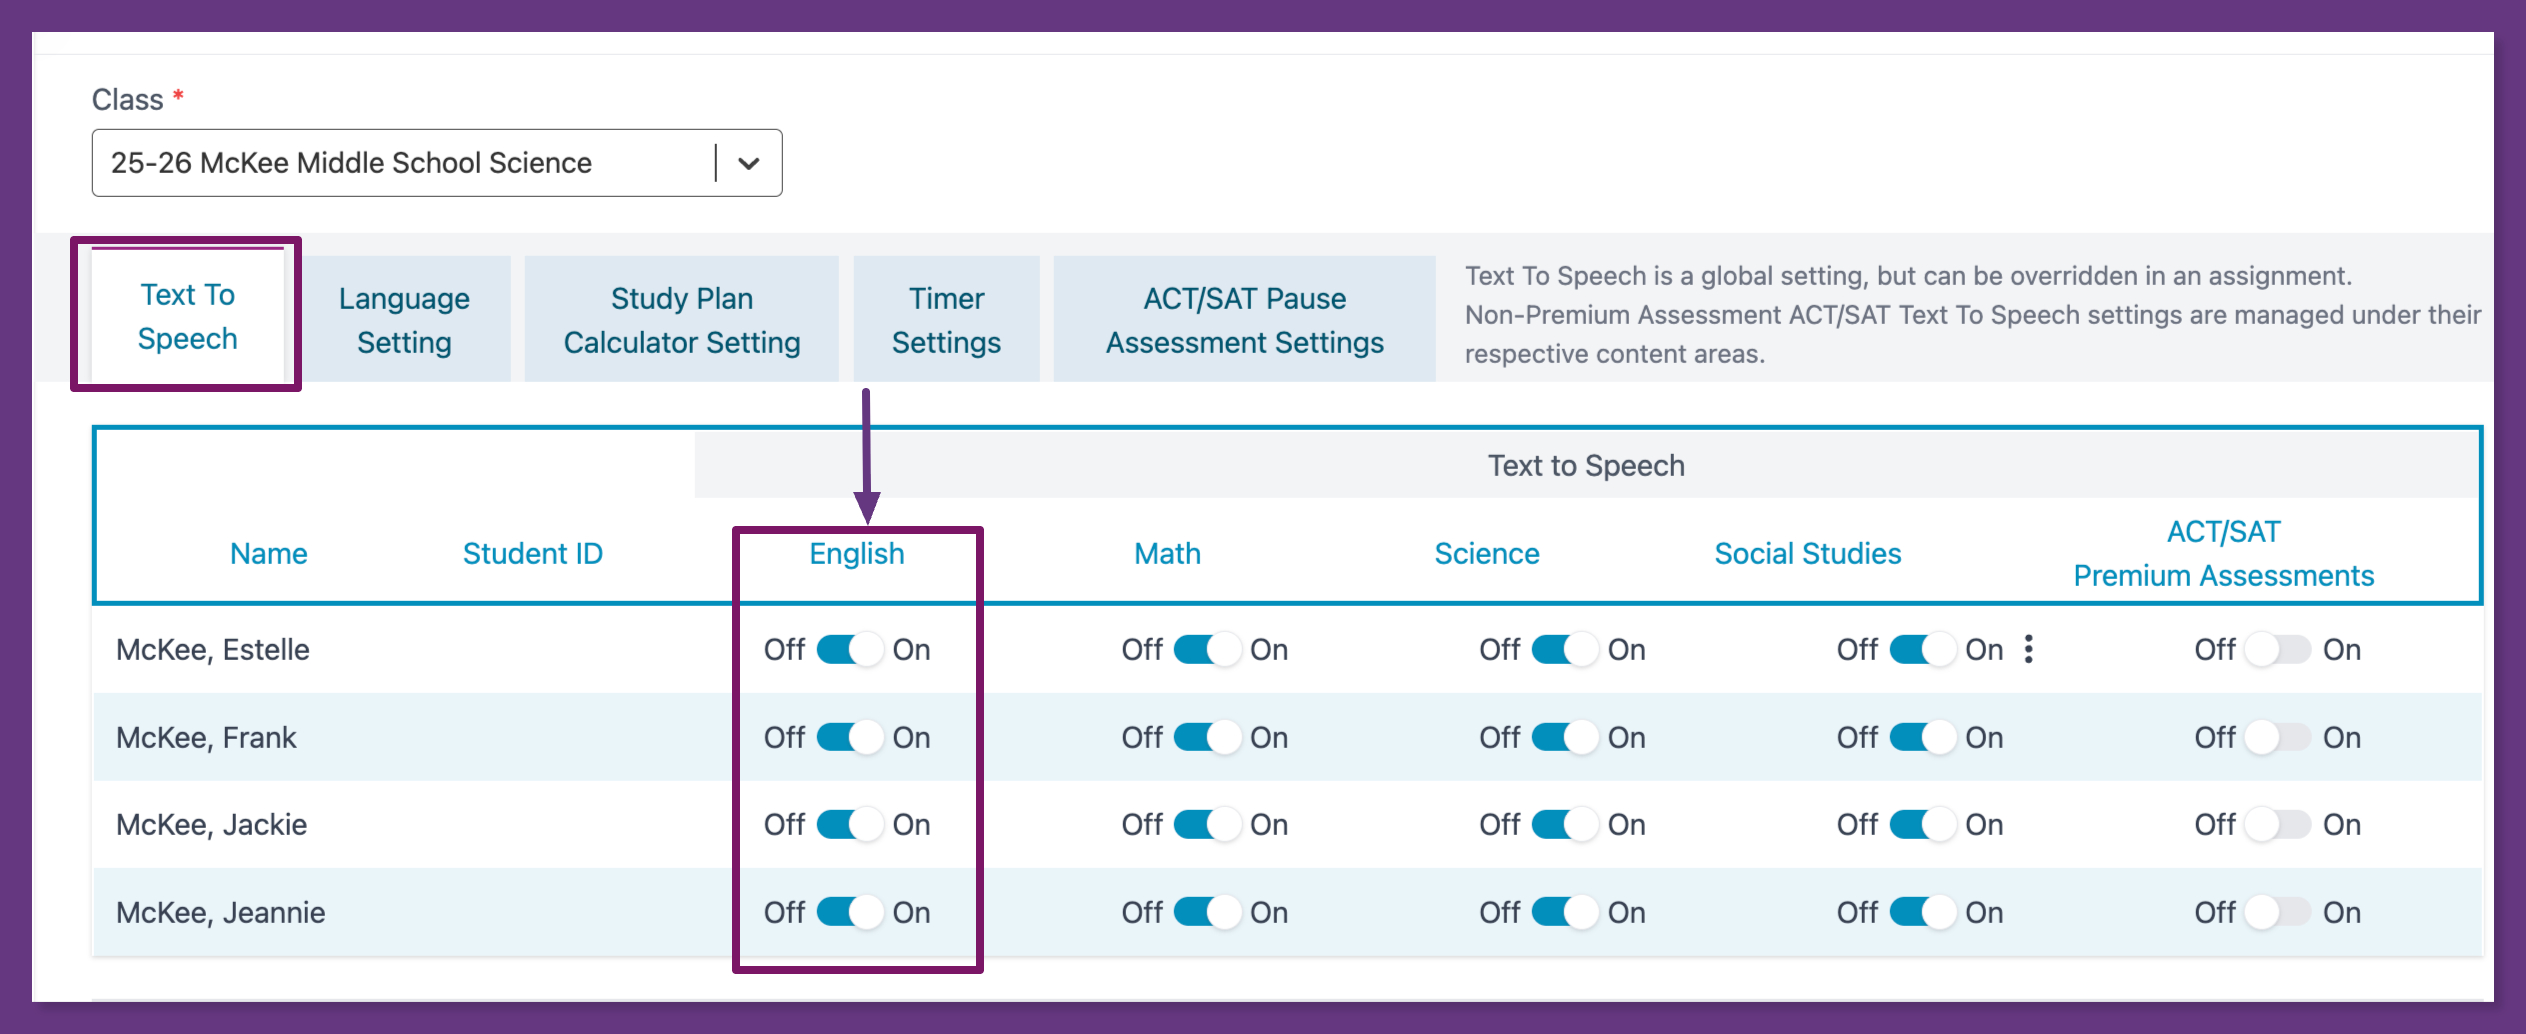
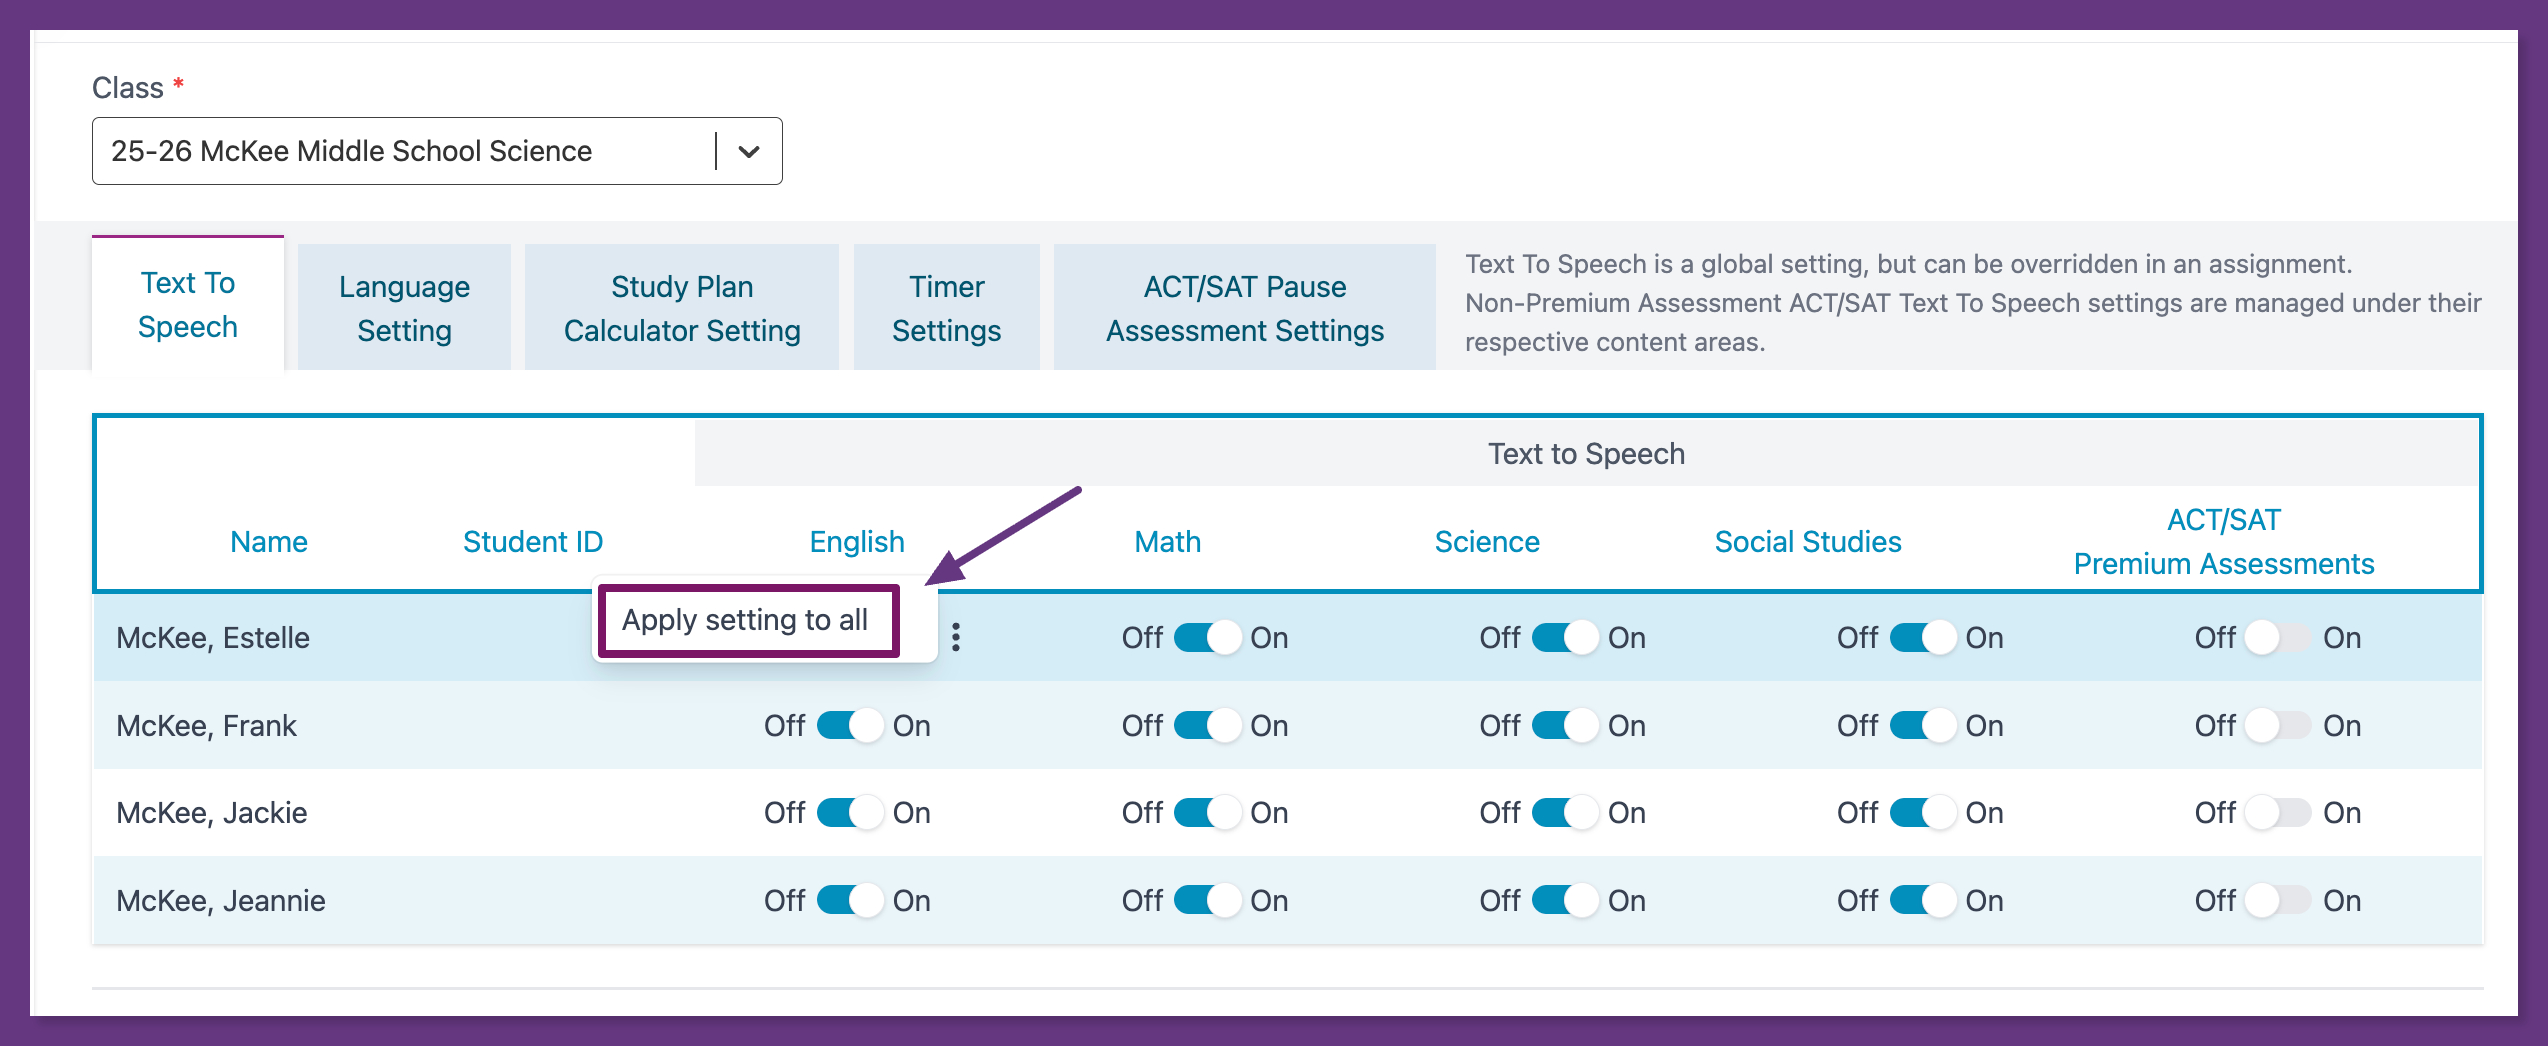
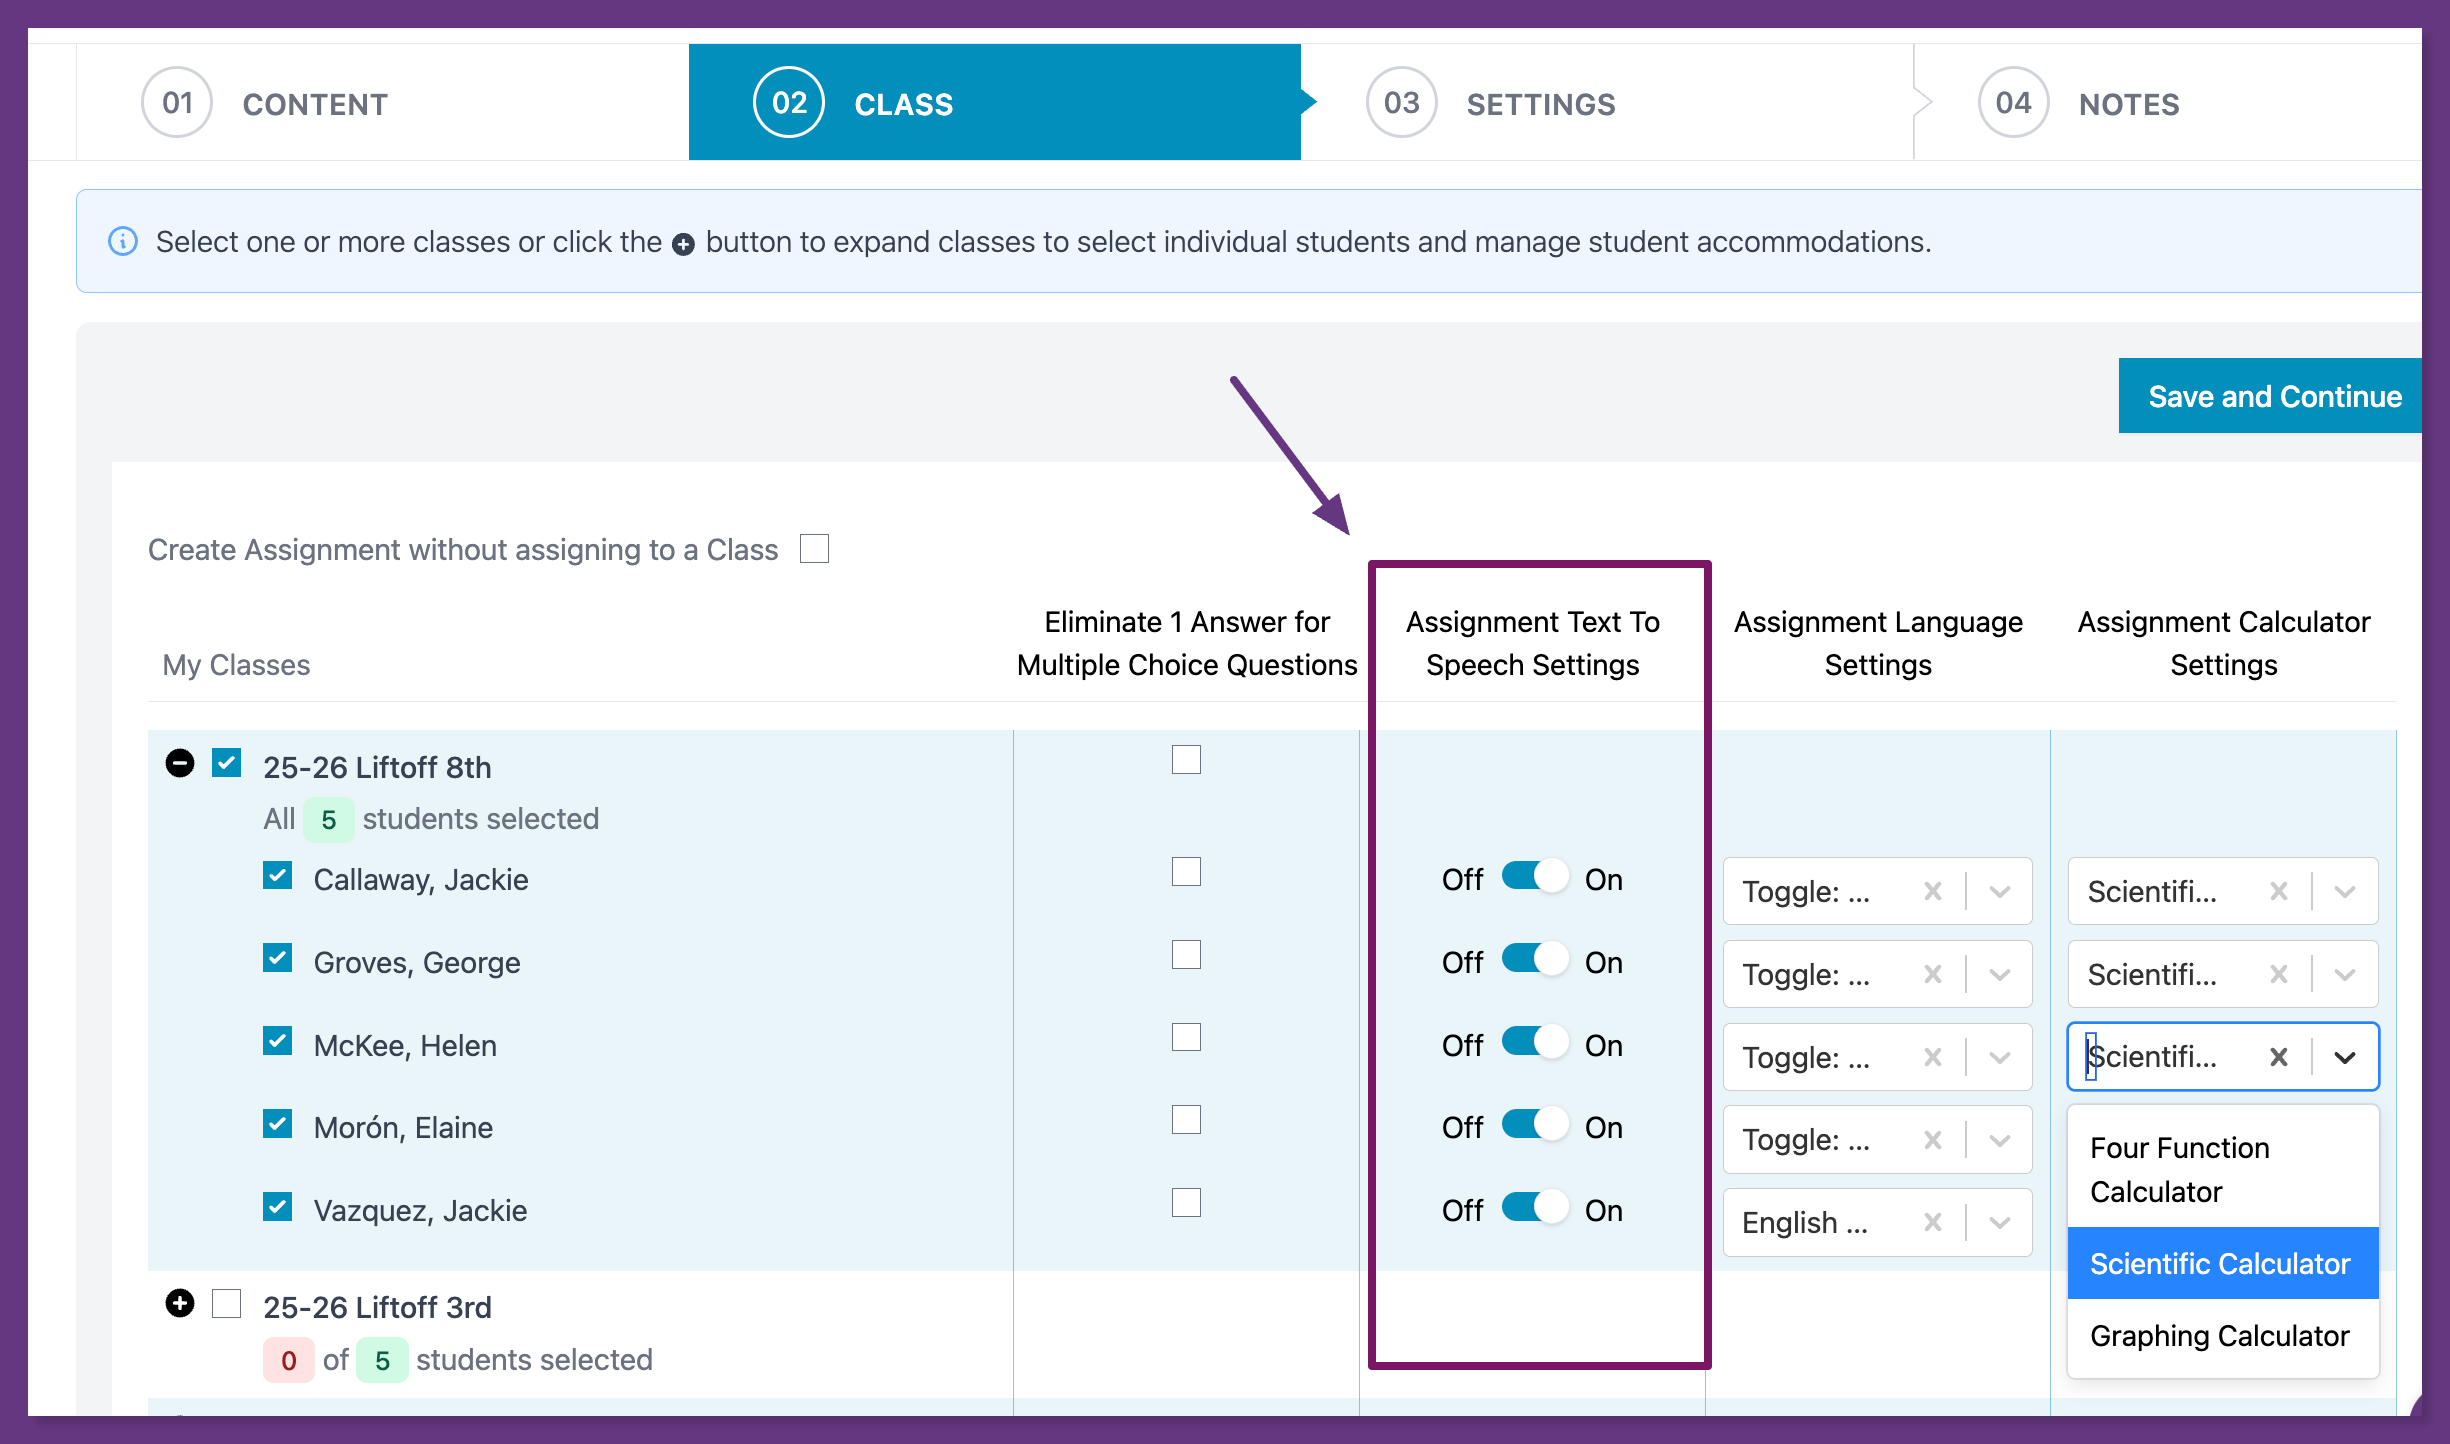
- Teachers are able to over-ride the platform settings when creating individual assignments in step 2 of the Assignment Builder.
Depth of Knowledge (DOK)
- When creating assessments in the Assessment Builder, you can add items based specifically on their Depth of Knowledge.
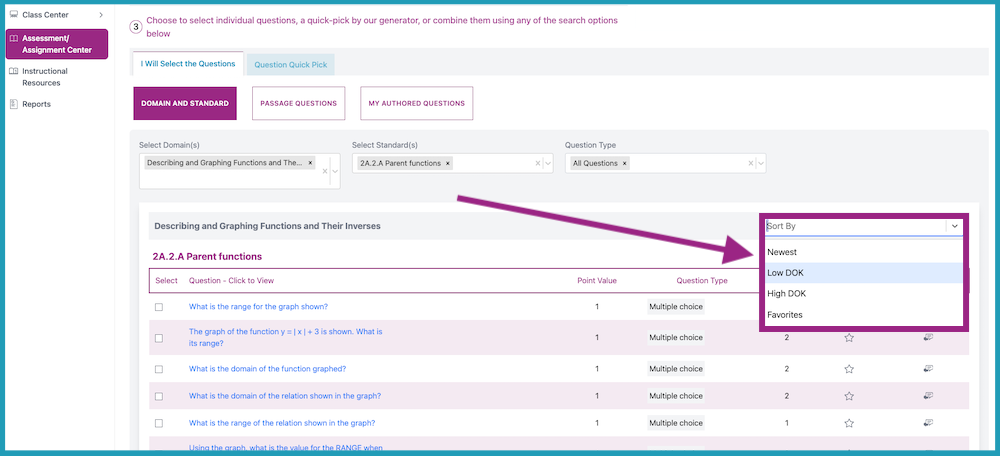
- You can create an Assessment for the majority of your students, then duplicate and edit the settings and items to accommodate the learning needs of specific students.

Font Sizes
- Larger font sizes are available for students. You can customize the font size when you Author Your Own Questions. Students may alter the font size when working on their own by using the Accessibility Toolbar.
Video Transcription
- All videos include transcripts.
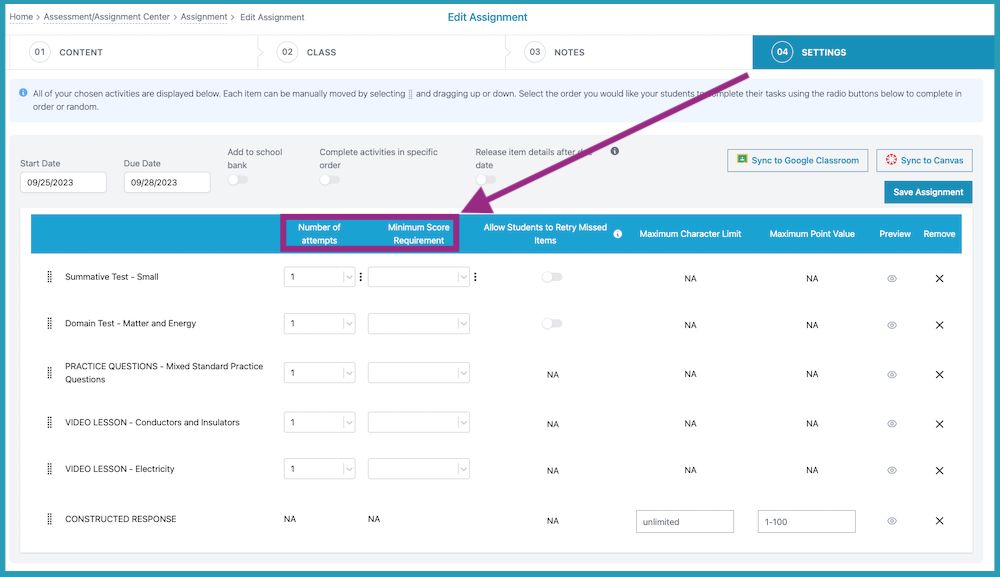
Multiple Attempts and Minimum Score Requirements
- Assignments can be set to allow for multiple attempts or can require a minimum score.
Spanish Translation
To enable Spanish Translation you will:
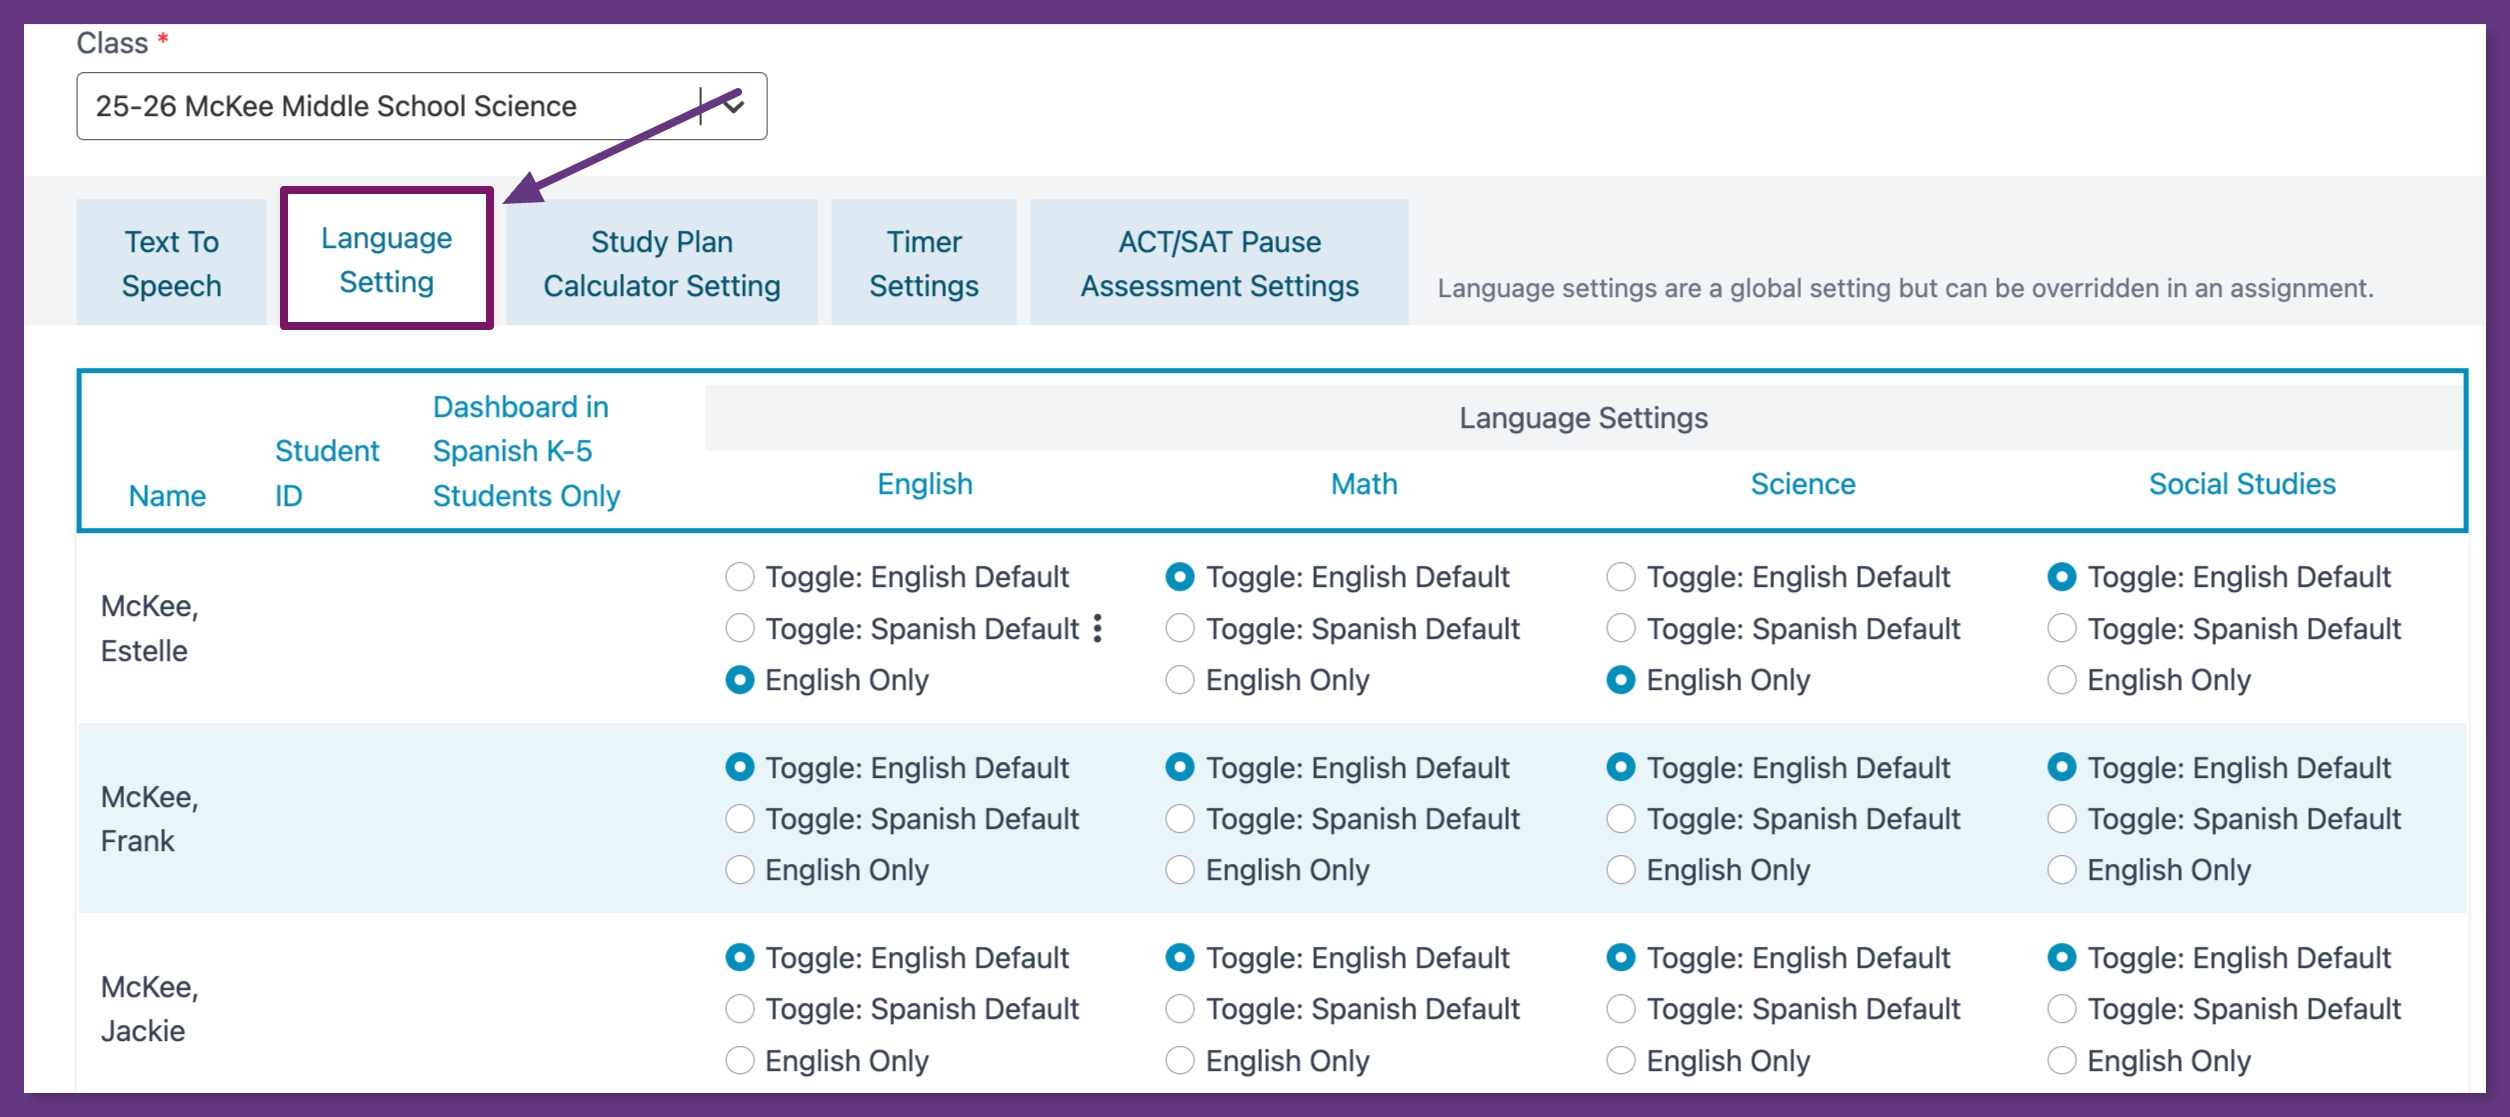
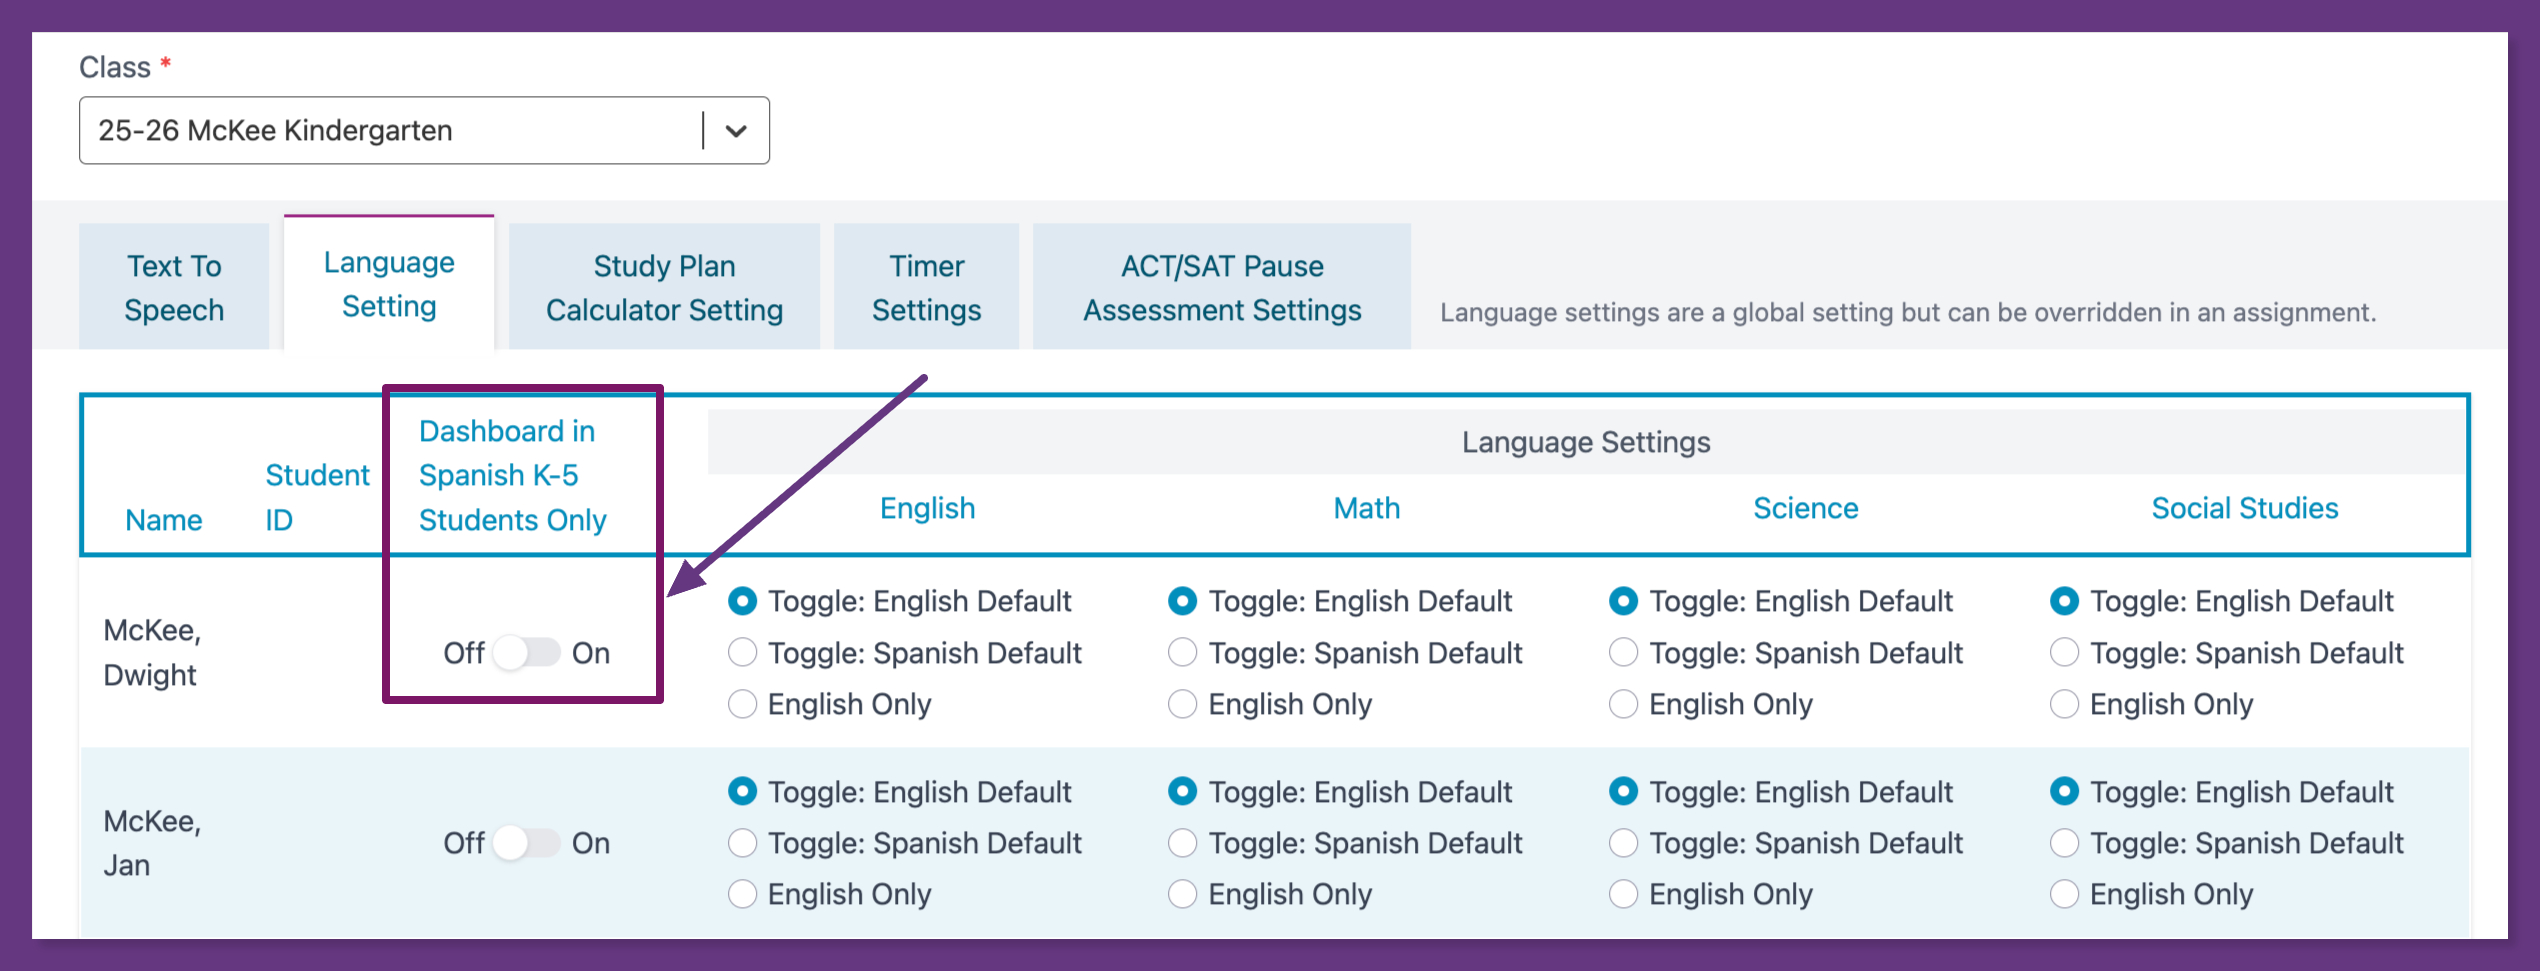
- Navigate to the School Center then select Student Settings.

- You will then select one of your classes from the drop down menu
- Select the Language Setting tab
- For K-5 students, you can toggle on or off to turn their dashboard into Spanish Only
- You can then set the language to Toggle: English Default , Toggle: Spanish Default , or English Only for individual students for the subject that you teach.
- If you select Toggle: English Default the student will see the practice in English and can choose to change it to Spanish. If you select Toggle: Spanish Default the student will see the practice in Spanish and can choose to change it to English. This will allow students to select whether they want to view their questions in English or Spanish prior to beginning their practice. If you select English Only all practice will appear in English.
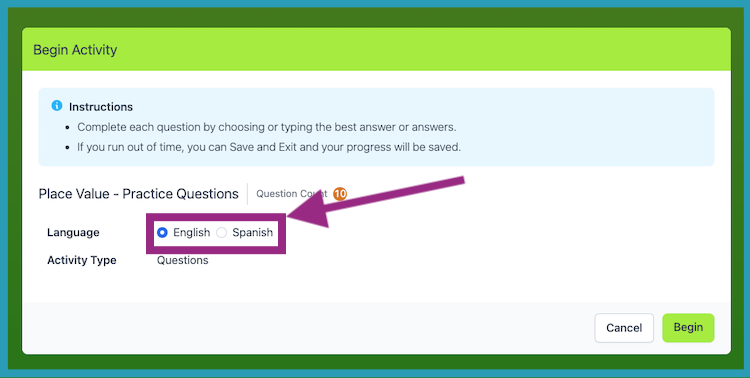
- Students select "Spanish" or "English" prior to beginning their 10 questions in the "Practice" portion of their Study Plan
- Enabling Dashboard in Spanish will provide Skills Practice in Spanish as well.
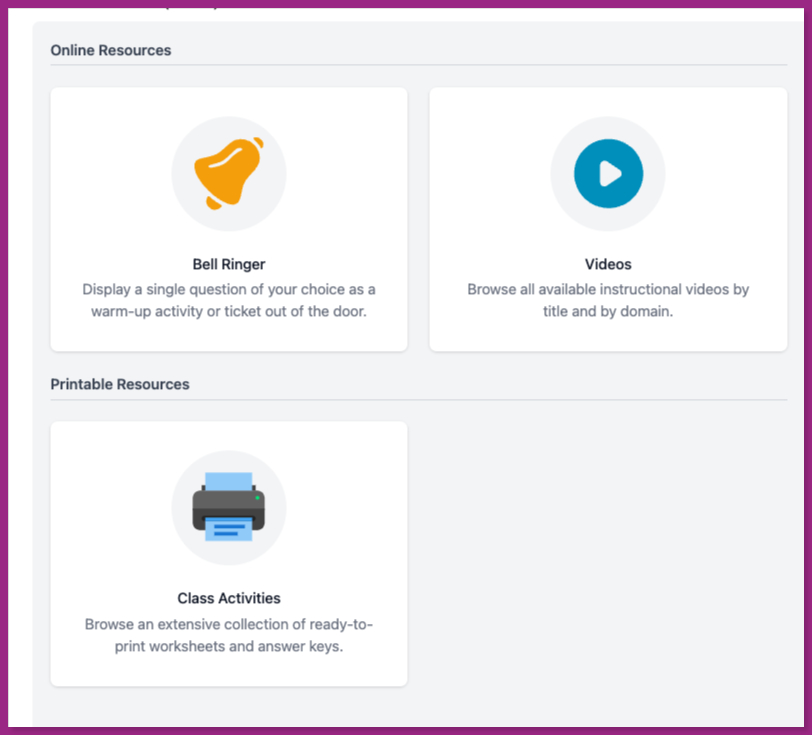
Printable Materials
- Our Instructional Resources offer printable materials in the way of Bell Ringers and Worksheets.
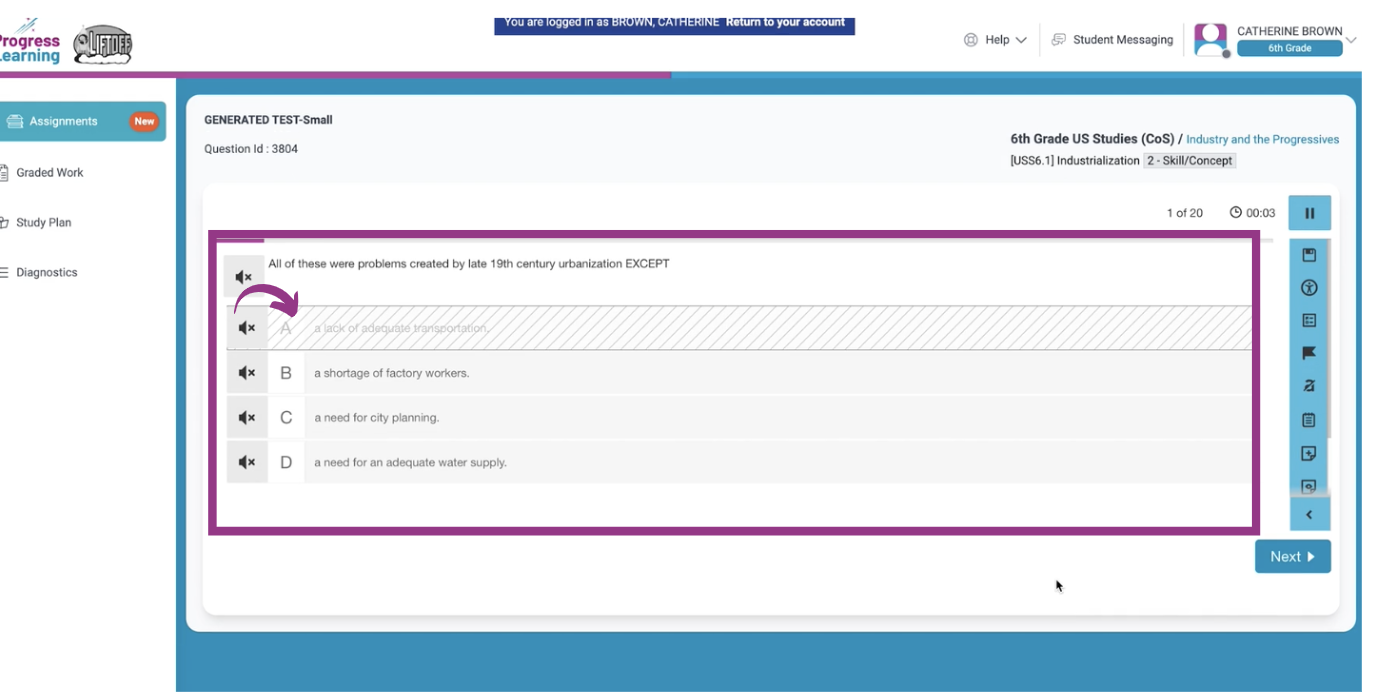
Eliminate an Answer Choice
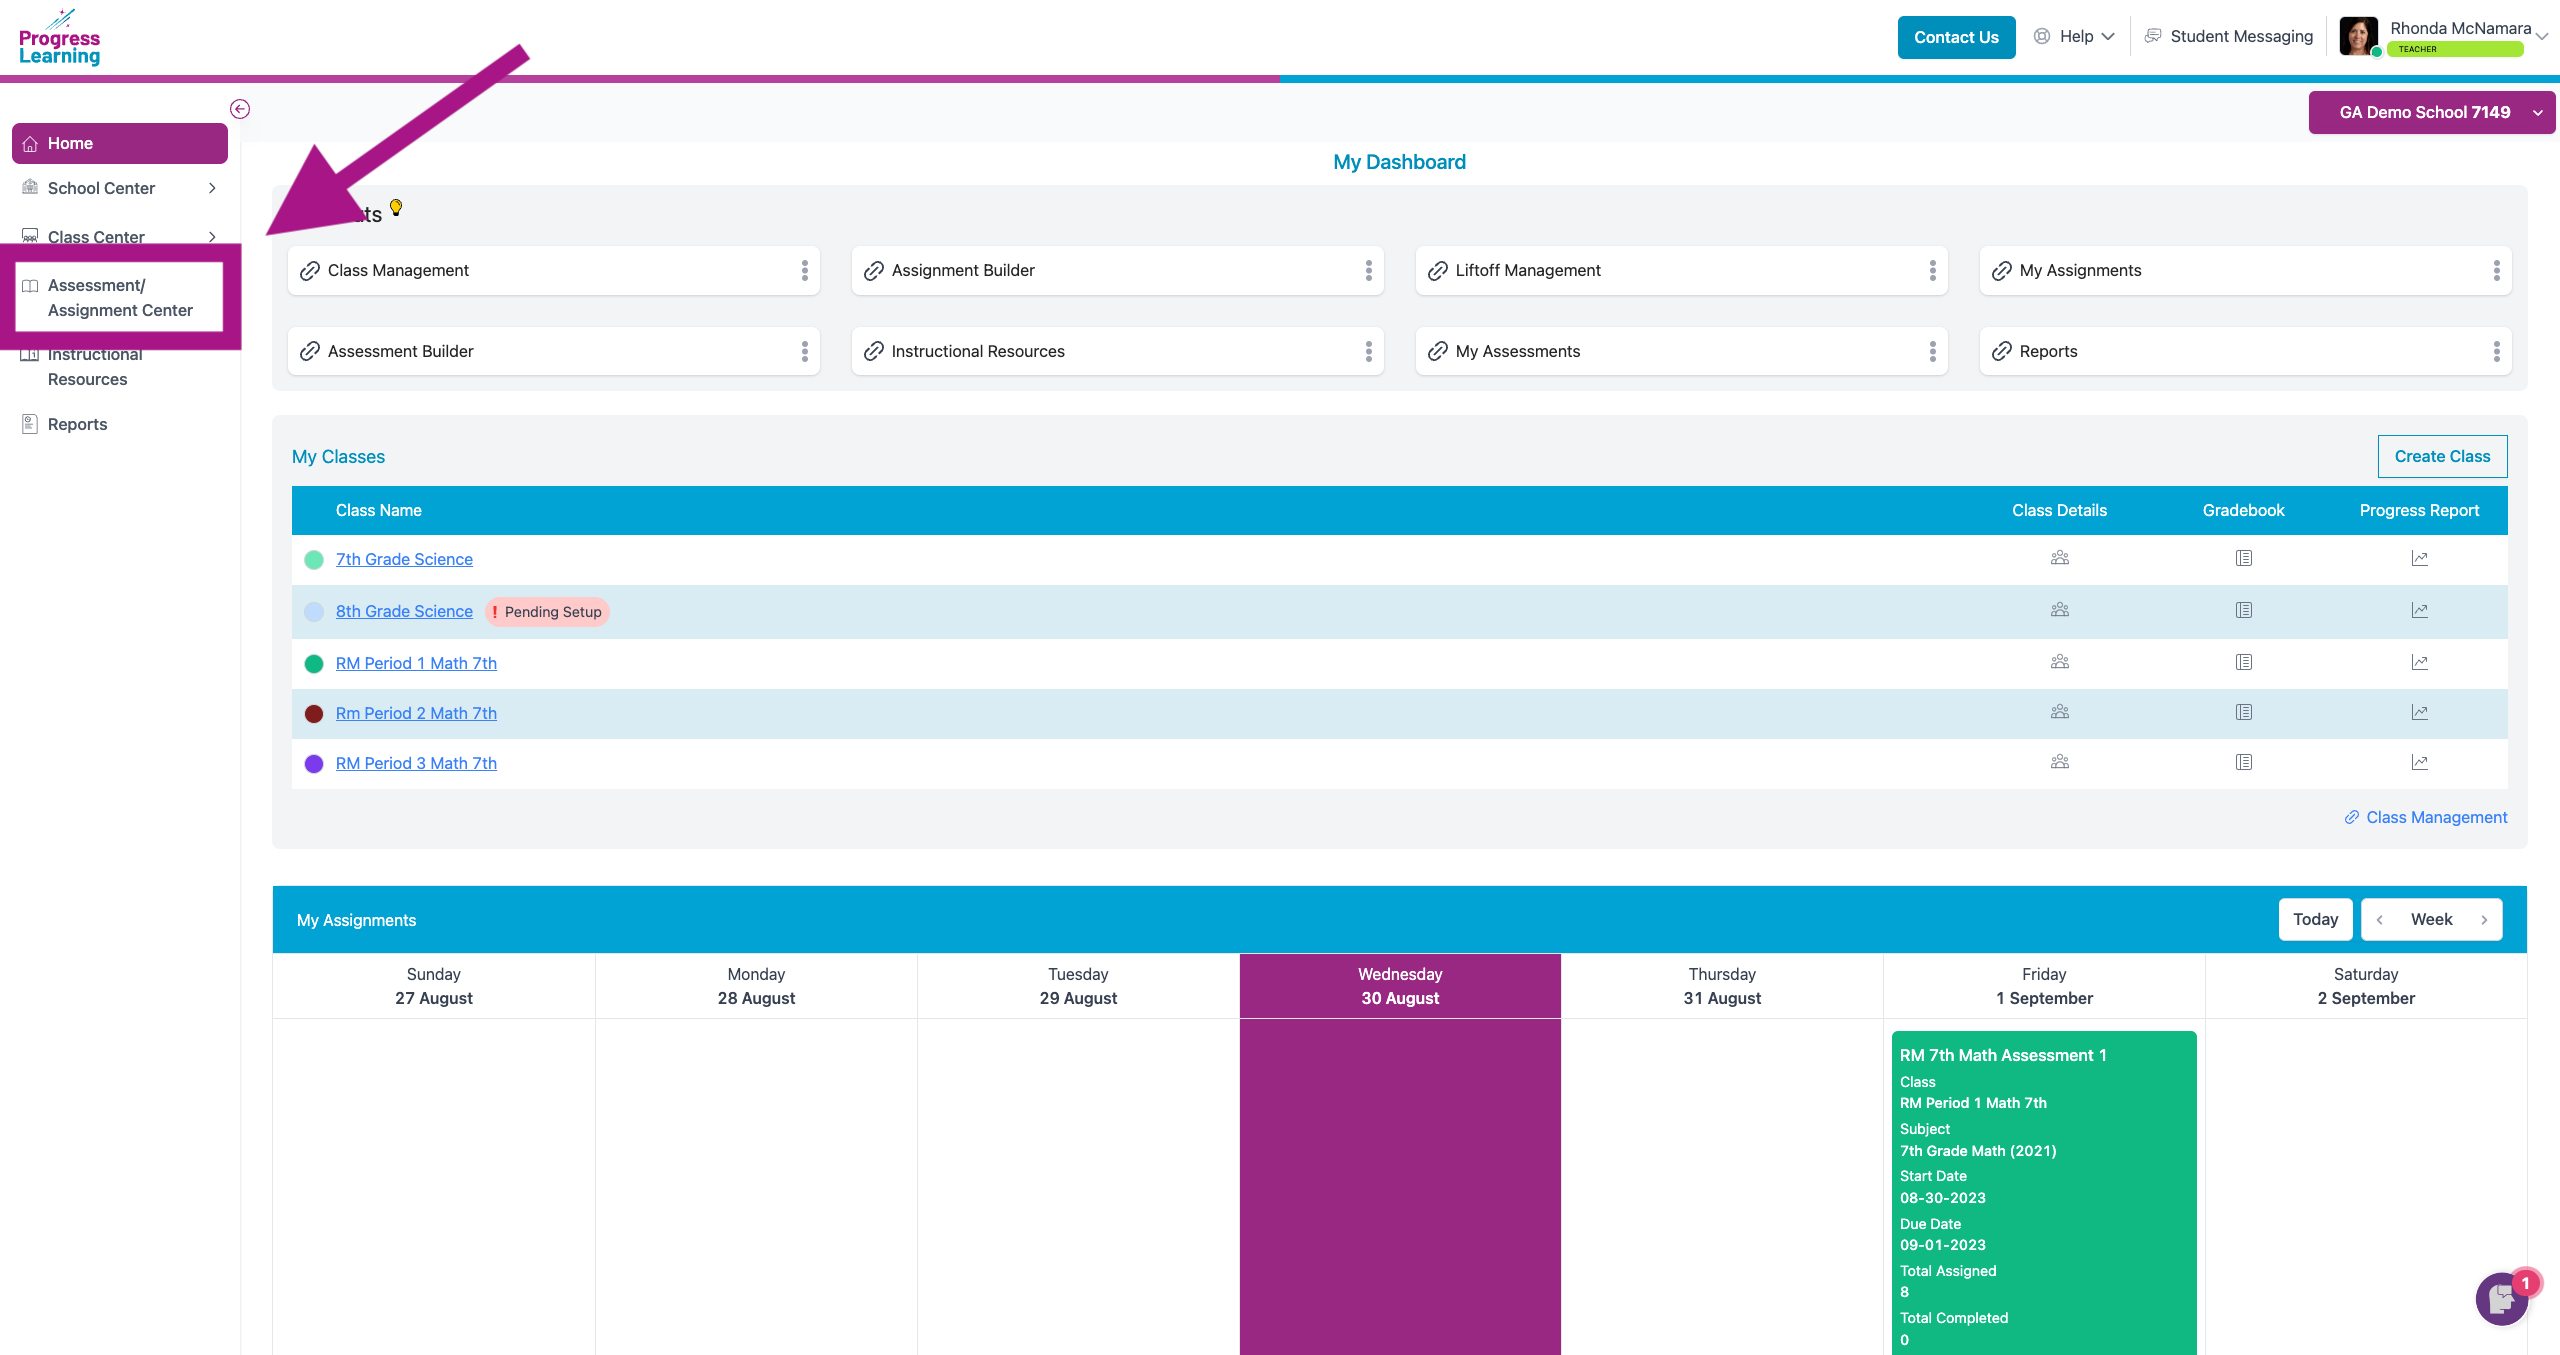
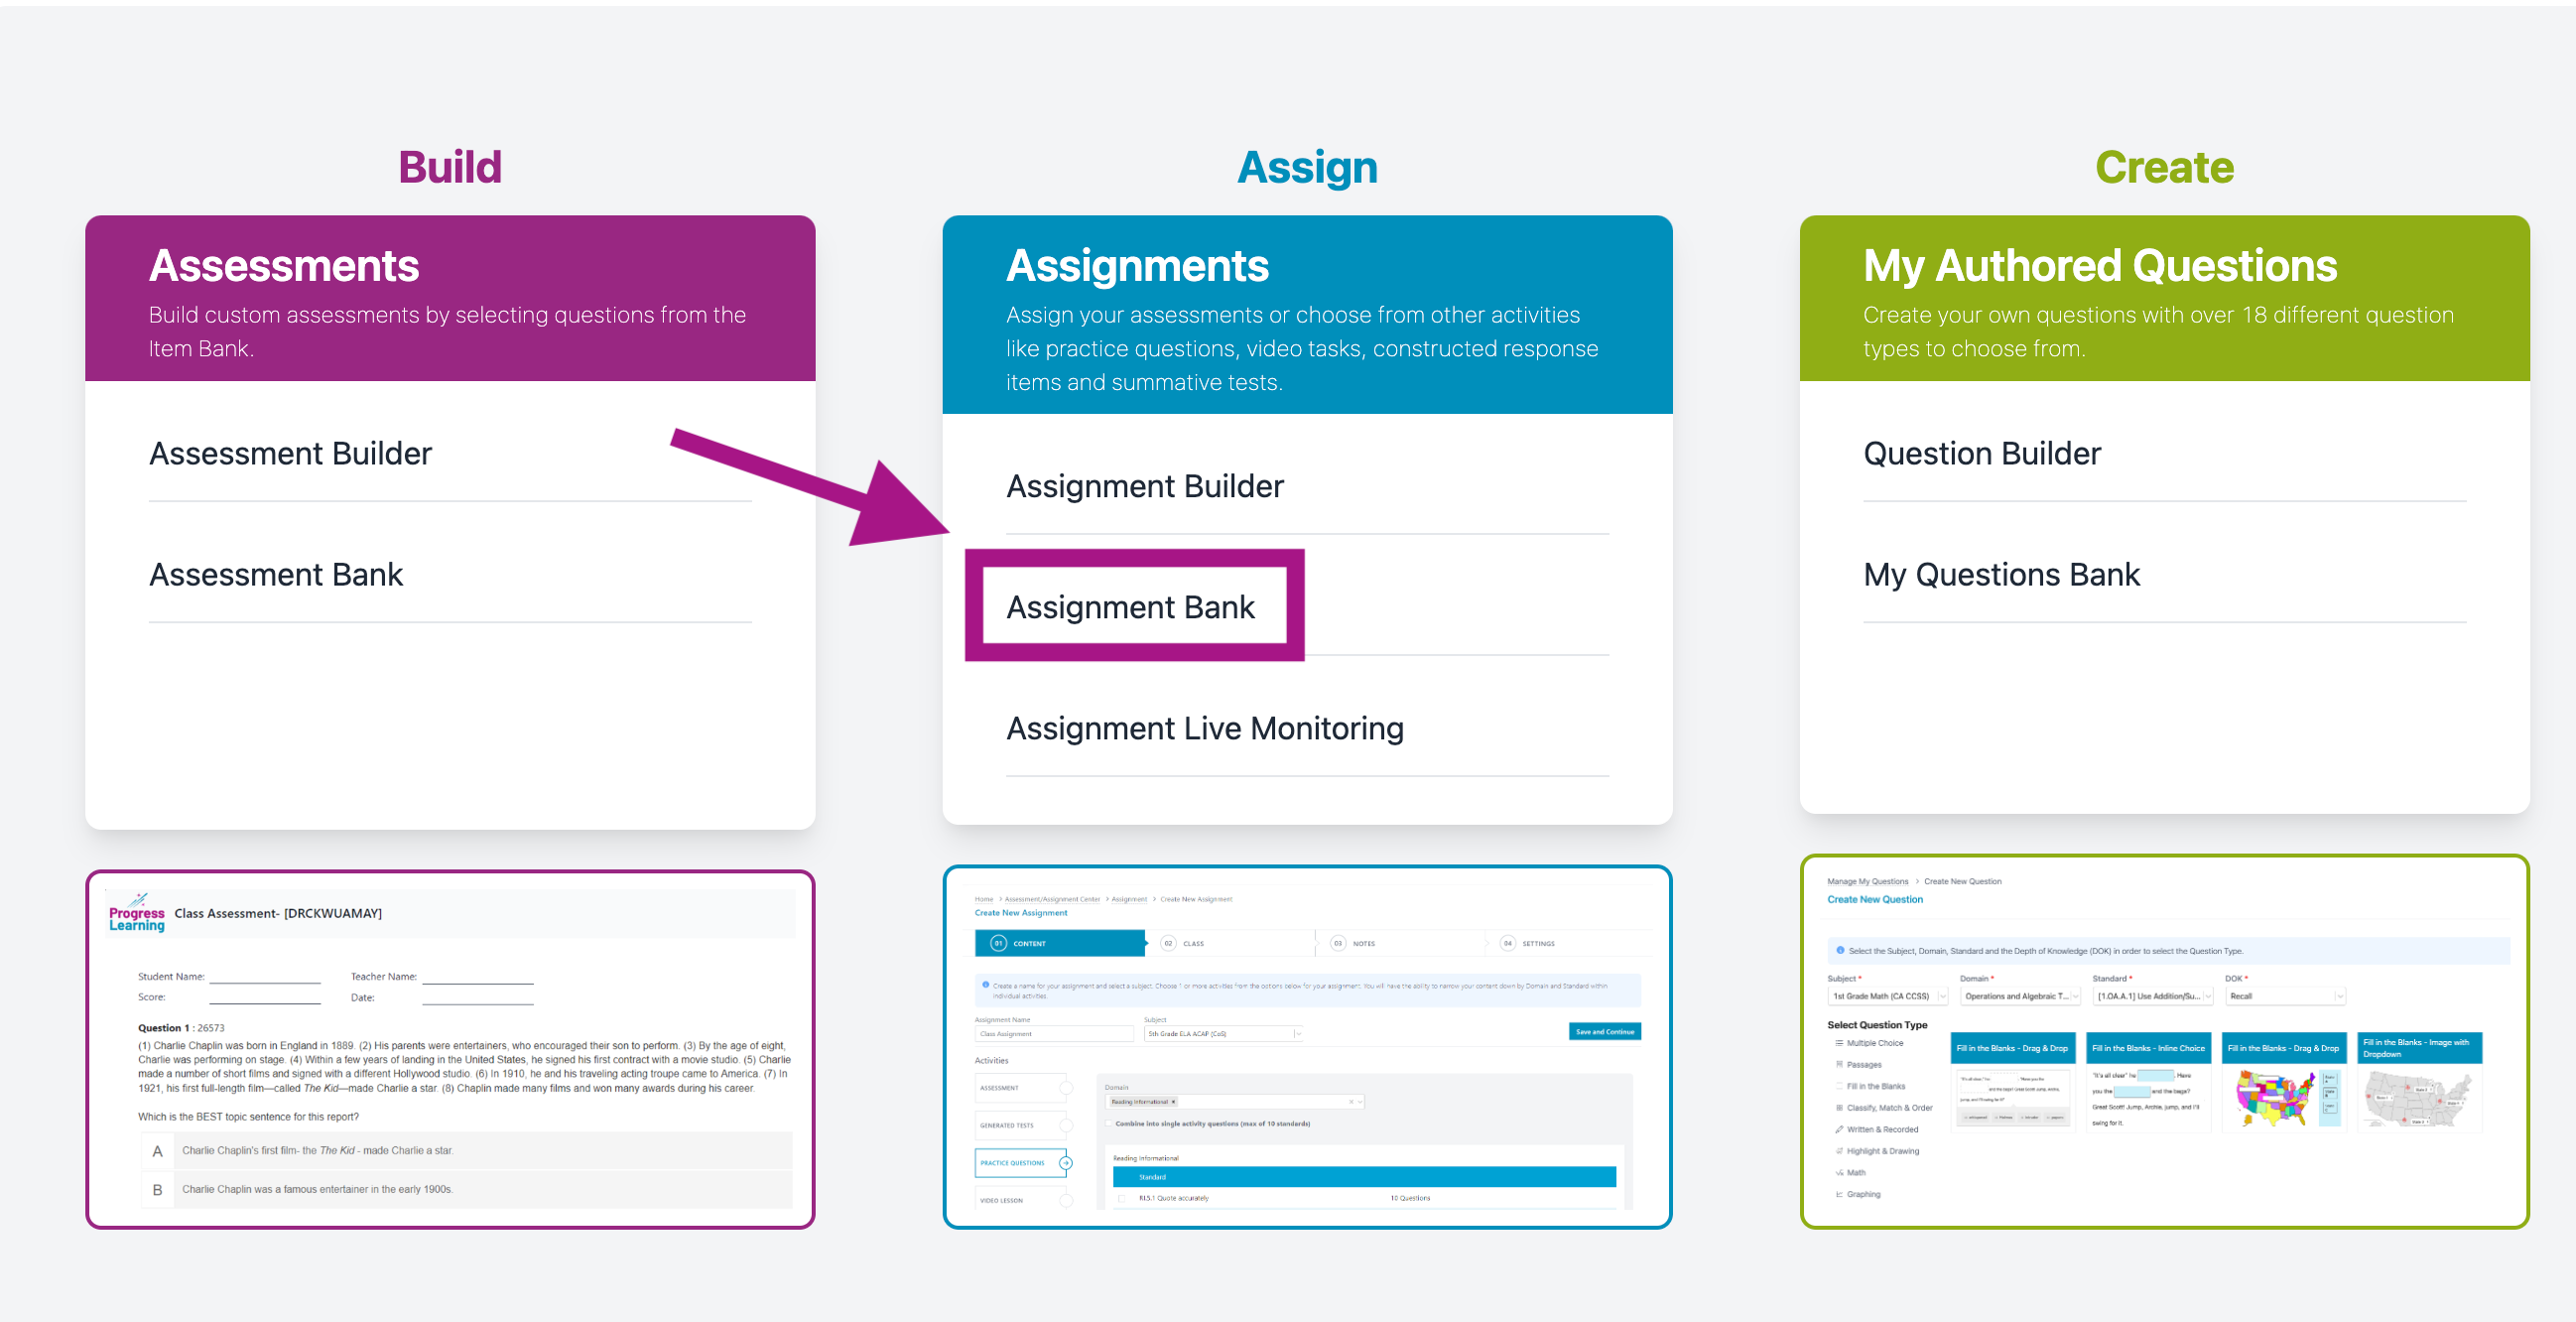
- From the teacher dashboard select Assessment/Assignment Center
- Select Assignment Bank under the Assign section.
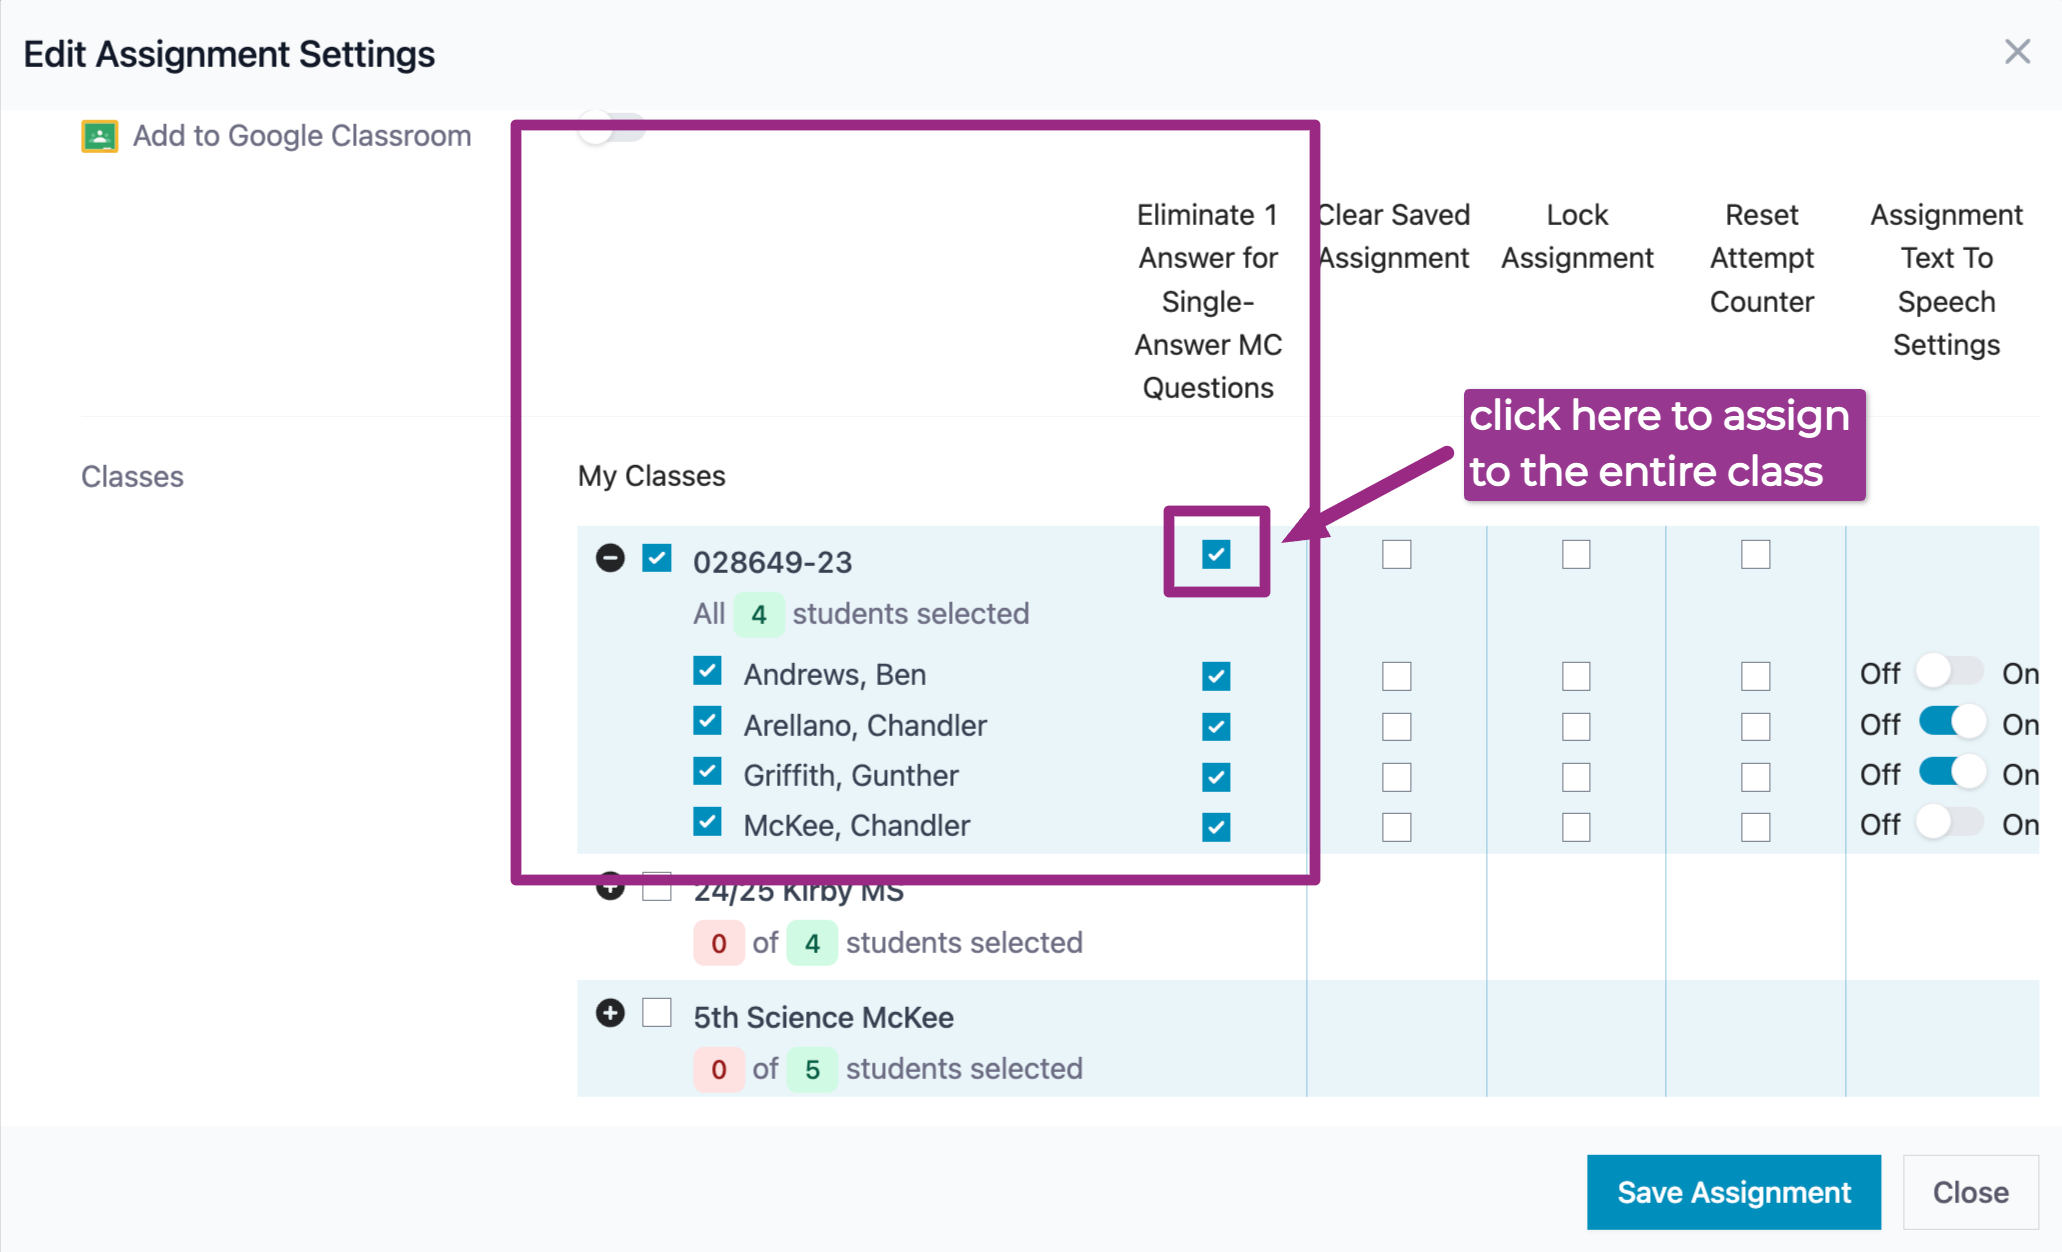
- Go to your Assignment Settings for a particular assignment by clicking on the cog wheel (you can also assign this accommodation when creating a new Assignment when you get to the "settings" screen).

- Expand the class and tick the box next to the students's names to assign the accommodation. You can assign this accommodation to the entire class by ticking the box at the top of the "Eliminate 1 Answer Choice " column next to the class name. Click Save Assignment
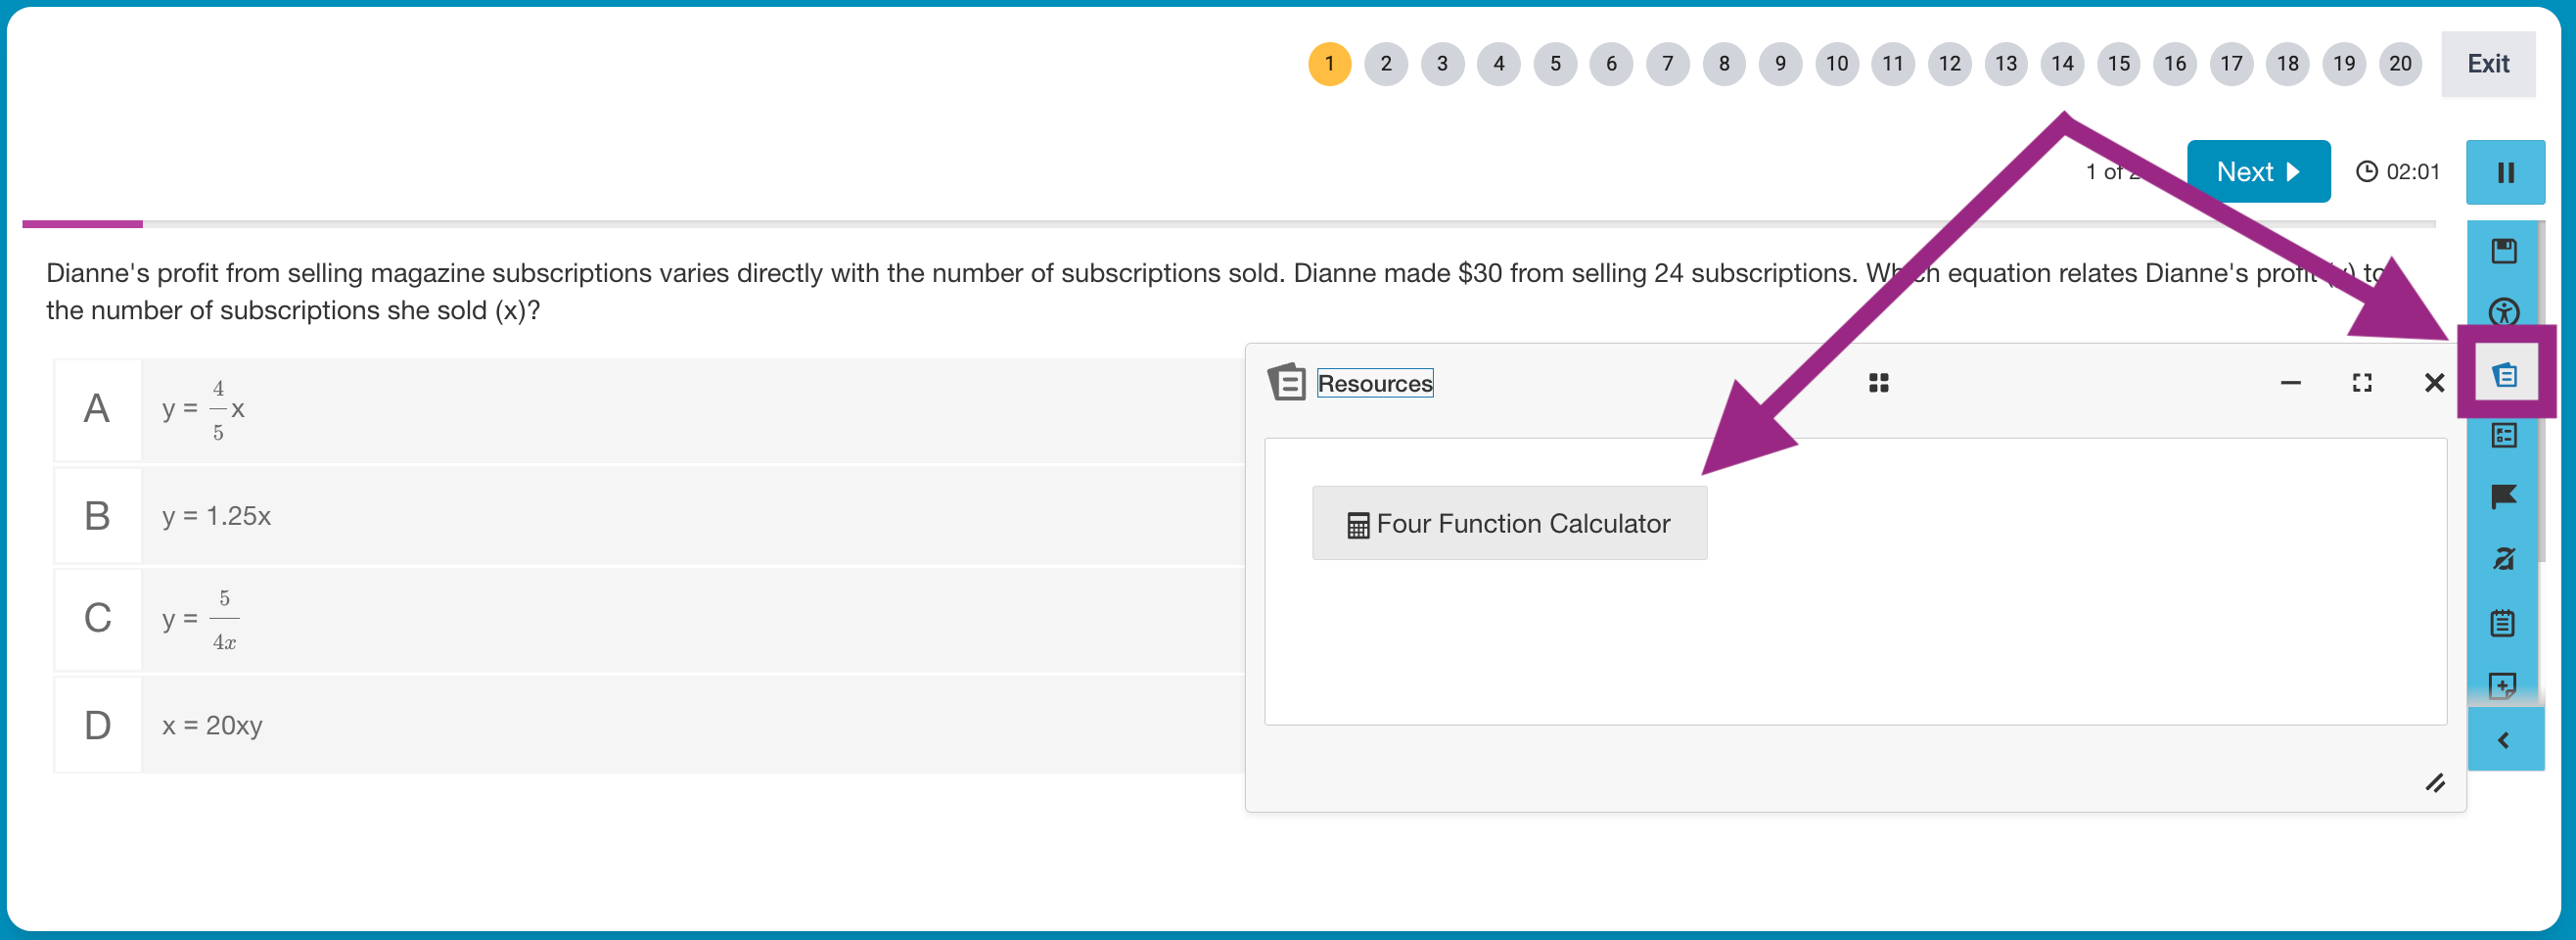
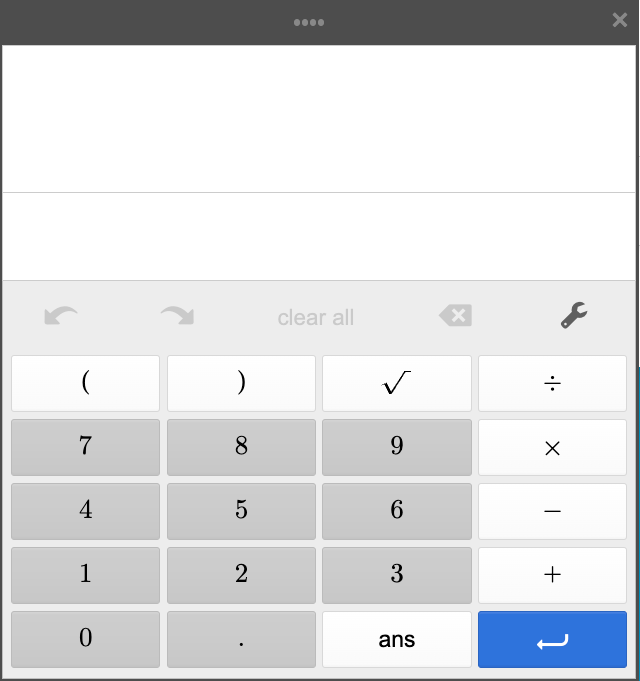
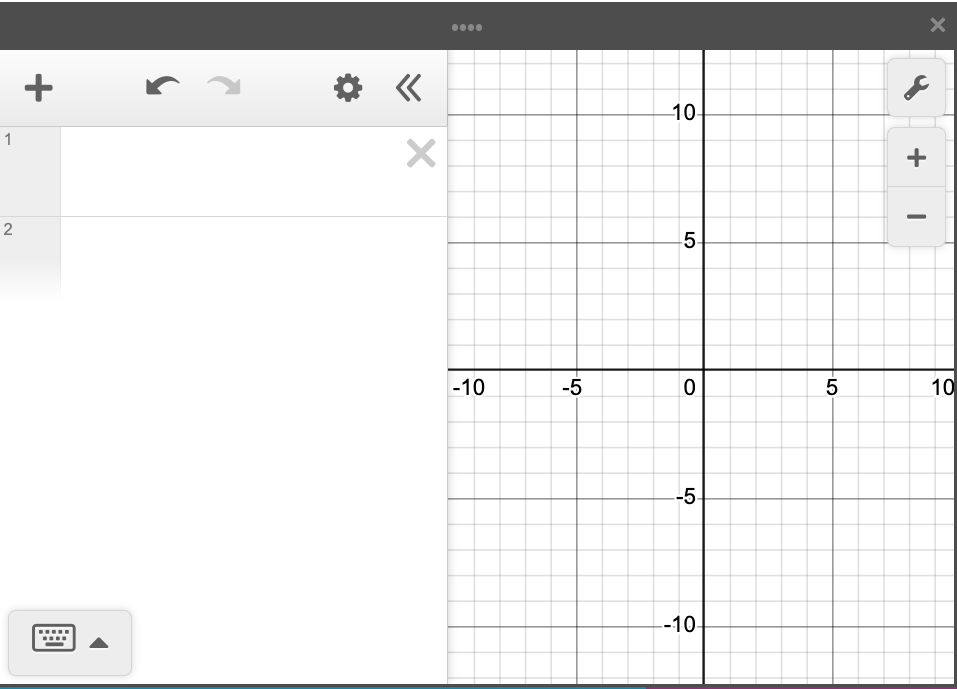
Calculator
Teachers can select one of three types of calculators to include with an assessment, all powered by Desmos:
- Four Function
- Scientific
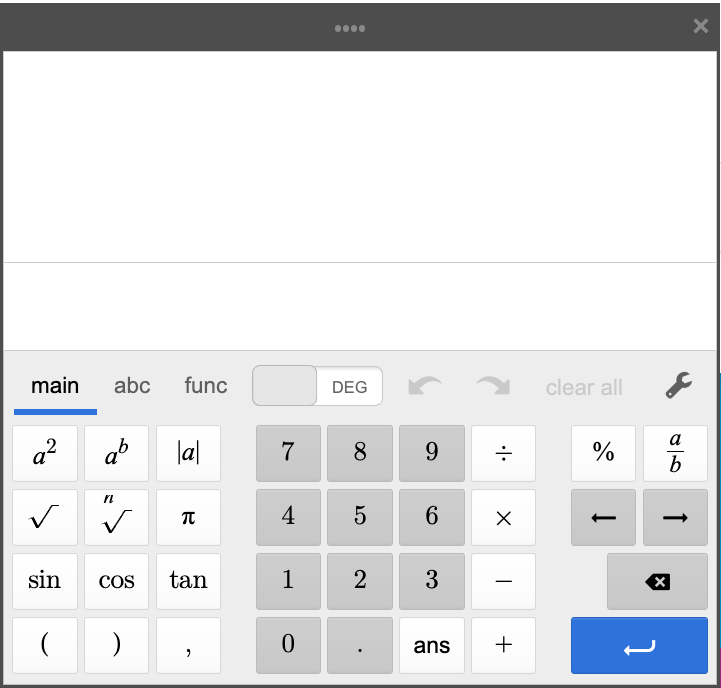
- Graphing (can do all of the functions of a Scientific calculator)
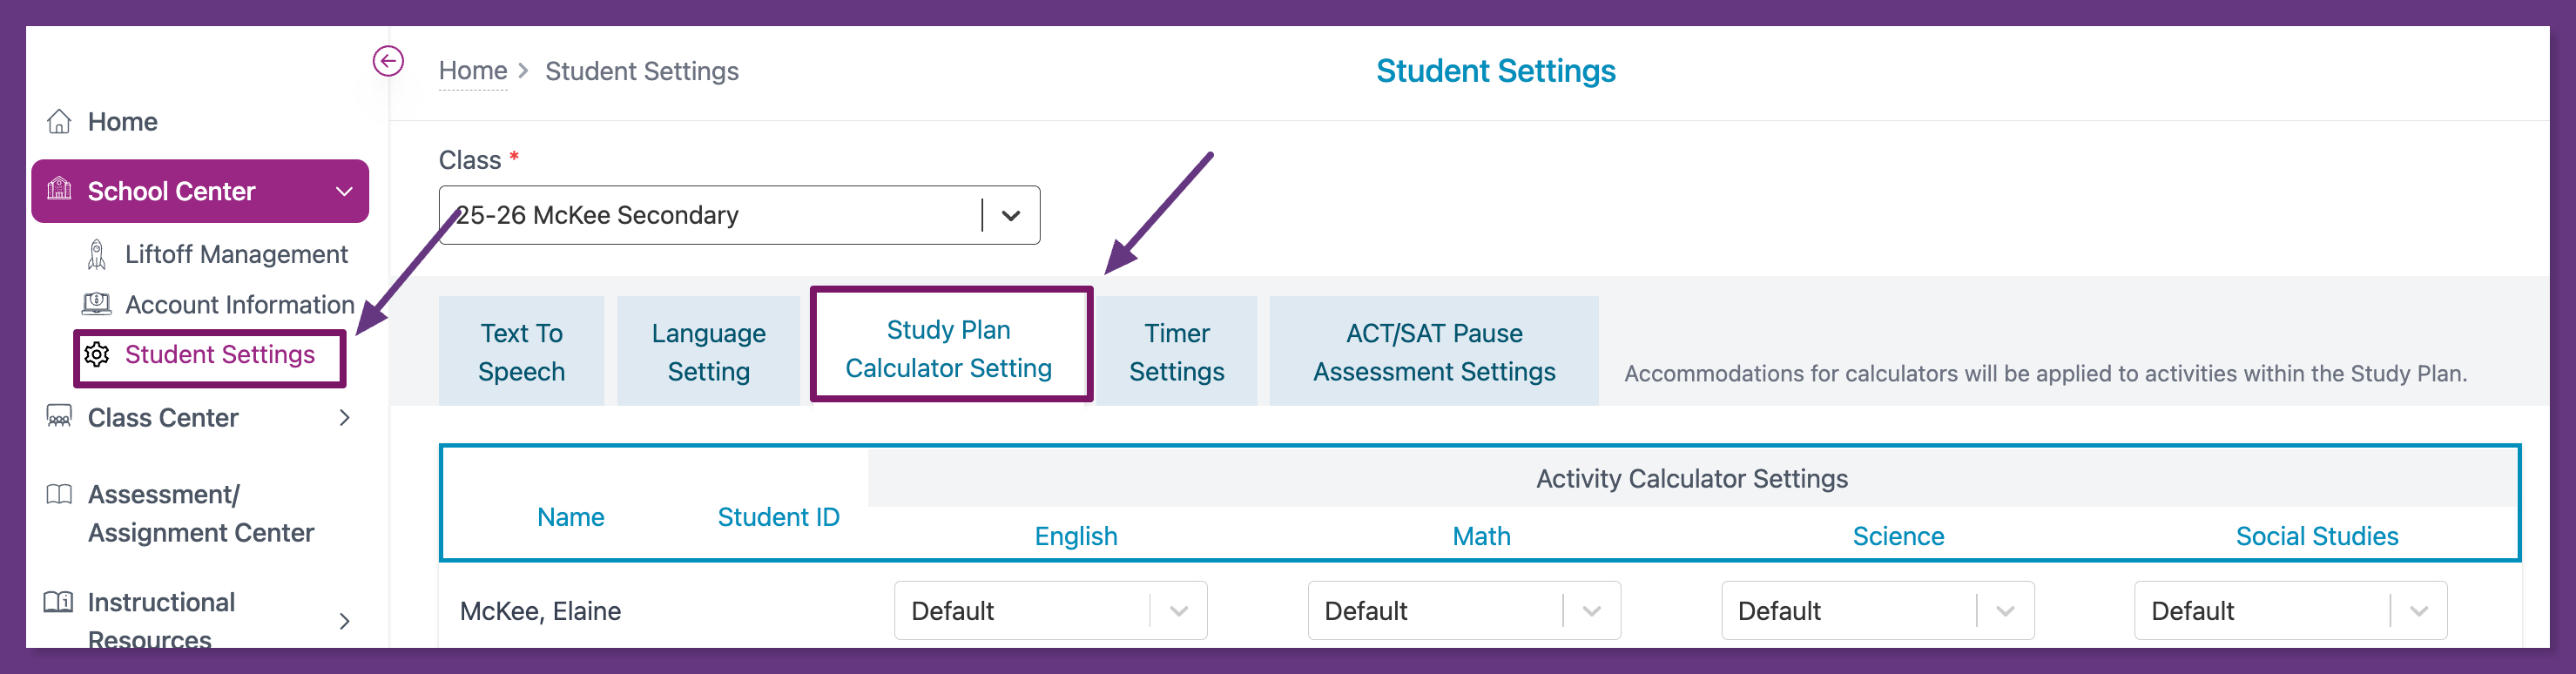
- Where to find the Calculator global settings: Teachers can select Calculator setting for each class by navigating to Student Settings in the School Center and selecting the Study Plan Calculator Settings Tab. With this tool, teachers are able to select a specific calculator that students will have access to while working in their Study Plan.
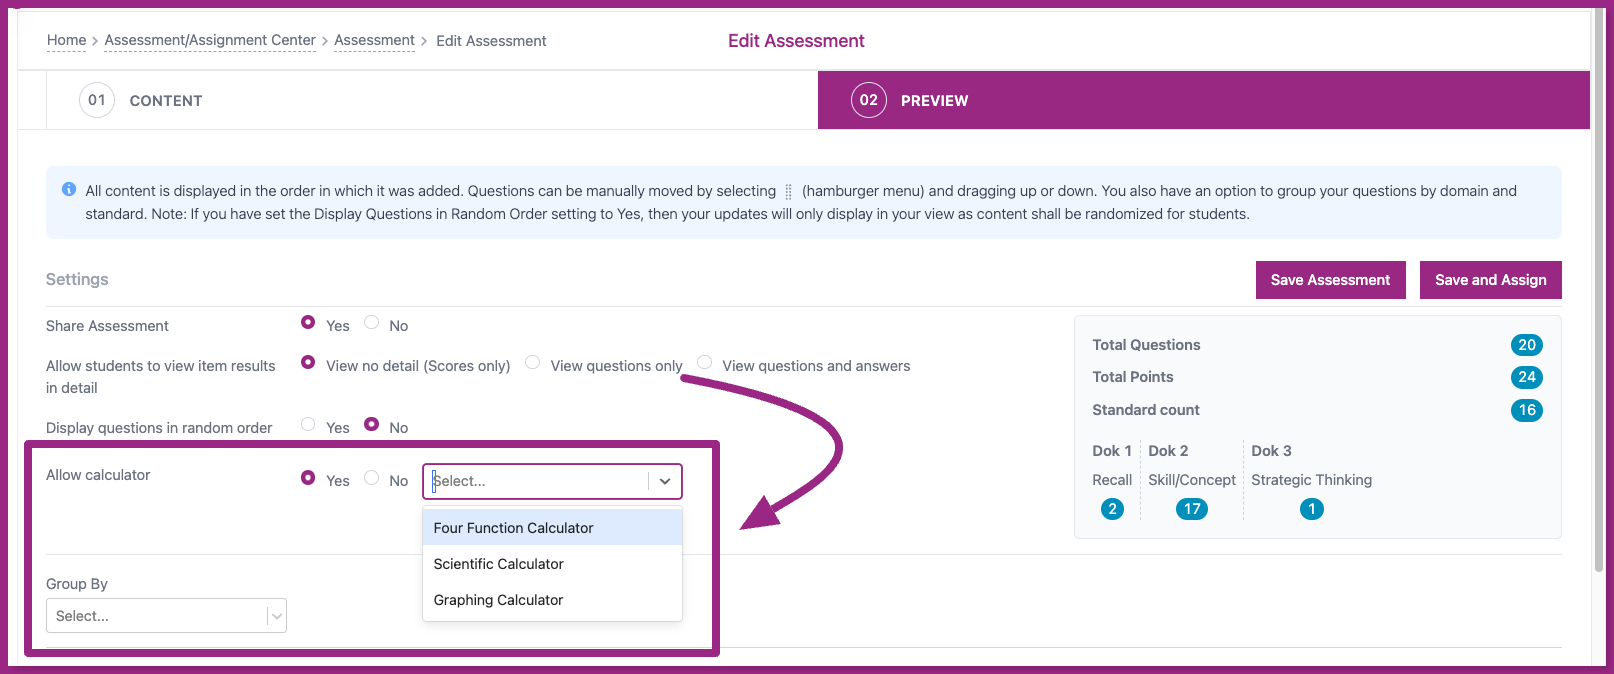
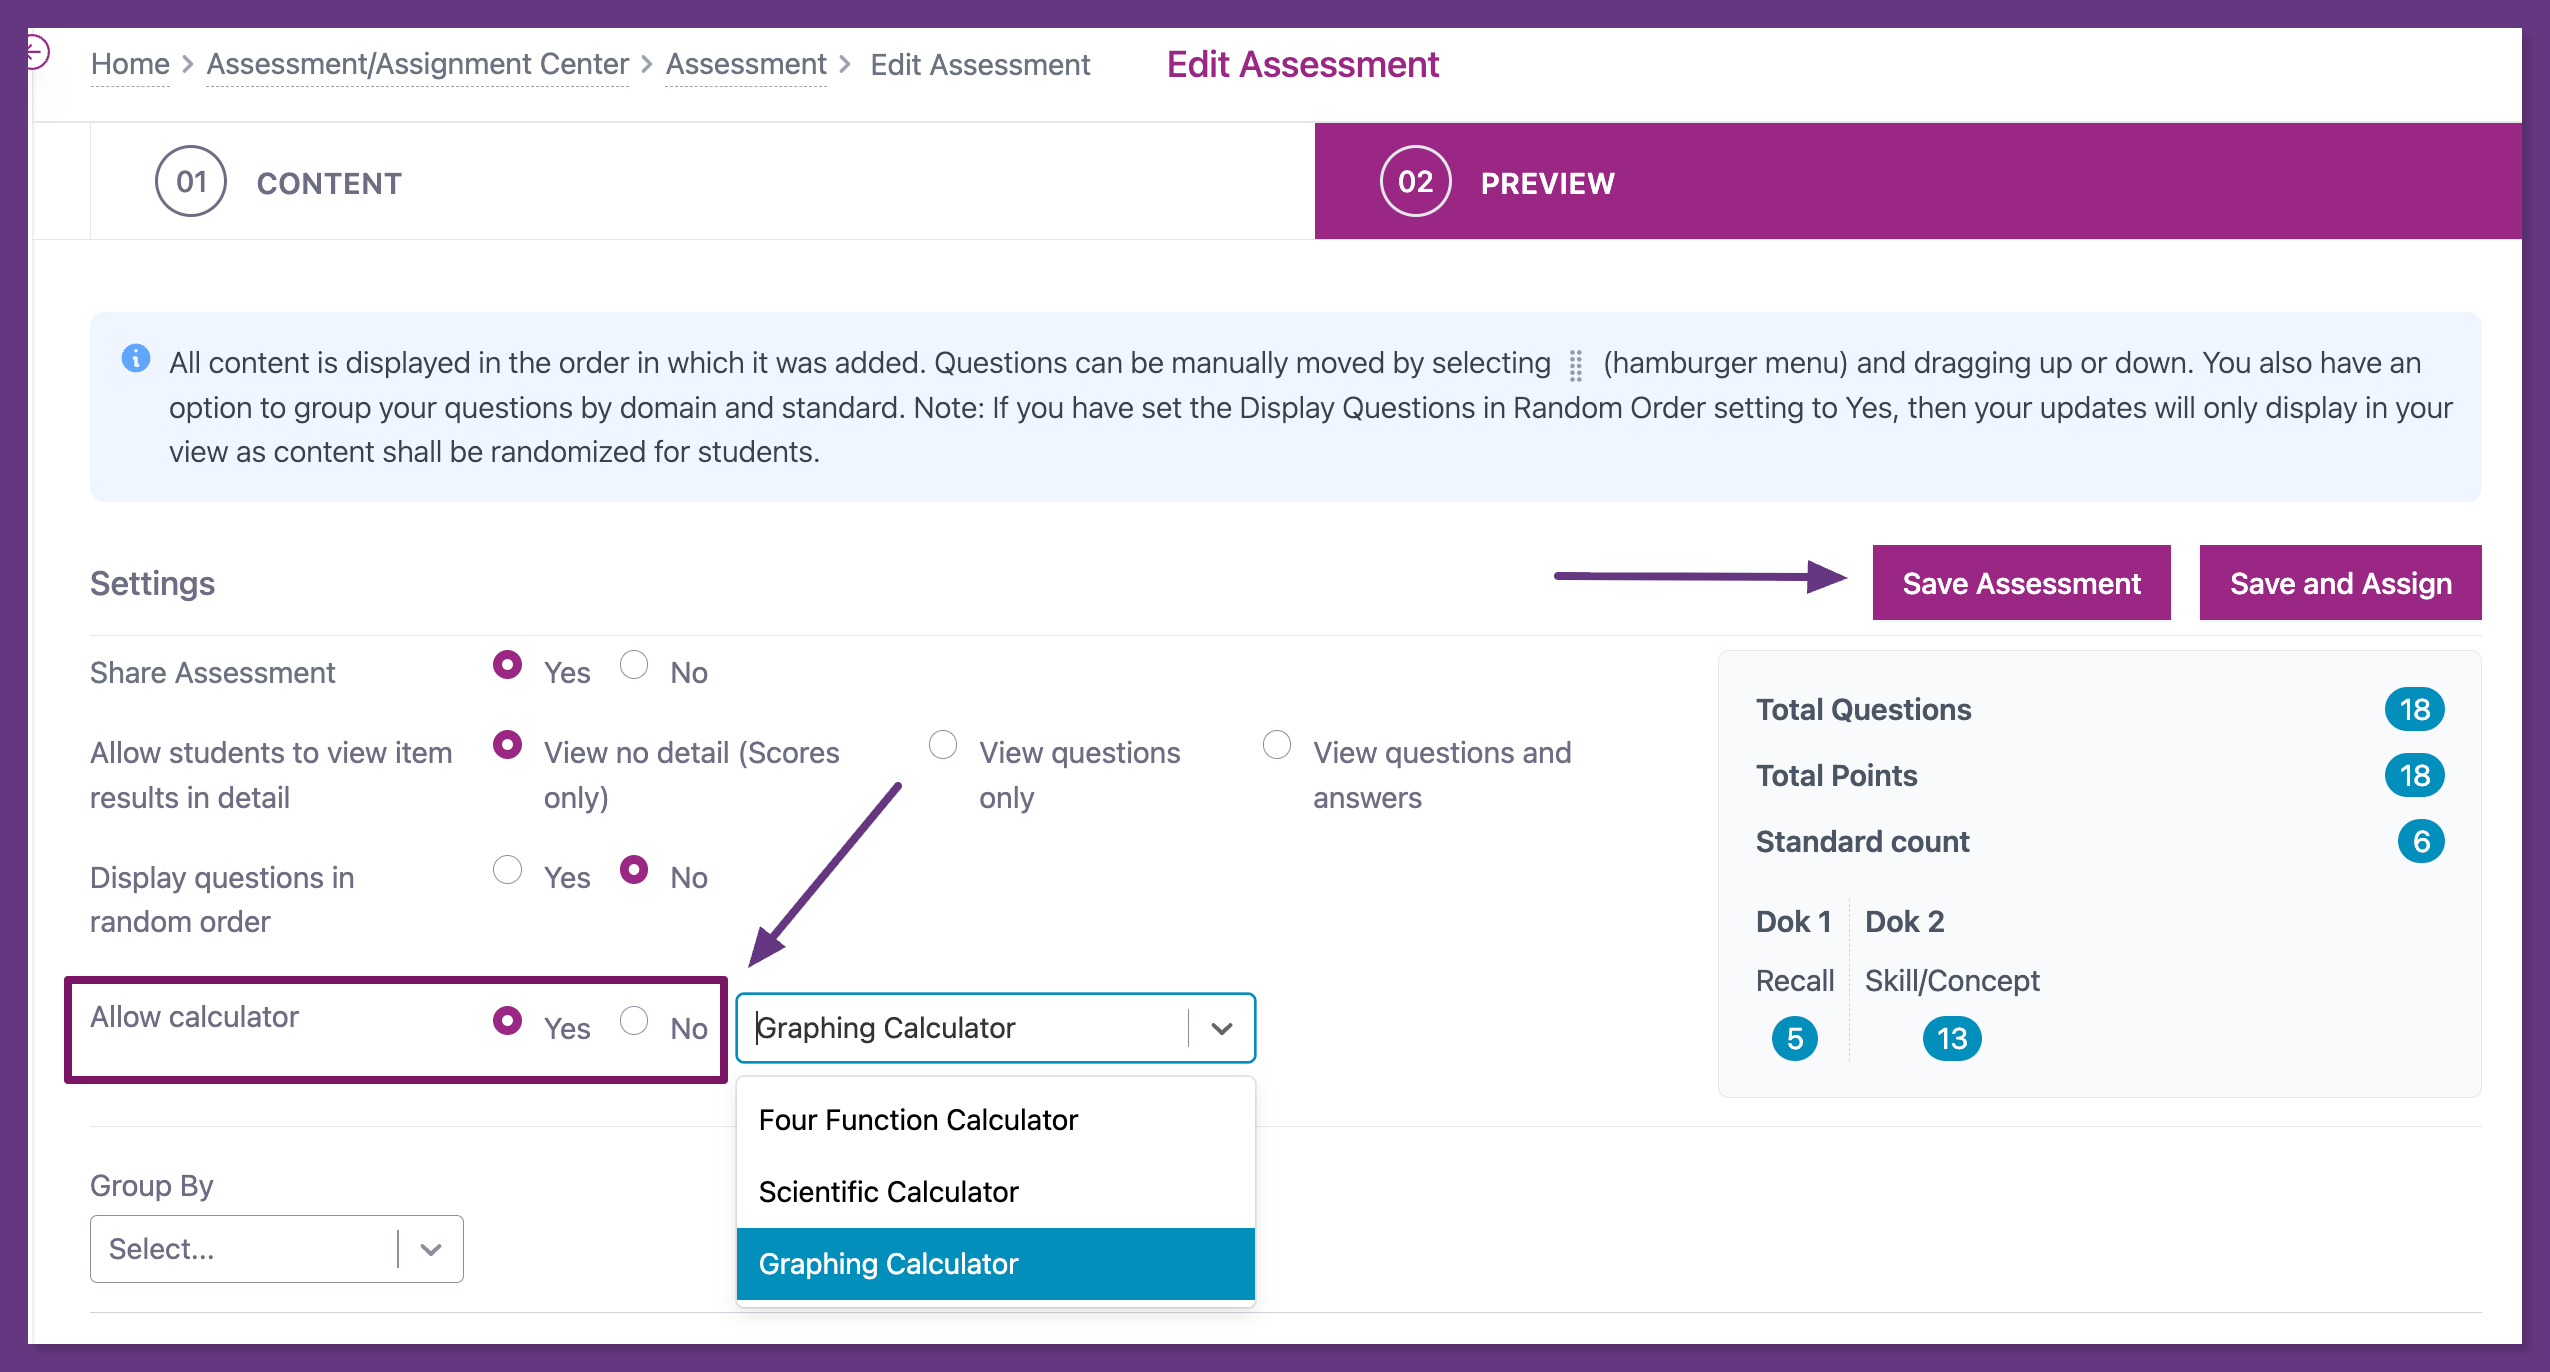
- How to assign a calculator when creating an Assessment: When creating an Assessment, you will choose Yes for "Allow Calculator" in the list of settings. Then use the dropdown menu to select which type.
- Override the calculator on previously built assessments (in the Assignment Builder):
Lastly, if you are assigning an assessment from the Assignment Builder, in Step 2 (Class) of that process, you will have the opportunity to override the calculator settings that were appointed when the assessment was created.
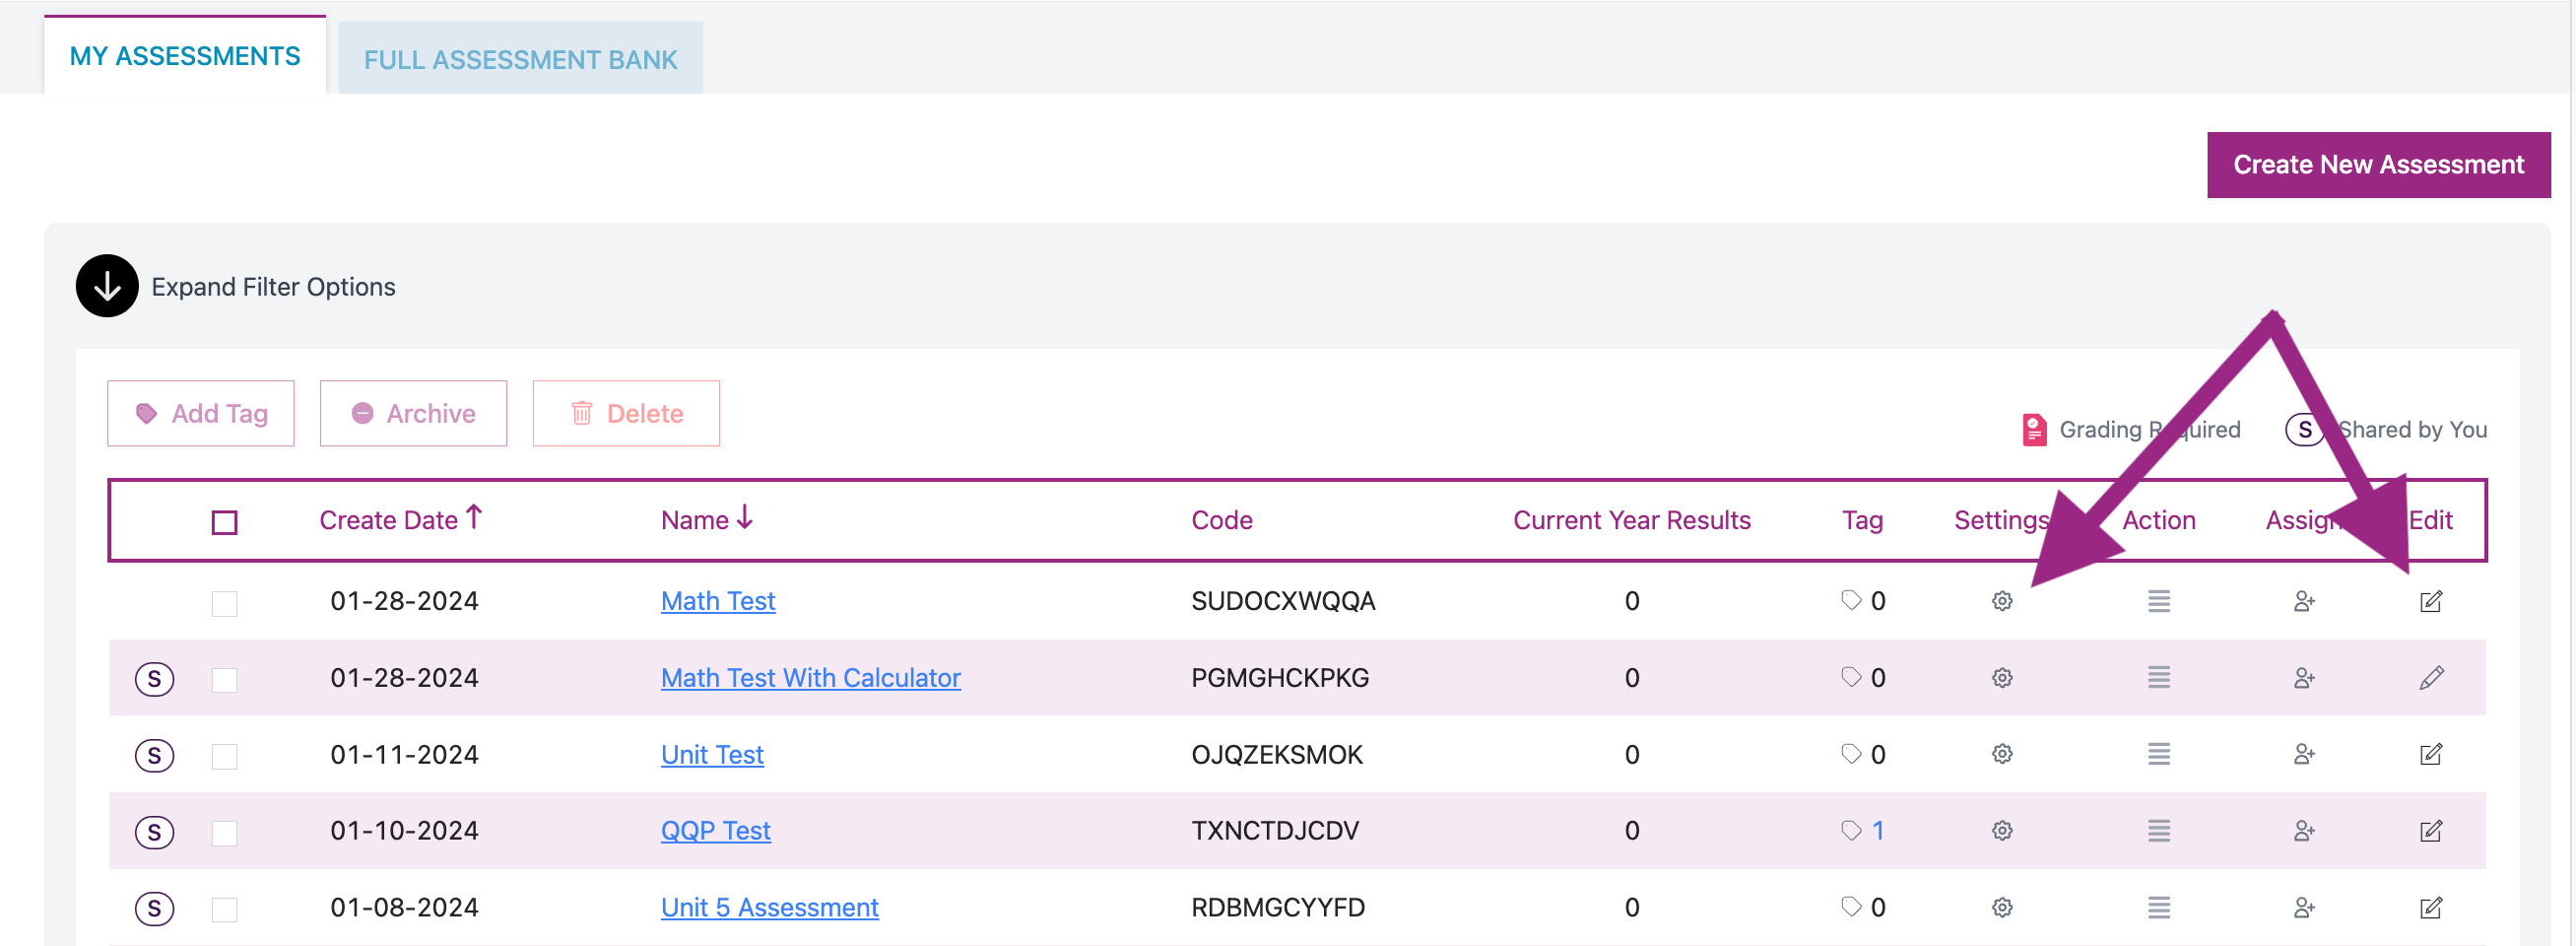
Go to the Assessment/Assignment Center and click on Assessment Bank.

- Click the icon either under the column Settings or Edit on the assessment.
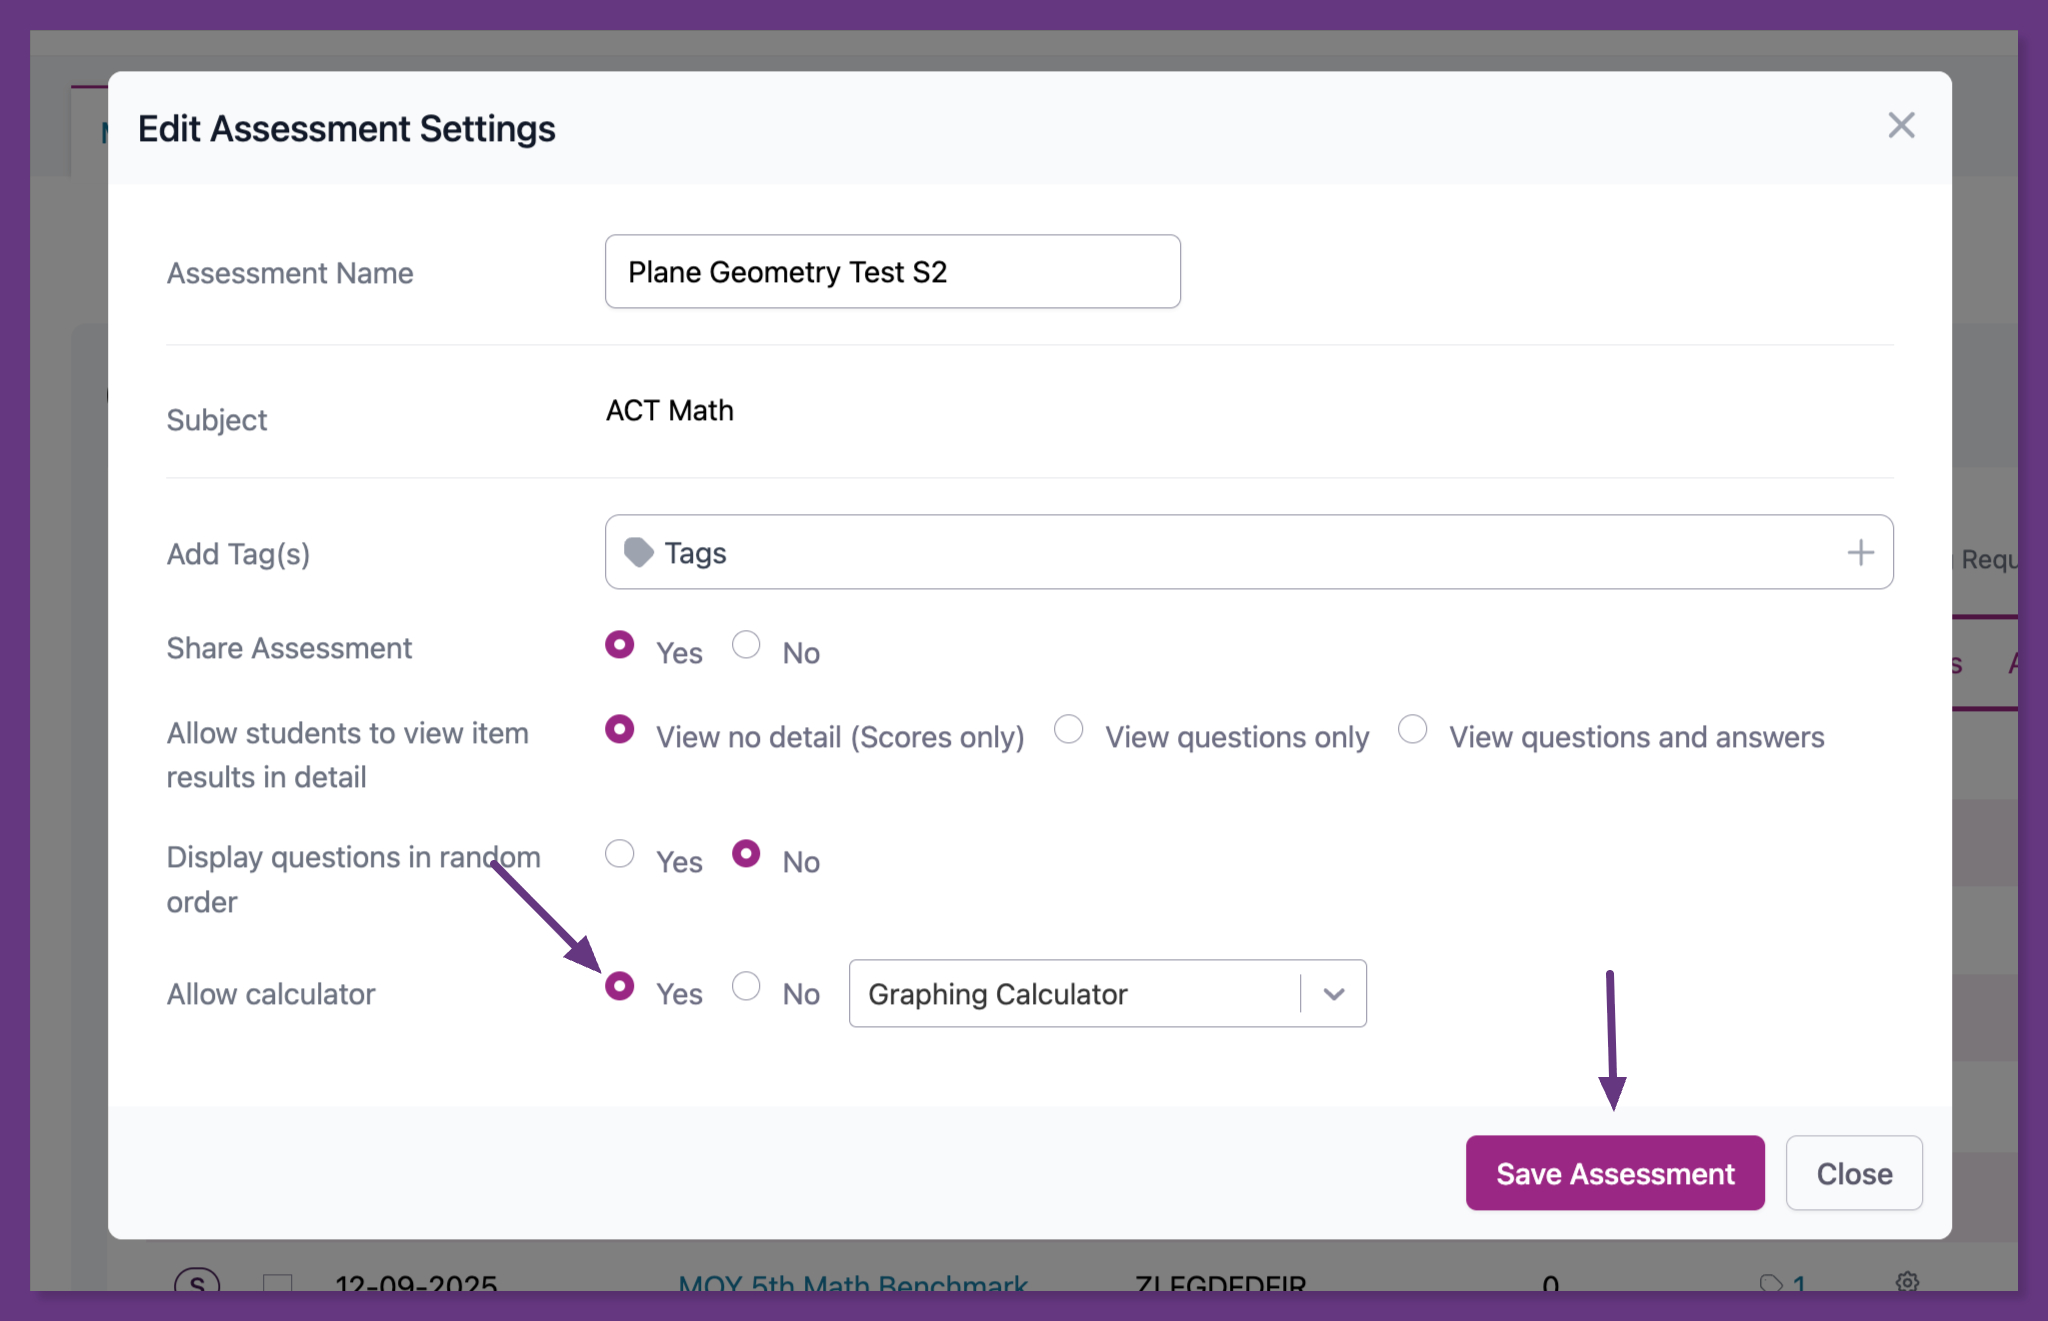
- Choose Yes to select a specific calculator for the assessment. Click Save Assessment.
- Settings Column:
- Edit Column:
- Settings Column:
- Override the calculator on previously built assessments (in the Assignment Builder):
Lastly, if you are assigning an assessment from the Assignment Builder, in Step 2 (Class) of that process, you will have the opportunity to override the calculator settings that were appointed when the assessment was created.

- Where can students find the calculator?
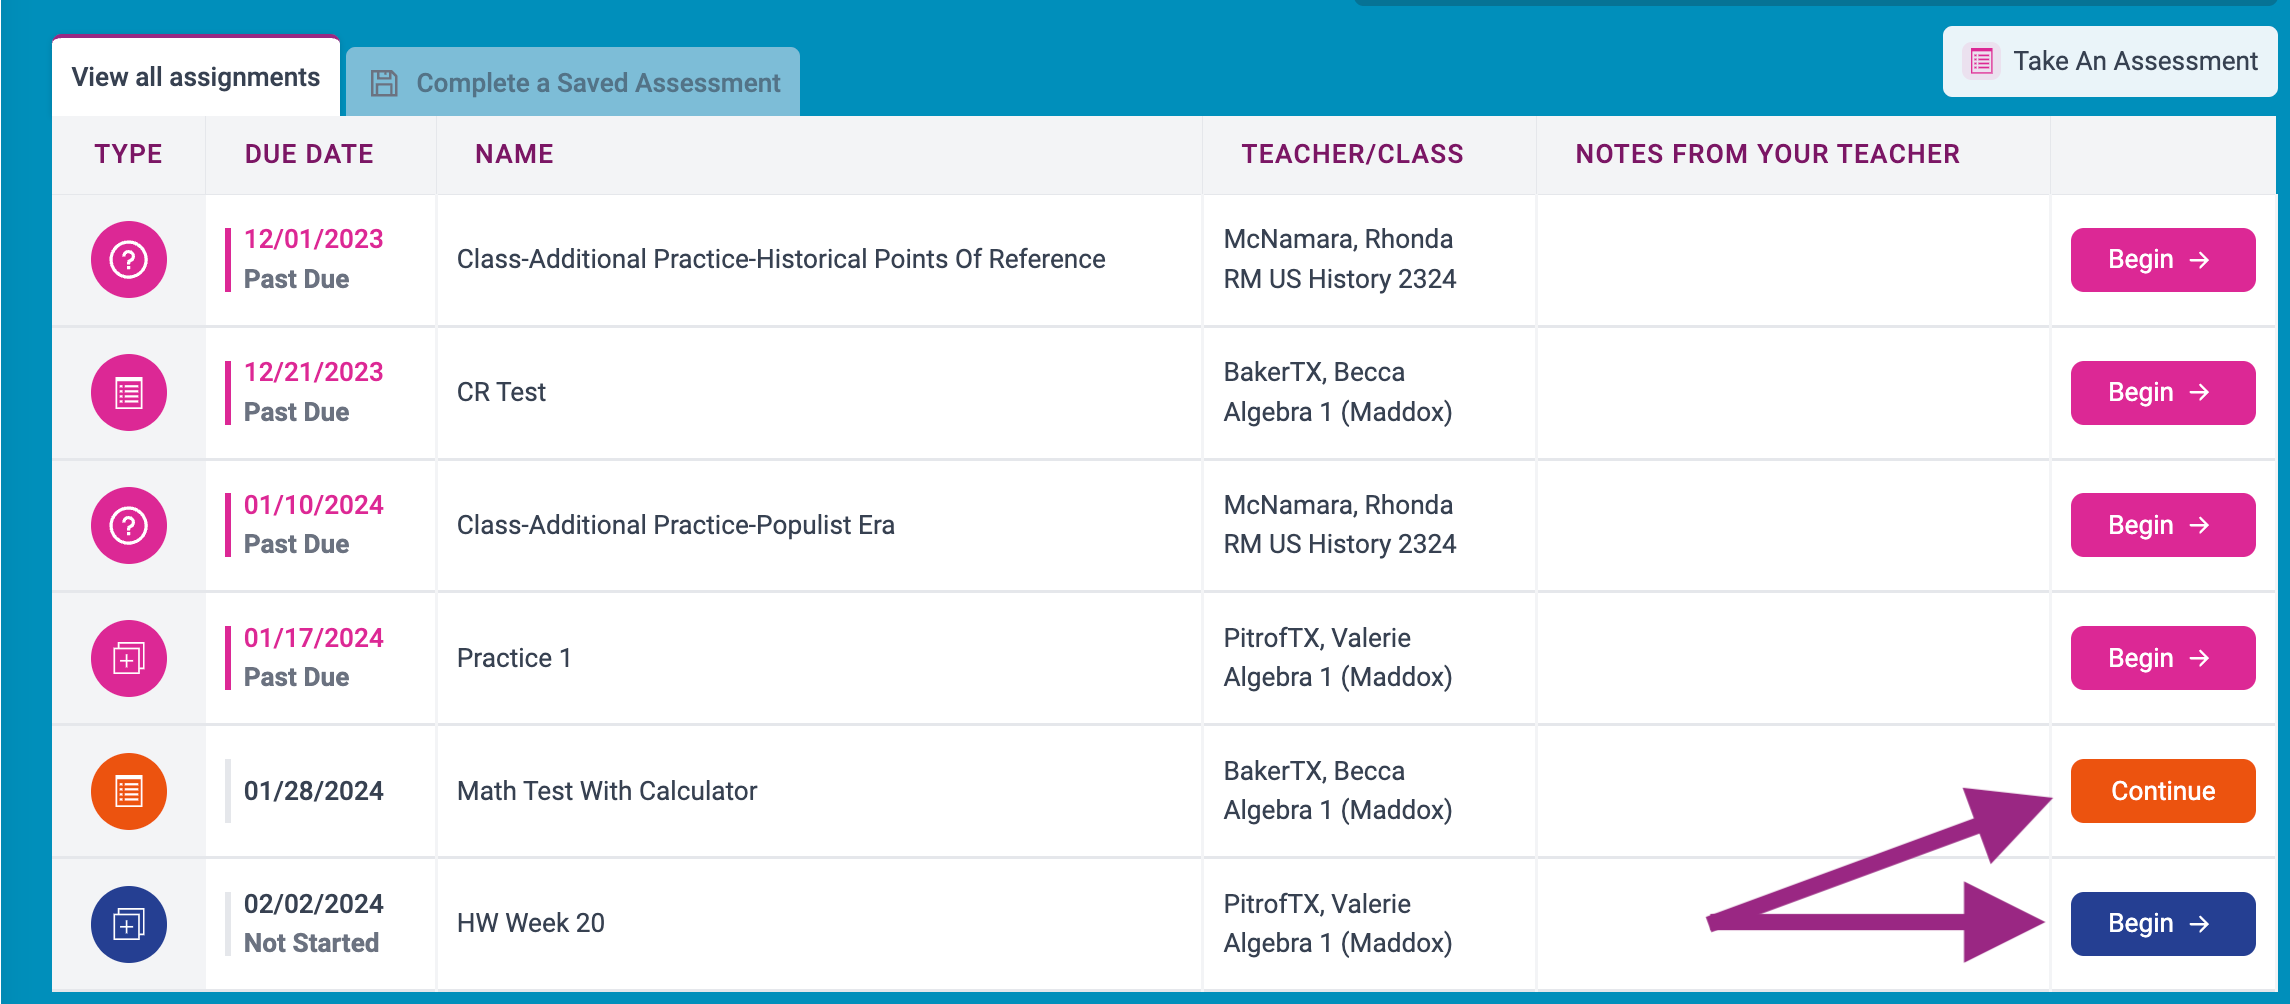
From the student homepage, click Begin to start the assessment or Continue to keep working on an assessment that you started.
On the right side, students have an accessibility toolbar. Select the Calculators icon, and then click on the name of the calculator to open it.