How to Integrate Progress Learning with Canvas for Teachers
 Updated
by
DaCota Cole
Updated
by
DaCota Cole

*If you would like to roster and import your classes using Canvas, please send us an email at support@progresslearning.com so we can help to avoid creating duplicate student accounts.
1. You will first need to log in to your Progress Learning account via username and password, or Clever or ClassLink.
Manual logins, click here
Clever or ClassLink, click here
If you would like to roster with Canvas, please send us an email
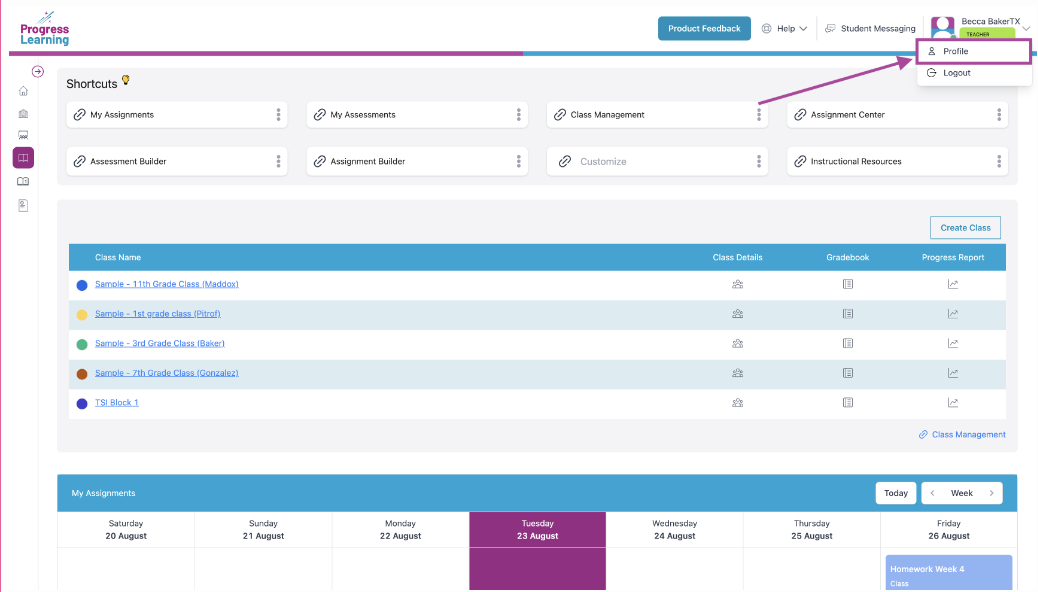
2. From the home page, click on your name, then Profile.
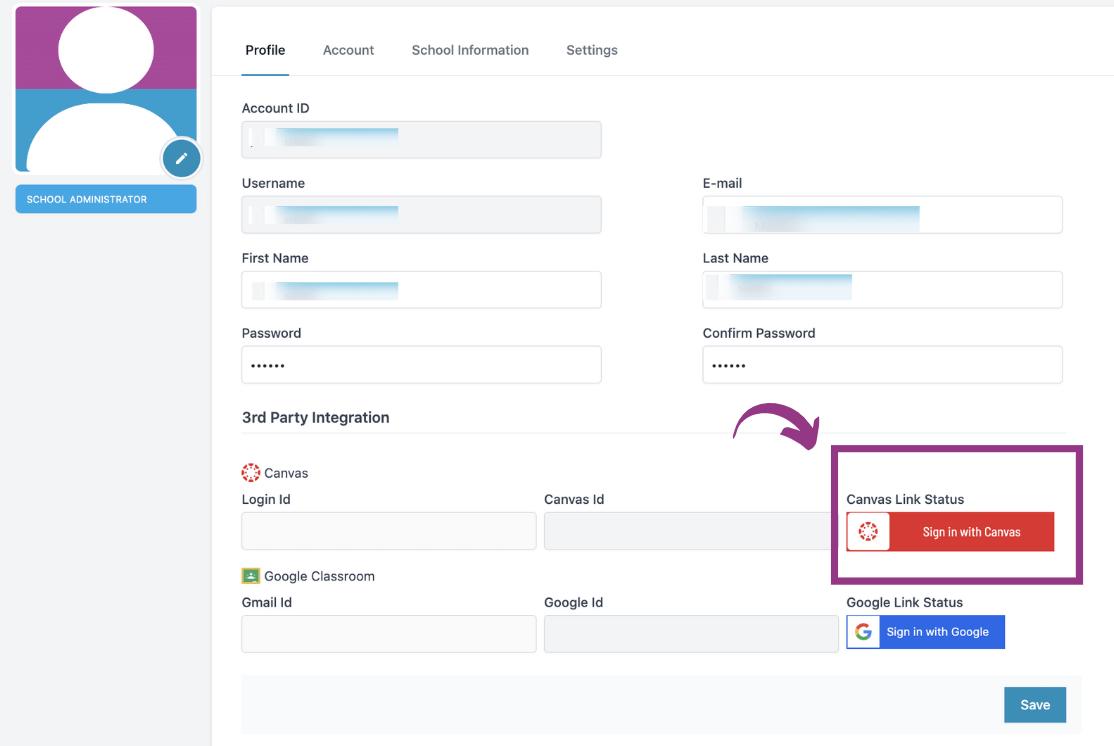
3. Click Sign in with Canvas.
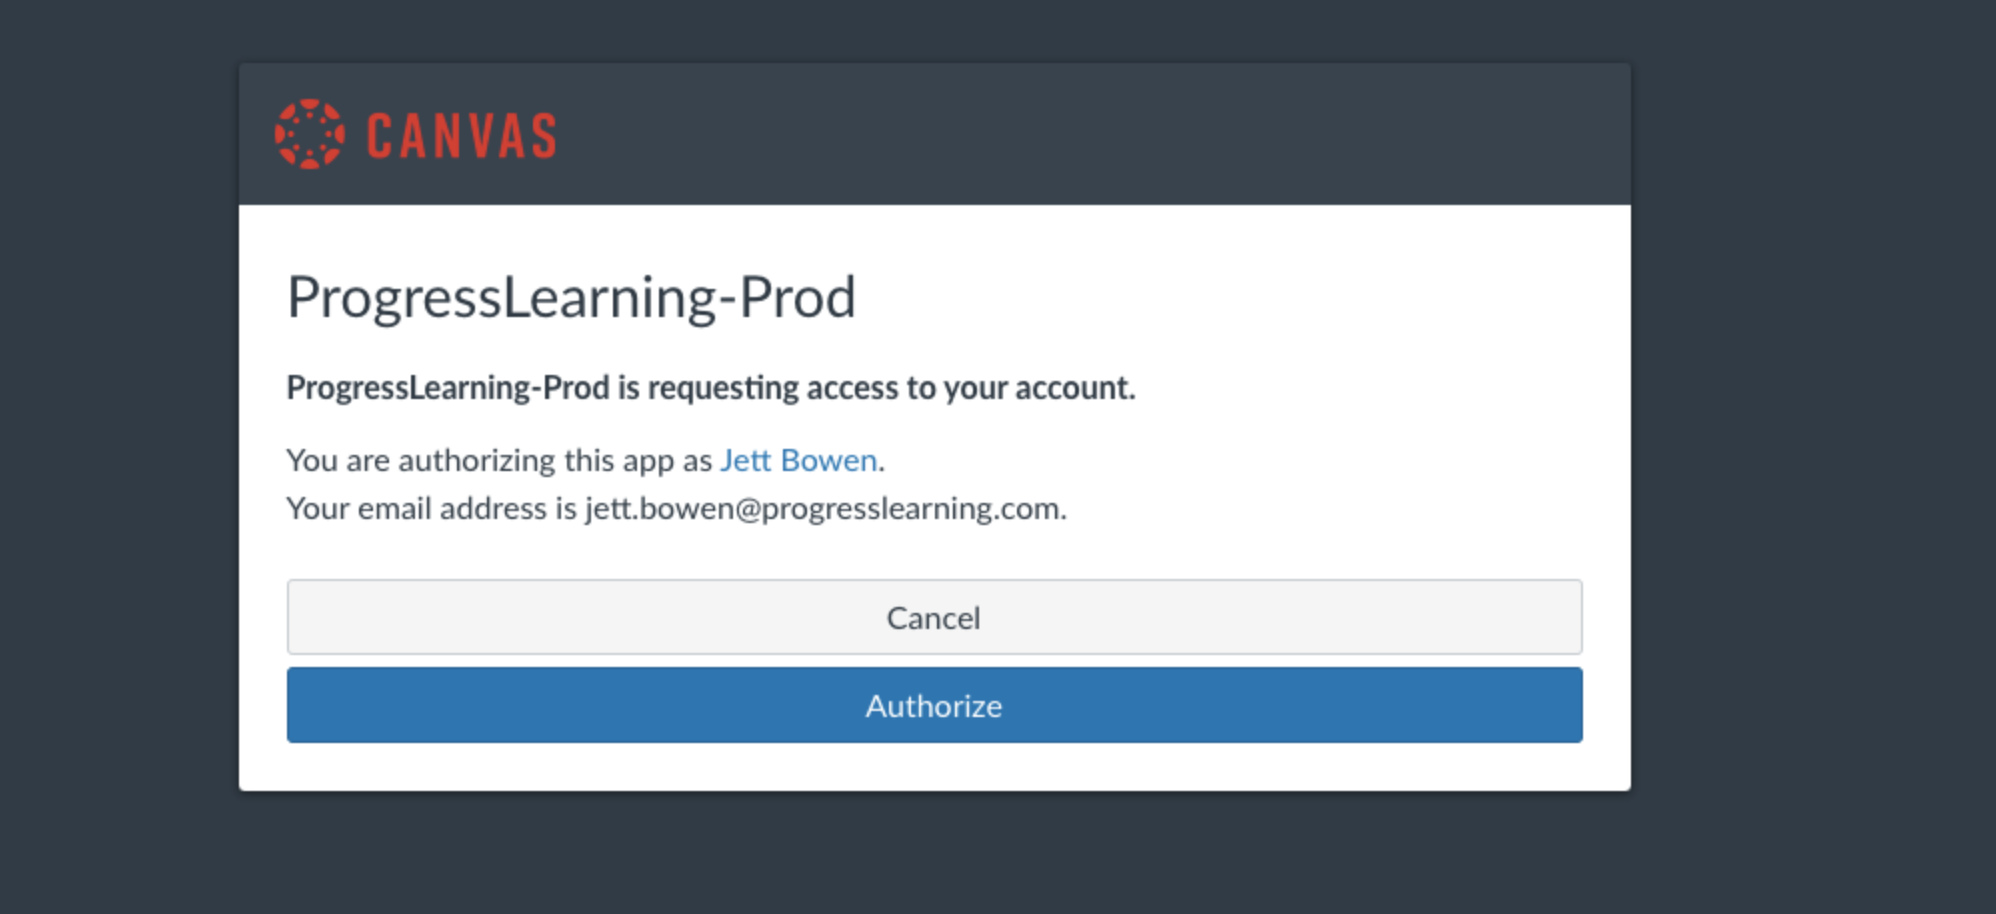
5. Click Authorize.
6. You now have the Canvas icon next to your name on the home page.
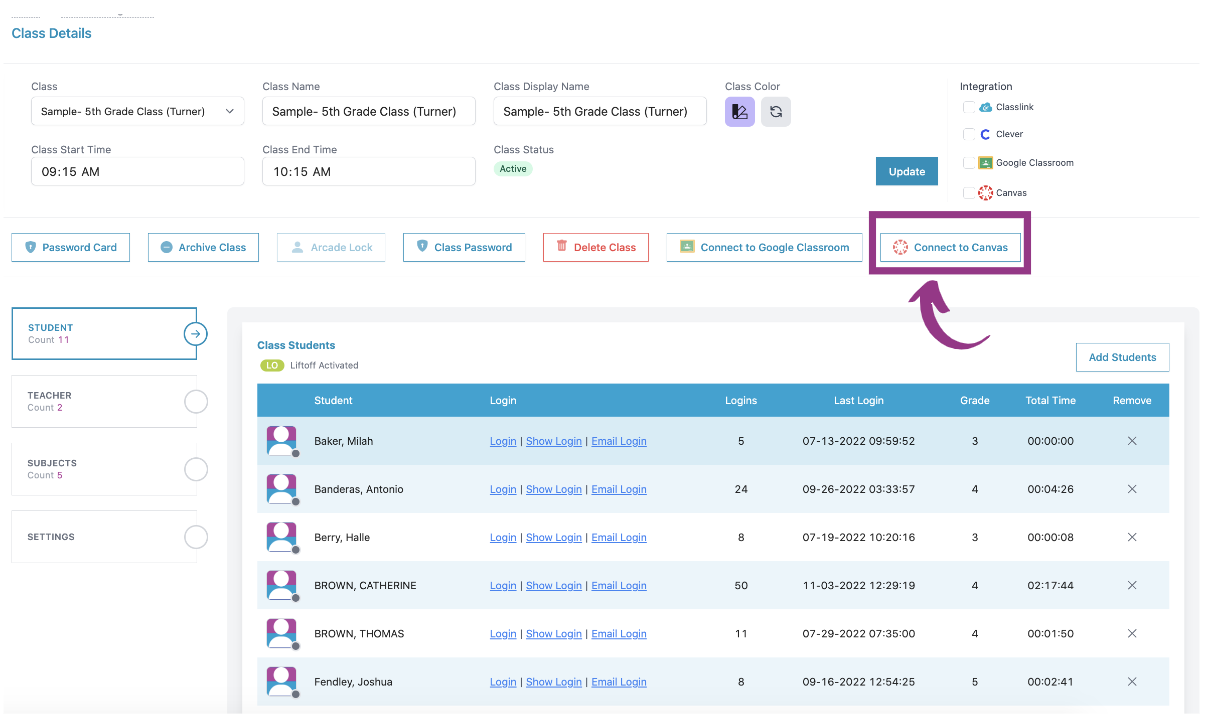
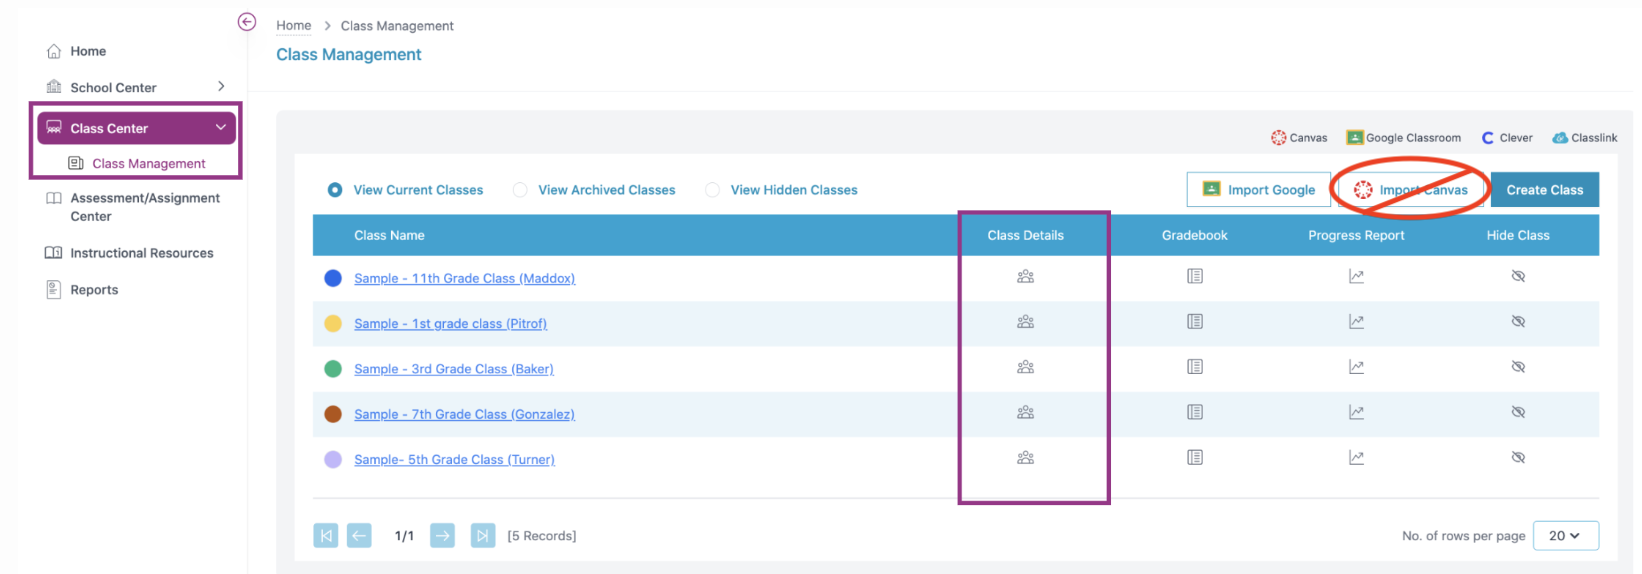
7. From the home page, select "Class Center," then select "Class Management." You will then select "Class Details" for any of your classes you need to connect to Canvas.
8. Select the button "Connect to Canvas." This creates a connection between your class in Canvas and your class in Progress Learning.