How do I use Live Monitoring?
 Updated
by
Mackenzie Maddox
Updated
by
Mackenzie Maddox
What is Live Monitoring?
The enhanced Live Monitoring dashboard gives teachers and administrators real-time visibility into student activity, progress, and engagement within an assignment. Educators can quickly identify students who may need support and take action directly from the dashboard.
Live Monitoring Access
Live Monitoring Access is managed in the assignment settings. For more information, please view this article: How do I create an Assignment? Specifically, the information found under the Settings Tab in the Proctor Mode and Live Monitoring section.
Navigate to Live Monitoring
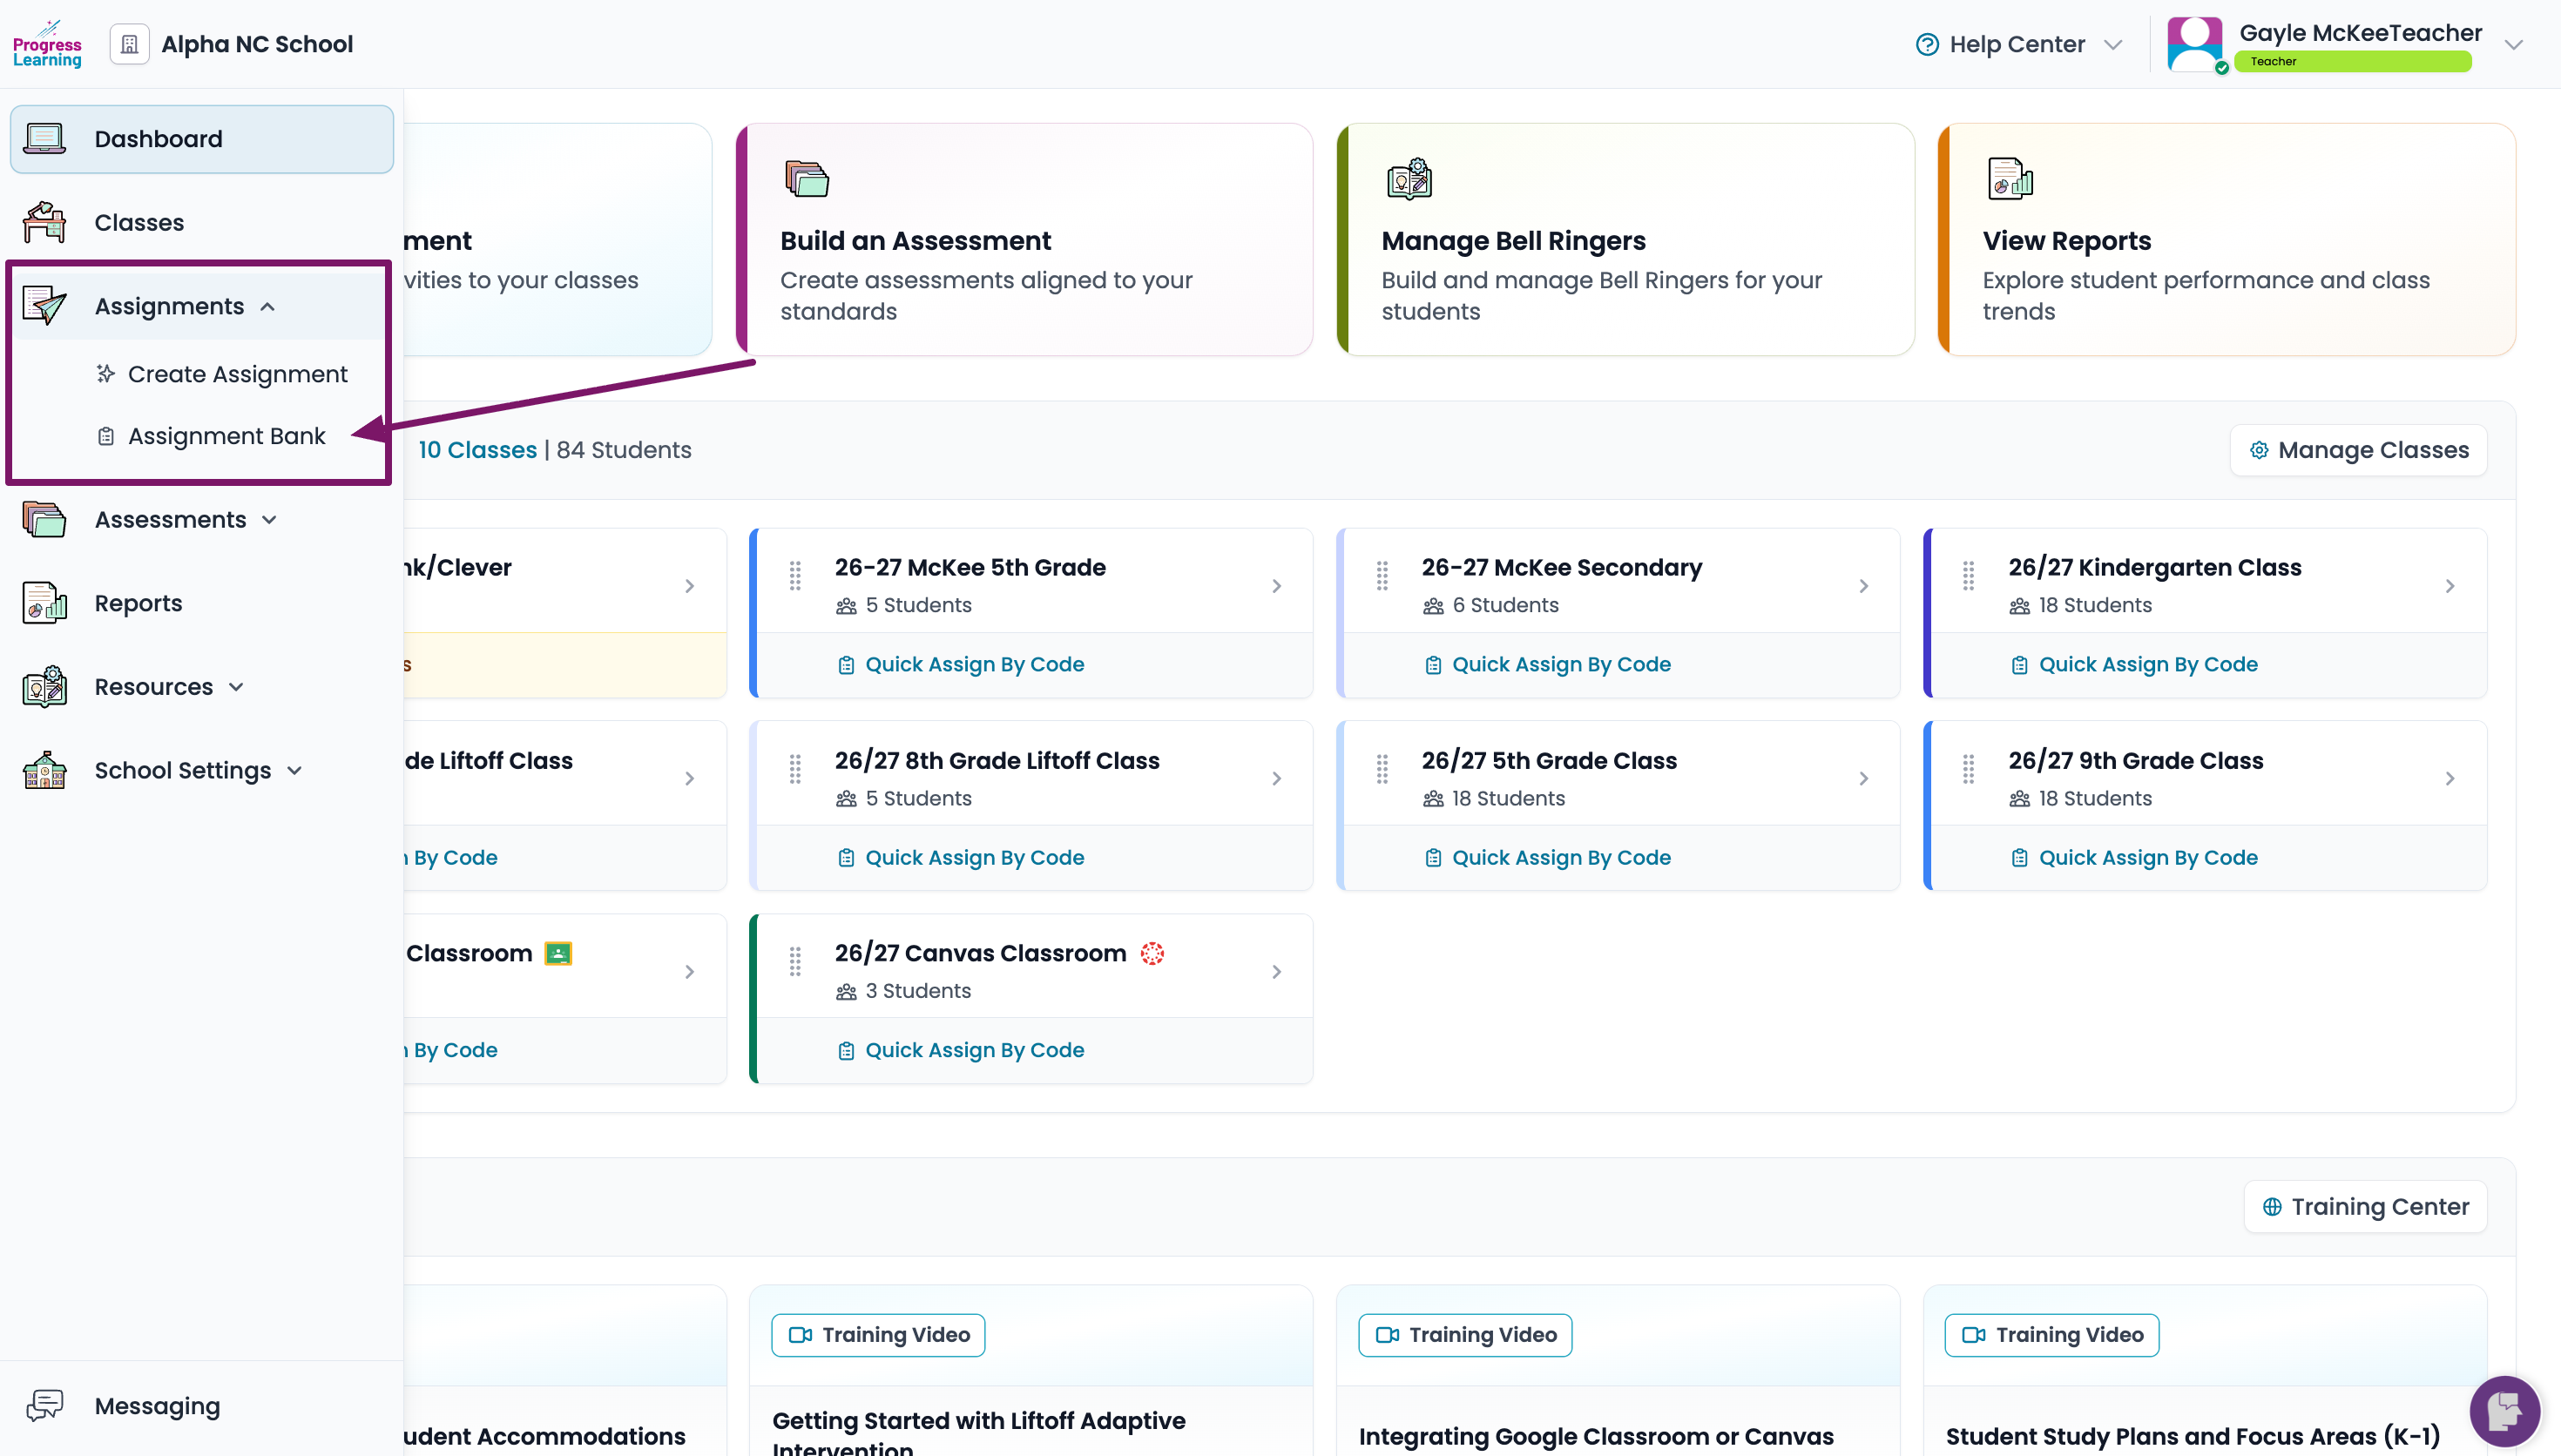
- From the left side menu, select Assignments and click on Assignment Bank.
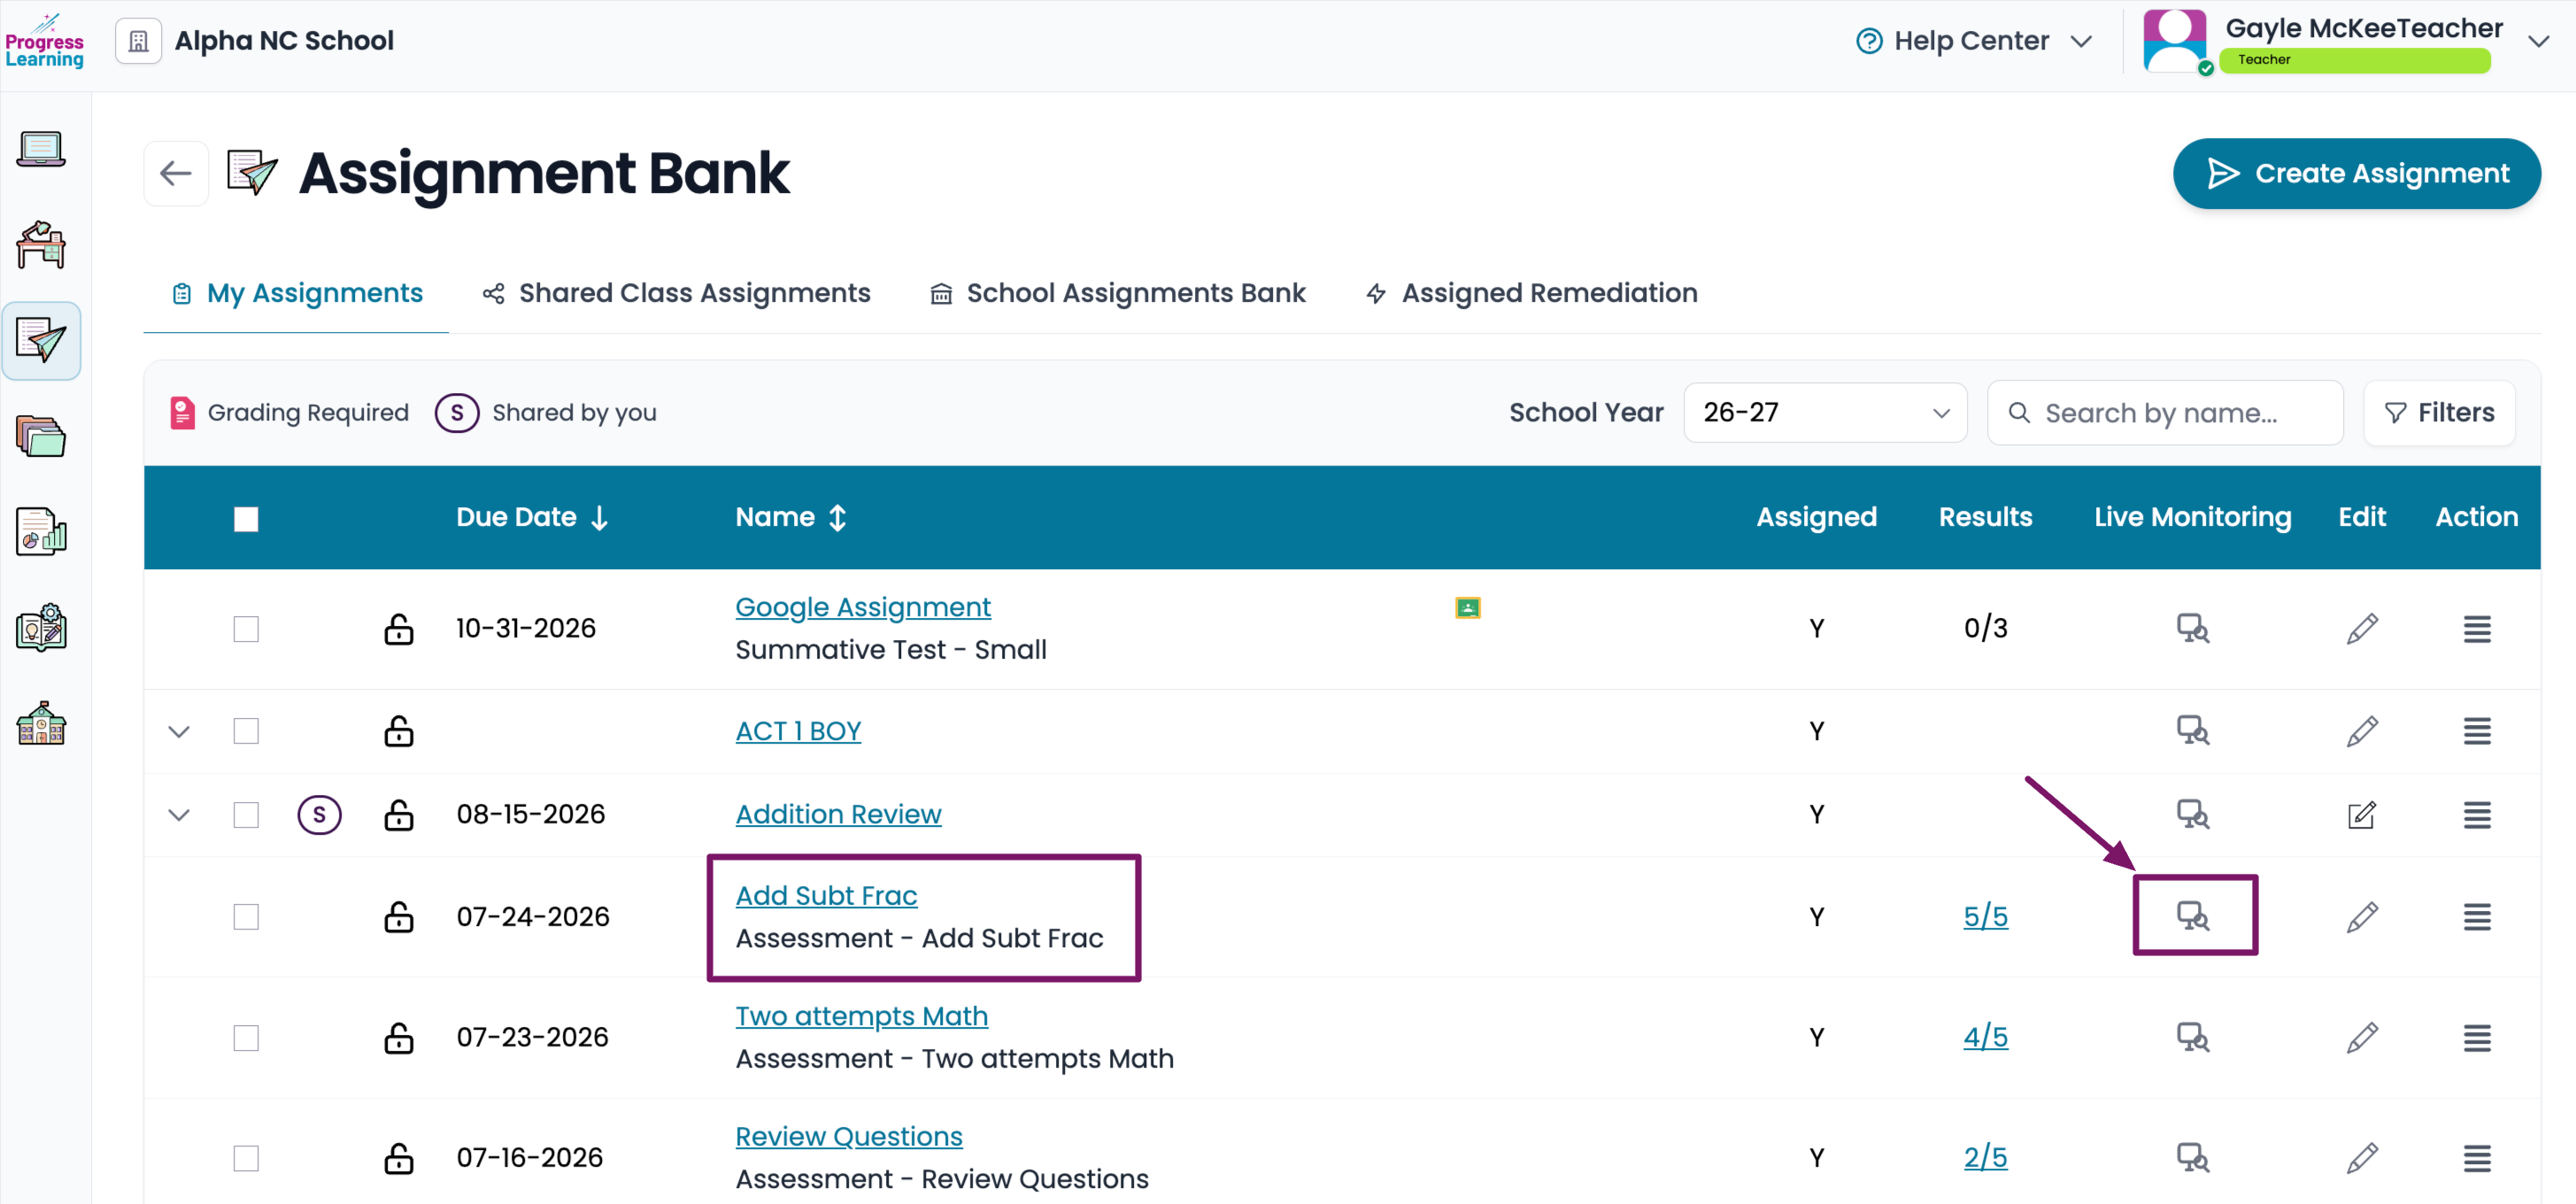
- Find the assignment you want to monitor, then click on the icon under the Live Monitoring column
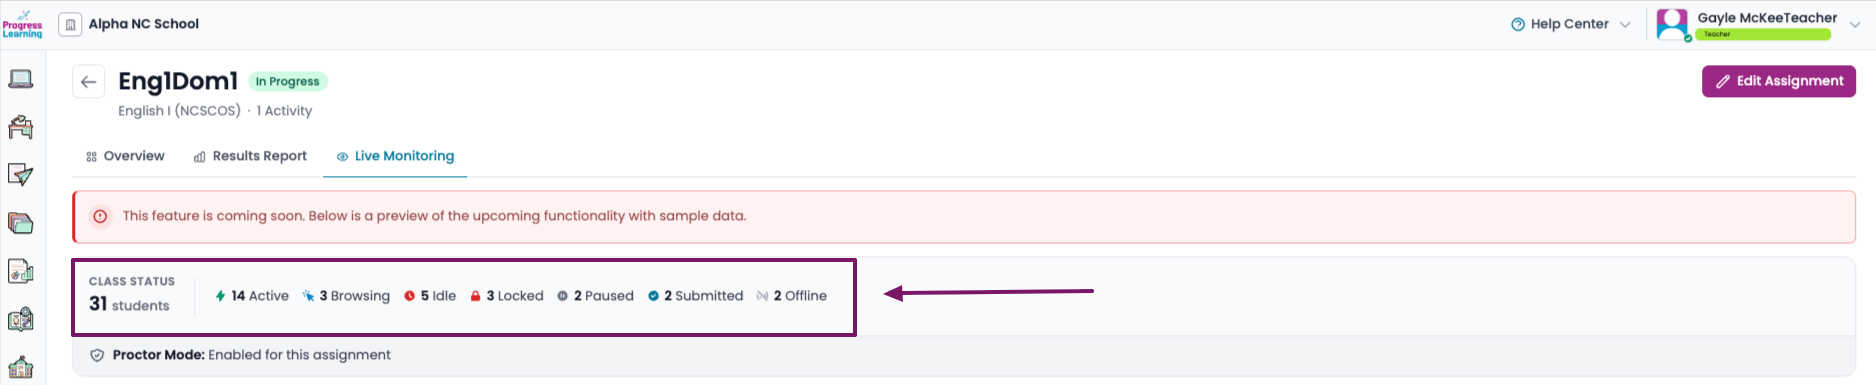
Class Status
You can see an overview of how many students are actively working, browsing, idle, locked, paused, submitted, and offline
Proctor Mode
Directly below Class Status, you can see whether Proctor Mode is enabled for the assignment. Live Monitoring can be used whether Proctor Mode is enabled or not. When Proctor Mode is enabled, students are automatically locked out of the activity if they leave the secure testing environment, and educators can unlock them directly from Live Monitoring. Click here for more information about Proctor Mode.
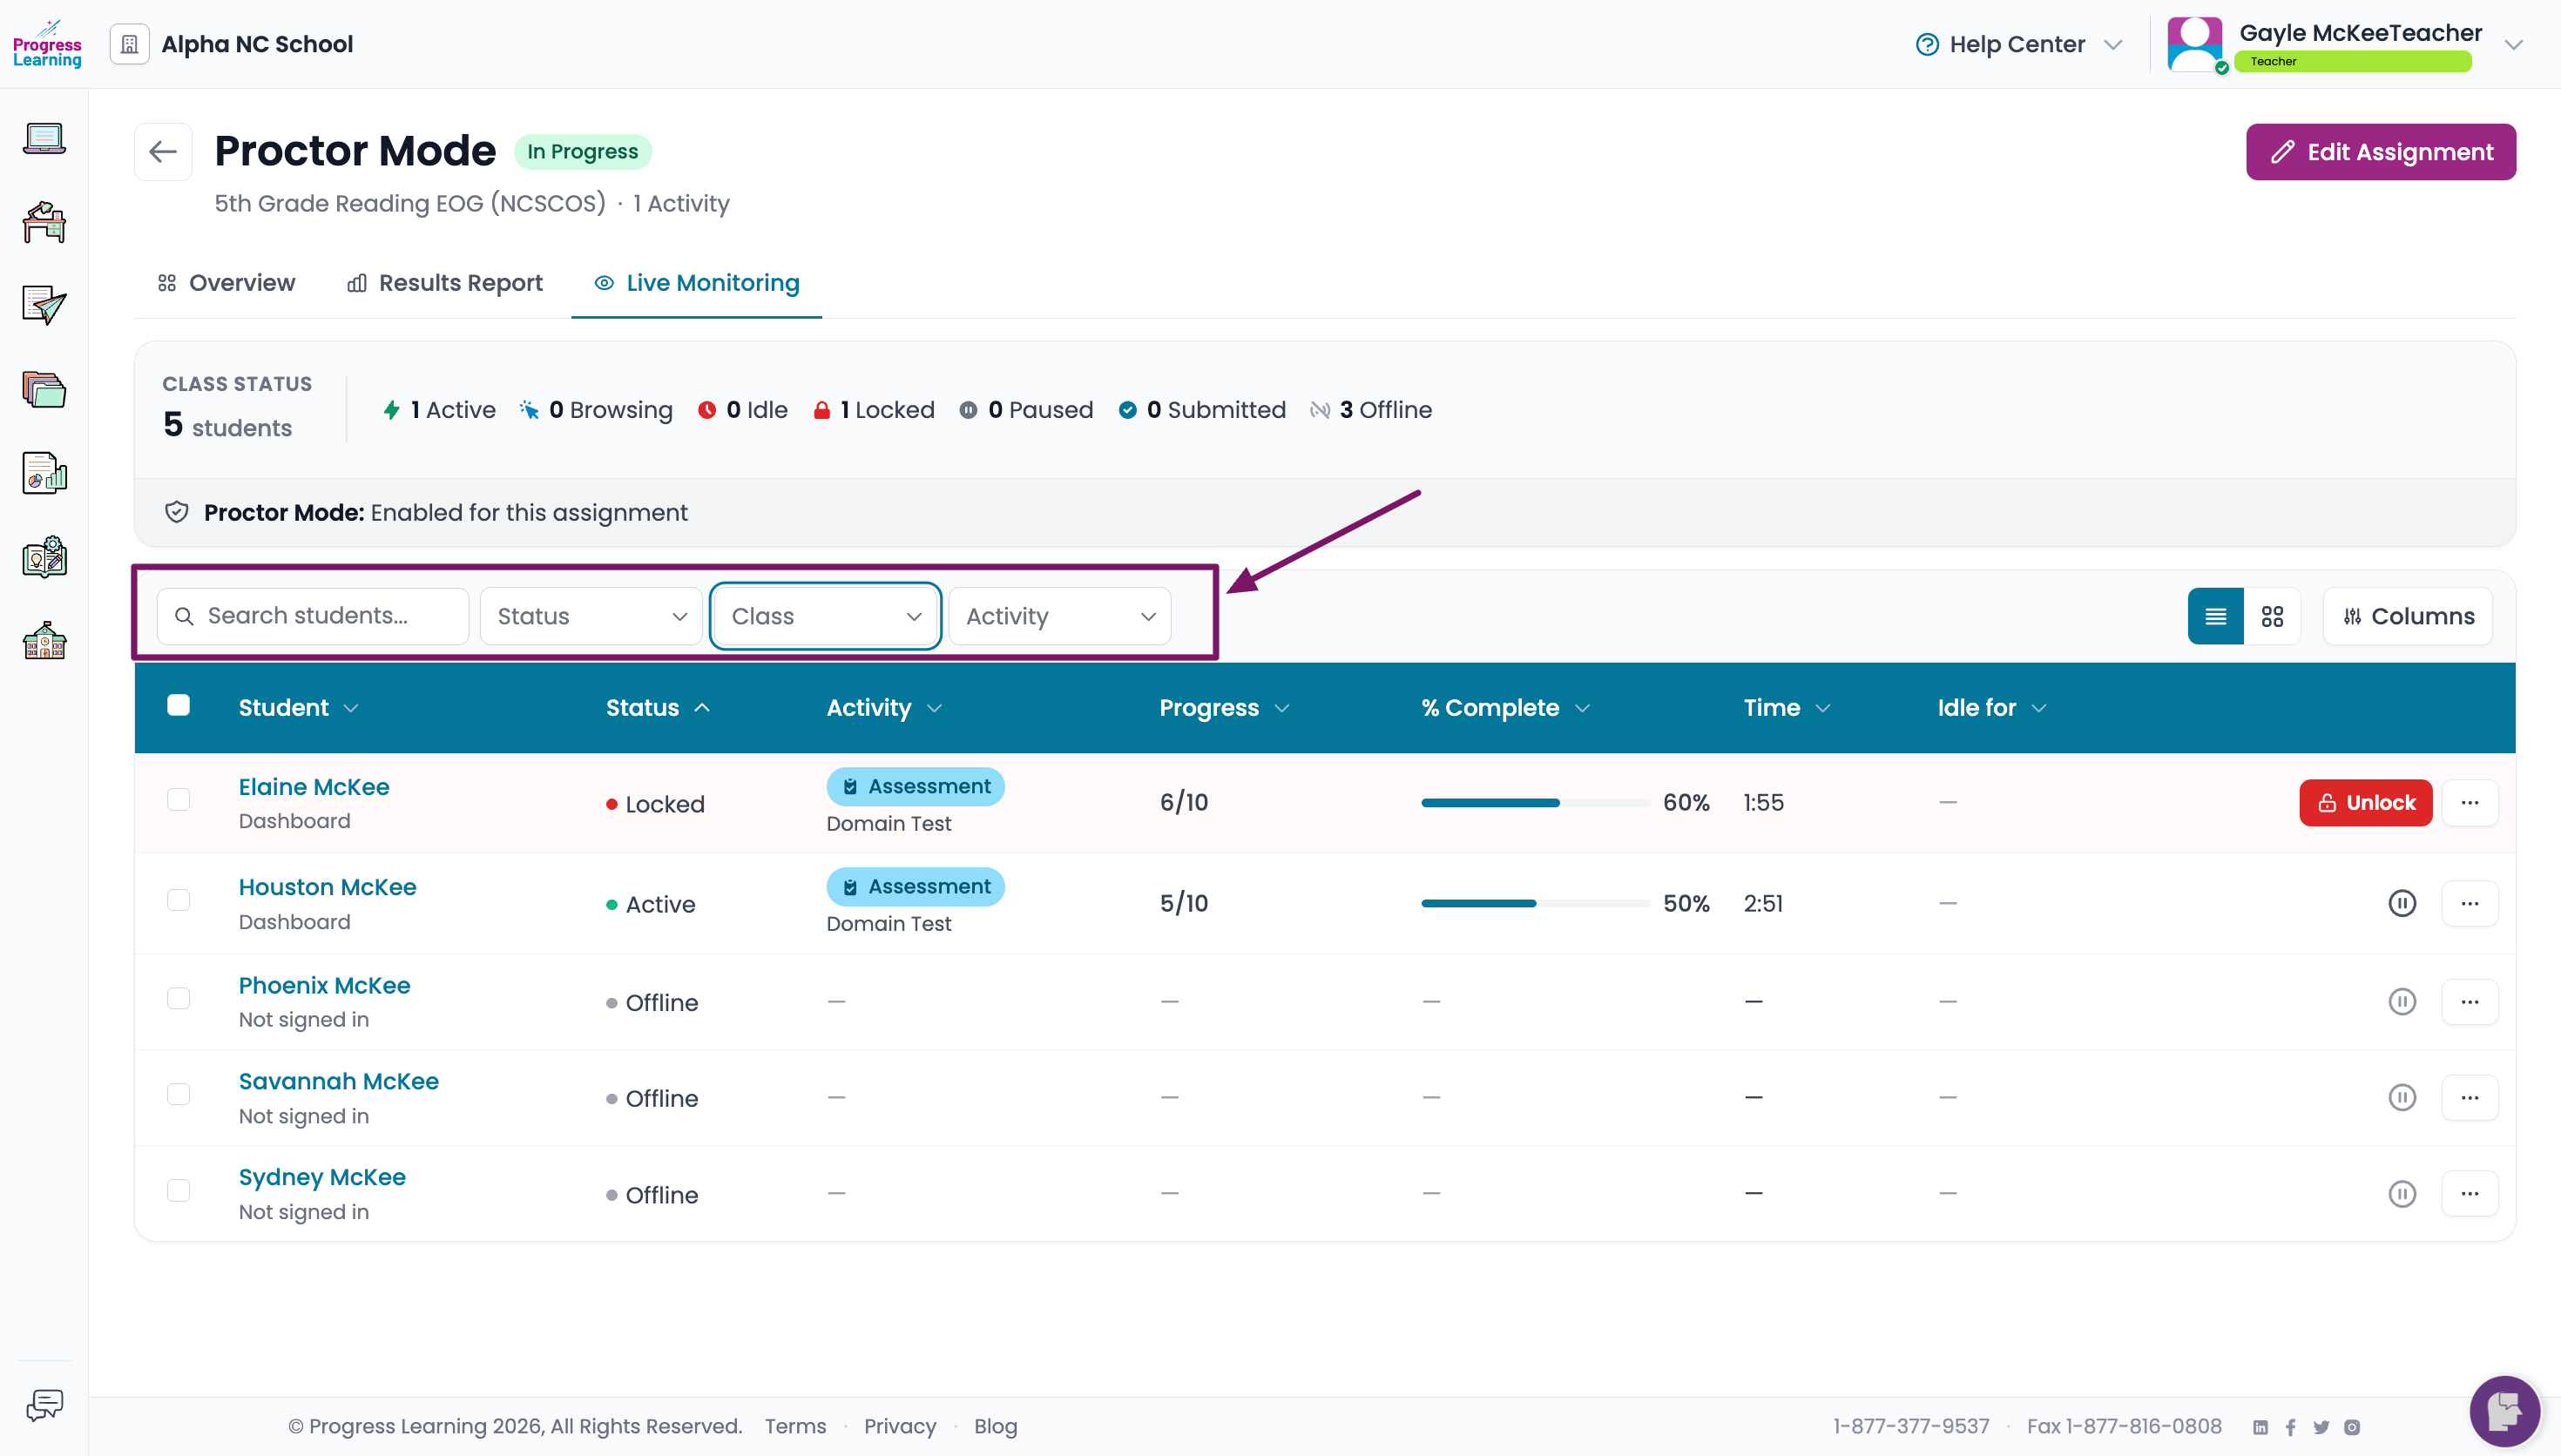
Filter Options
Use the search and filter options to find specific students or narrow the list by status, class, or activity.
- Search Students: Search for a specific student by name.
- Status: Filter students by status.
- Class: Filter students by class.
- Activity: Filter students by activity.
Customize Your View
Customize the columns displayed in the student table by clicking the "Columns" button and selecting the indicators you want to view.
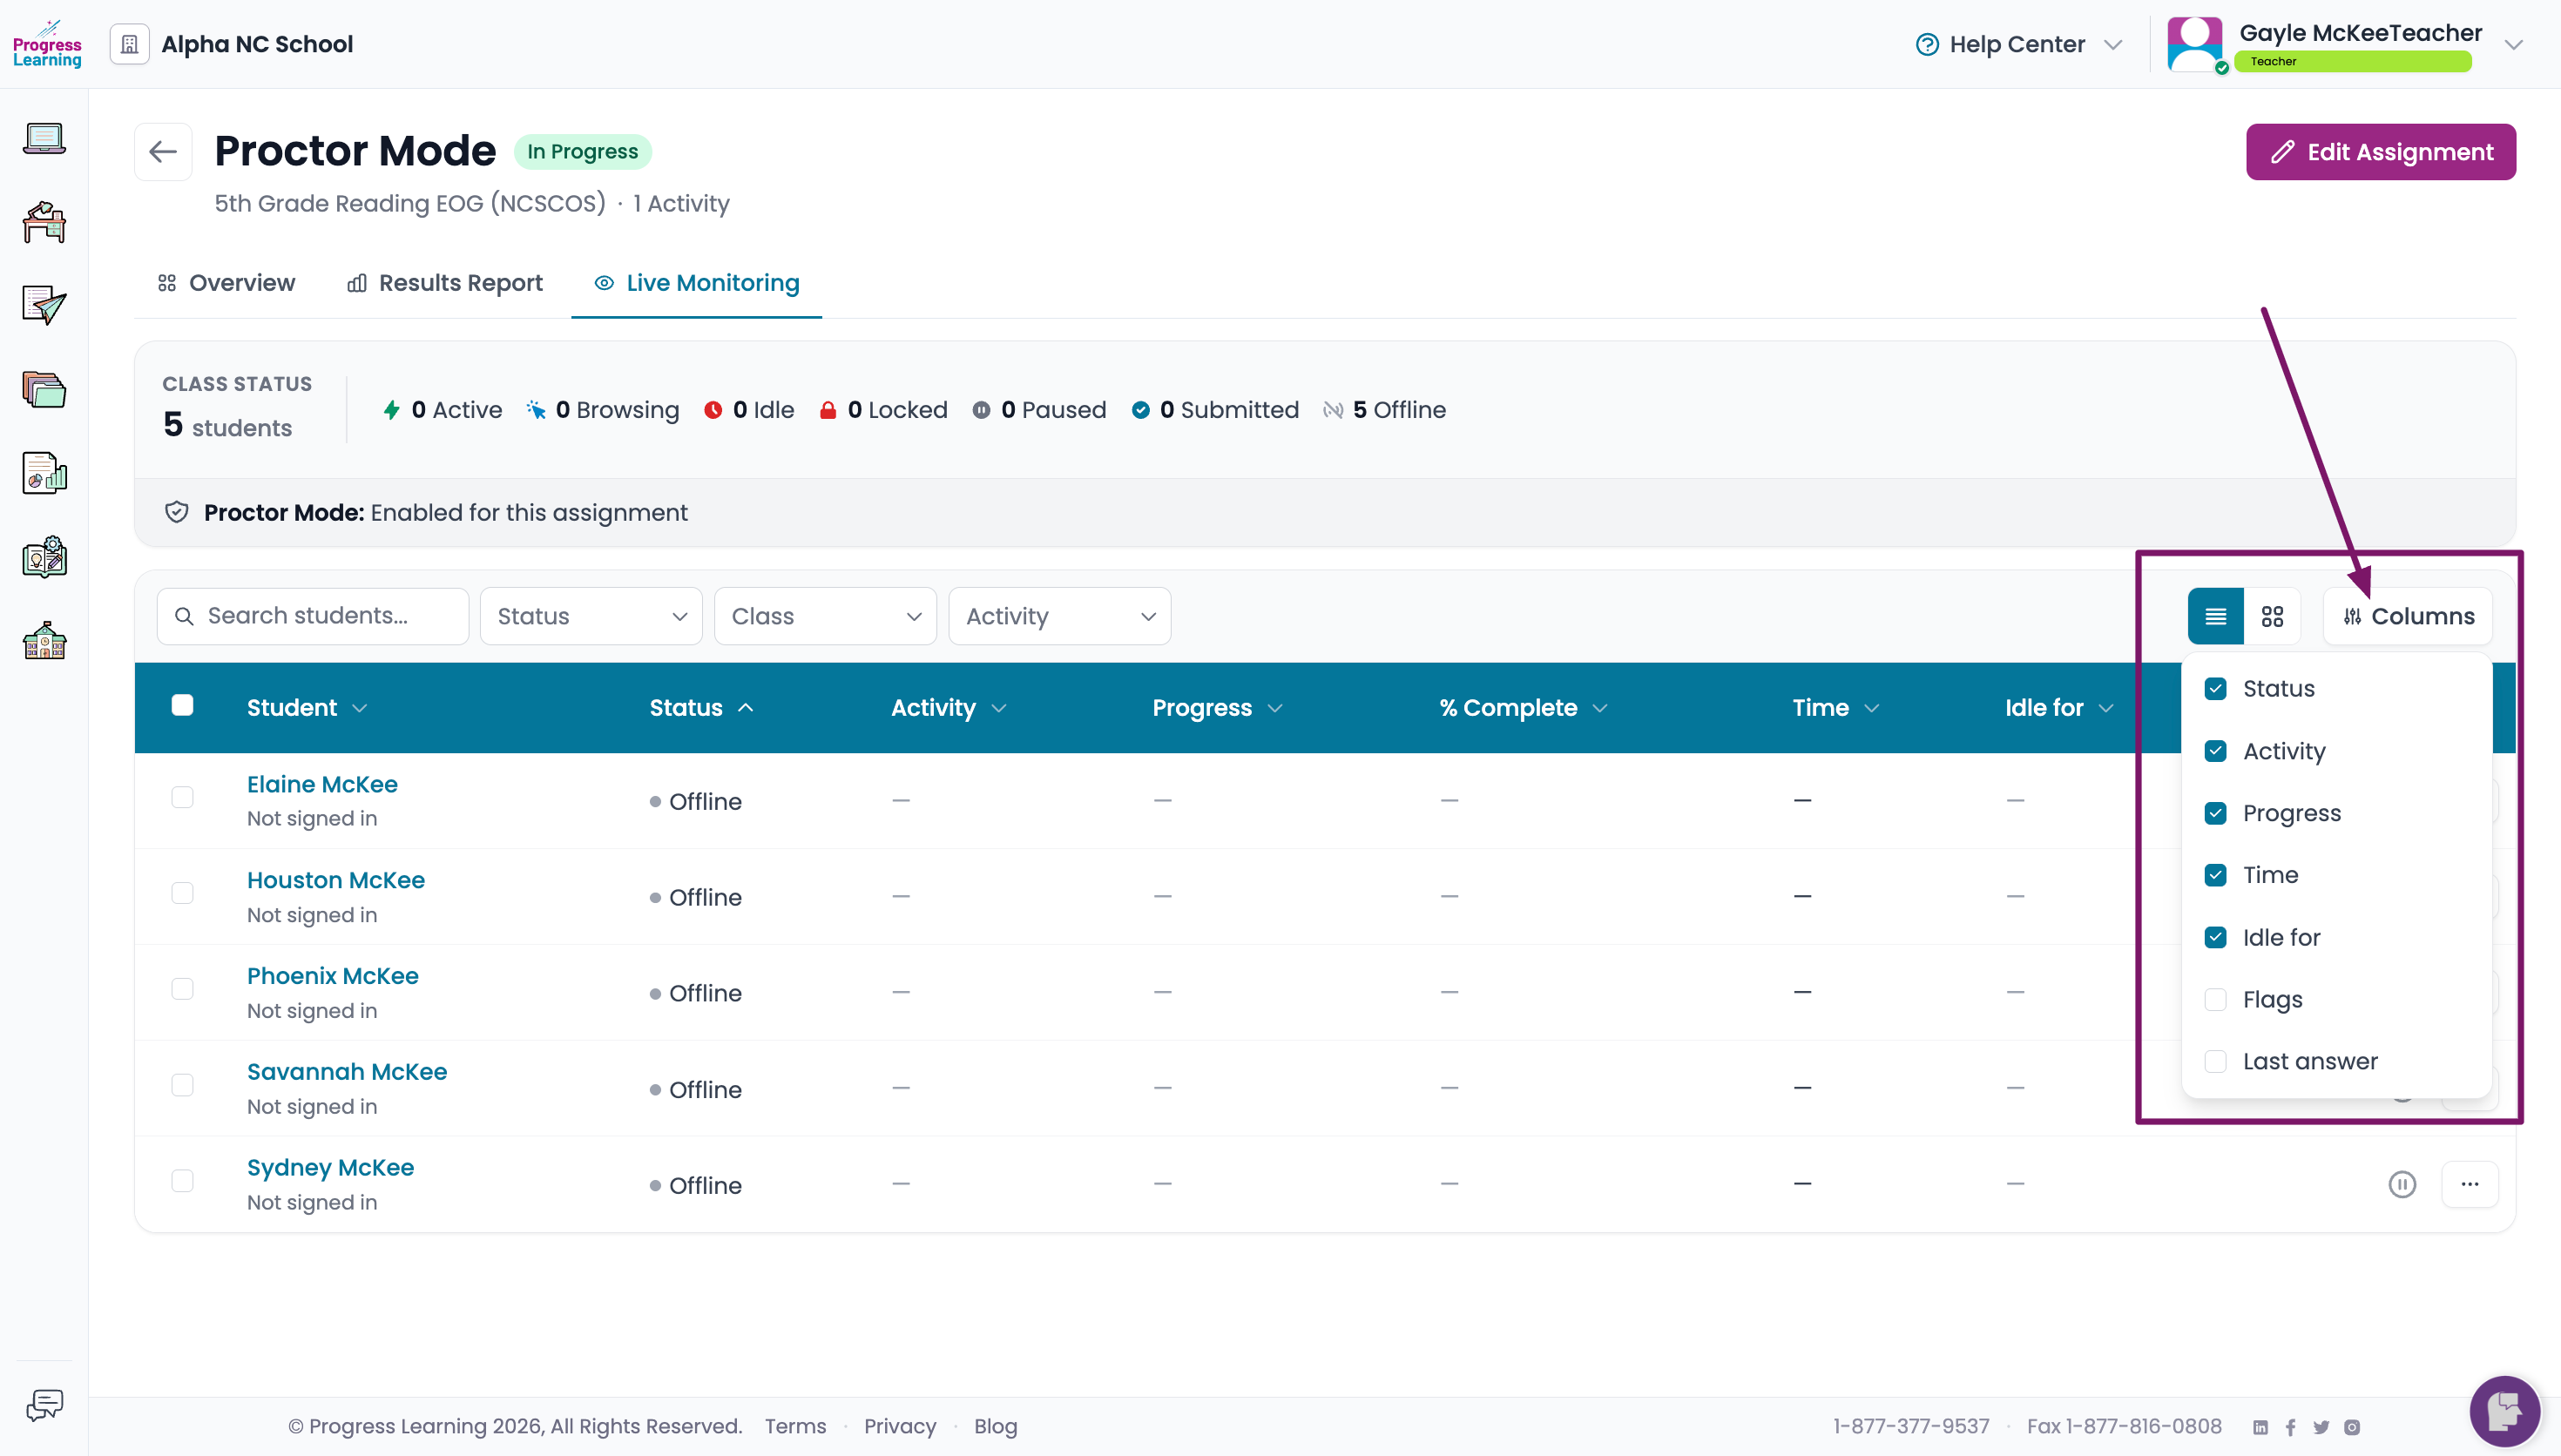
Column Options
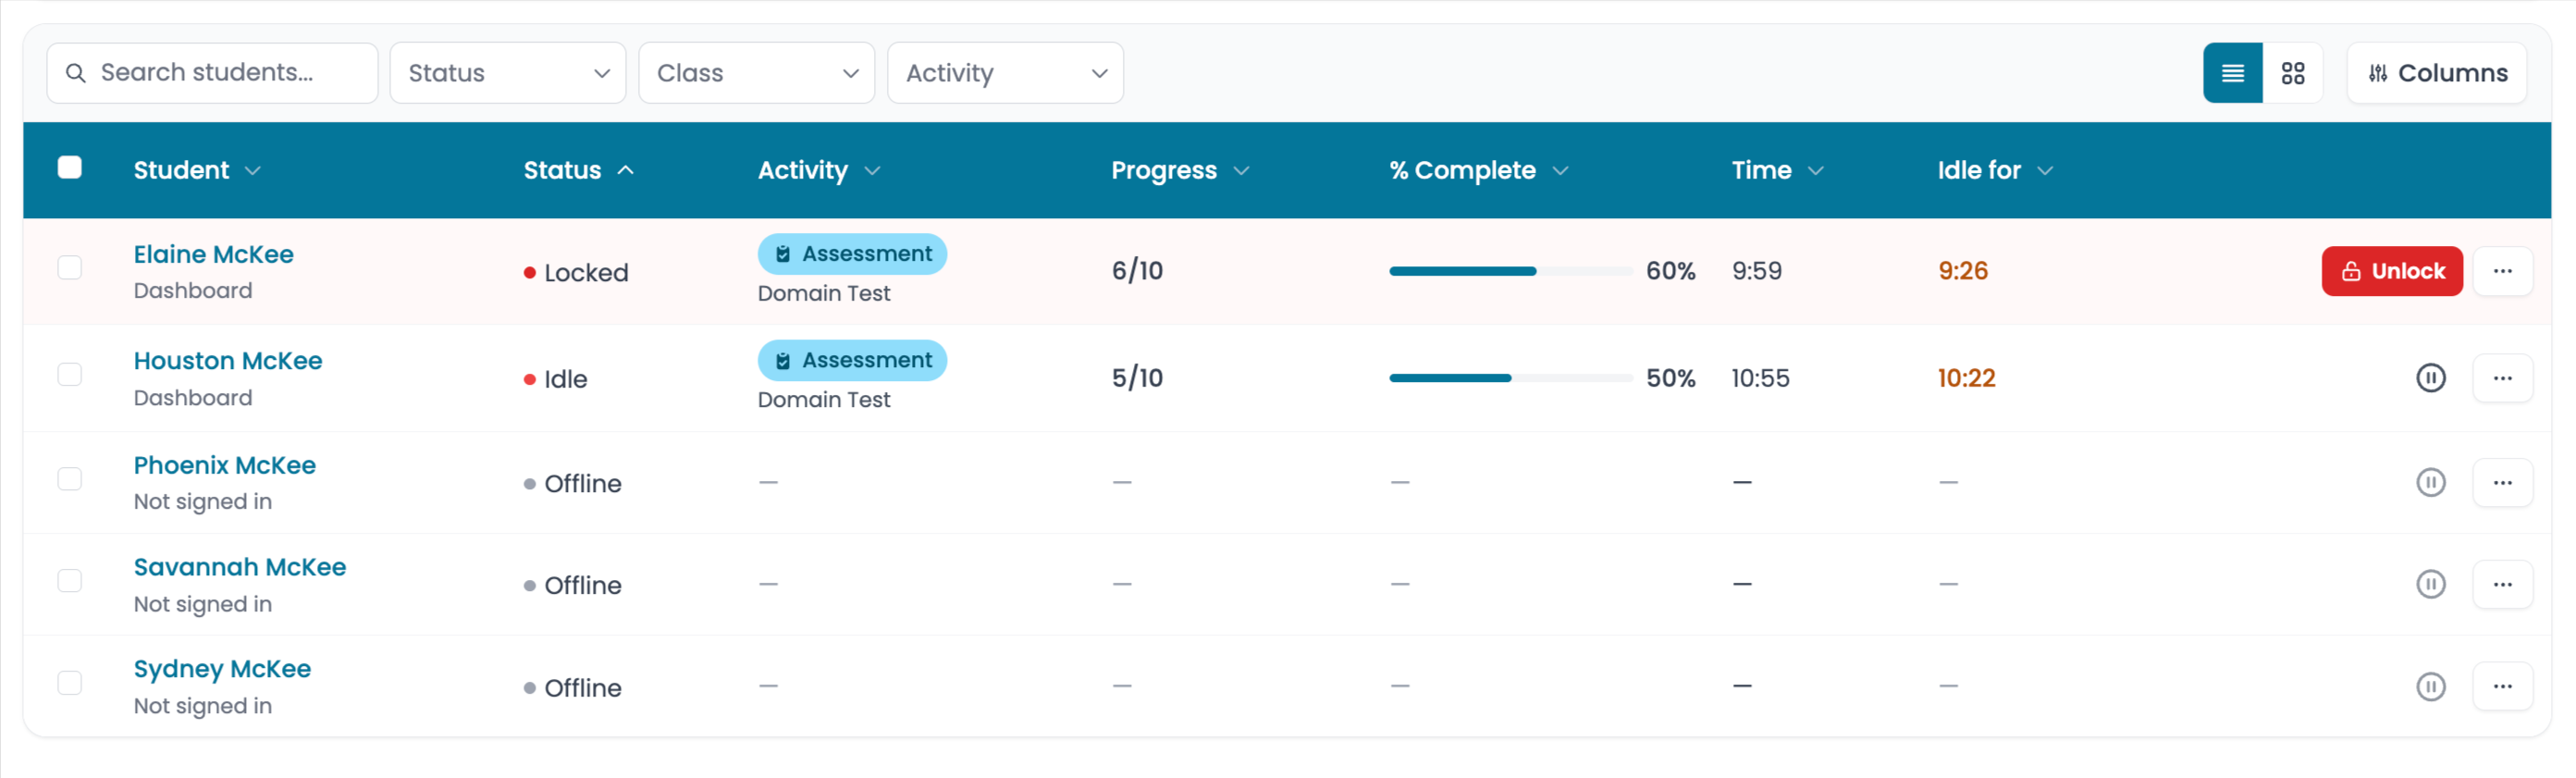
Student Name | Displays the student’s name and their current location within the program. If the student is not logged in, it will display “Not signed in.” |
Status | Displays whether the student is Active, Browsing, Idle, Locked, Paused, Submitted, or Offline. |
Activity | Displays the activity associated with the student’s current session. |
Progress | Displays the question the student is currently working on and the total number of questions. |
% Complete | Displays a progress bar and the percentage of the activity the student has completed. This is especially helpful for pacing. |
Time | Displays the total time the student has spent in the activity. |
Idle for | Displays how long the student has gone without interacting with the platform. Tracking for idle time begins once a student launches an activity. If 5 minutes pass without any clicks or on-screen interaction, the student will appear as idle in Live Monitoring. After 10 minutes of idle time, a notification will pop up for the student to warn them that their session will automatically close within 60 seconds unless they choose to continue. |
Flags | Displays the number of questions the student has flagged to revisit. |
Last Answer | Displays whether the student’s most recent answer was correct or incorrect. |
Action Tools
Action tools appear on the far right side of each student’s row. Available actions may vary based on the student’s status.
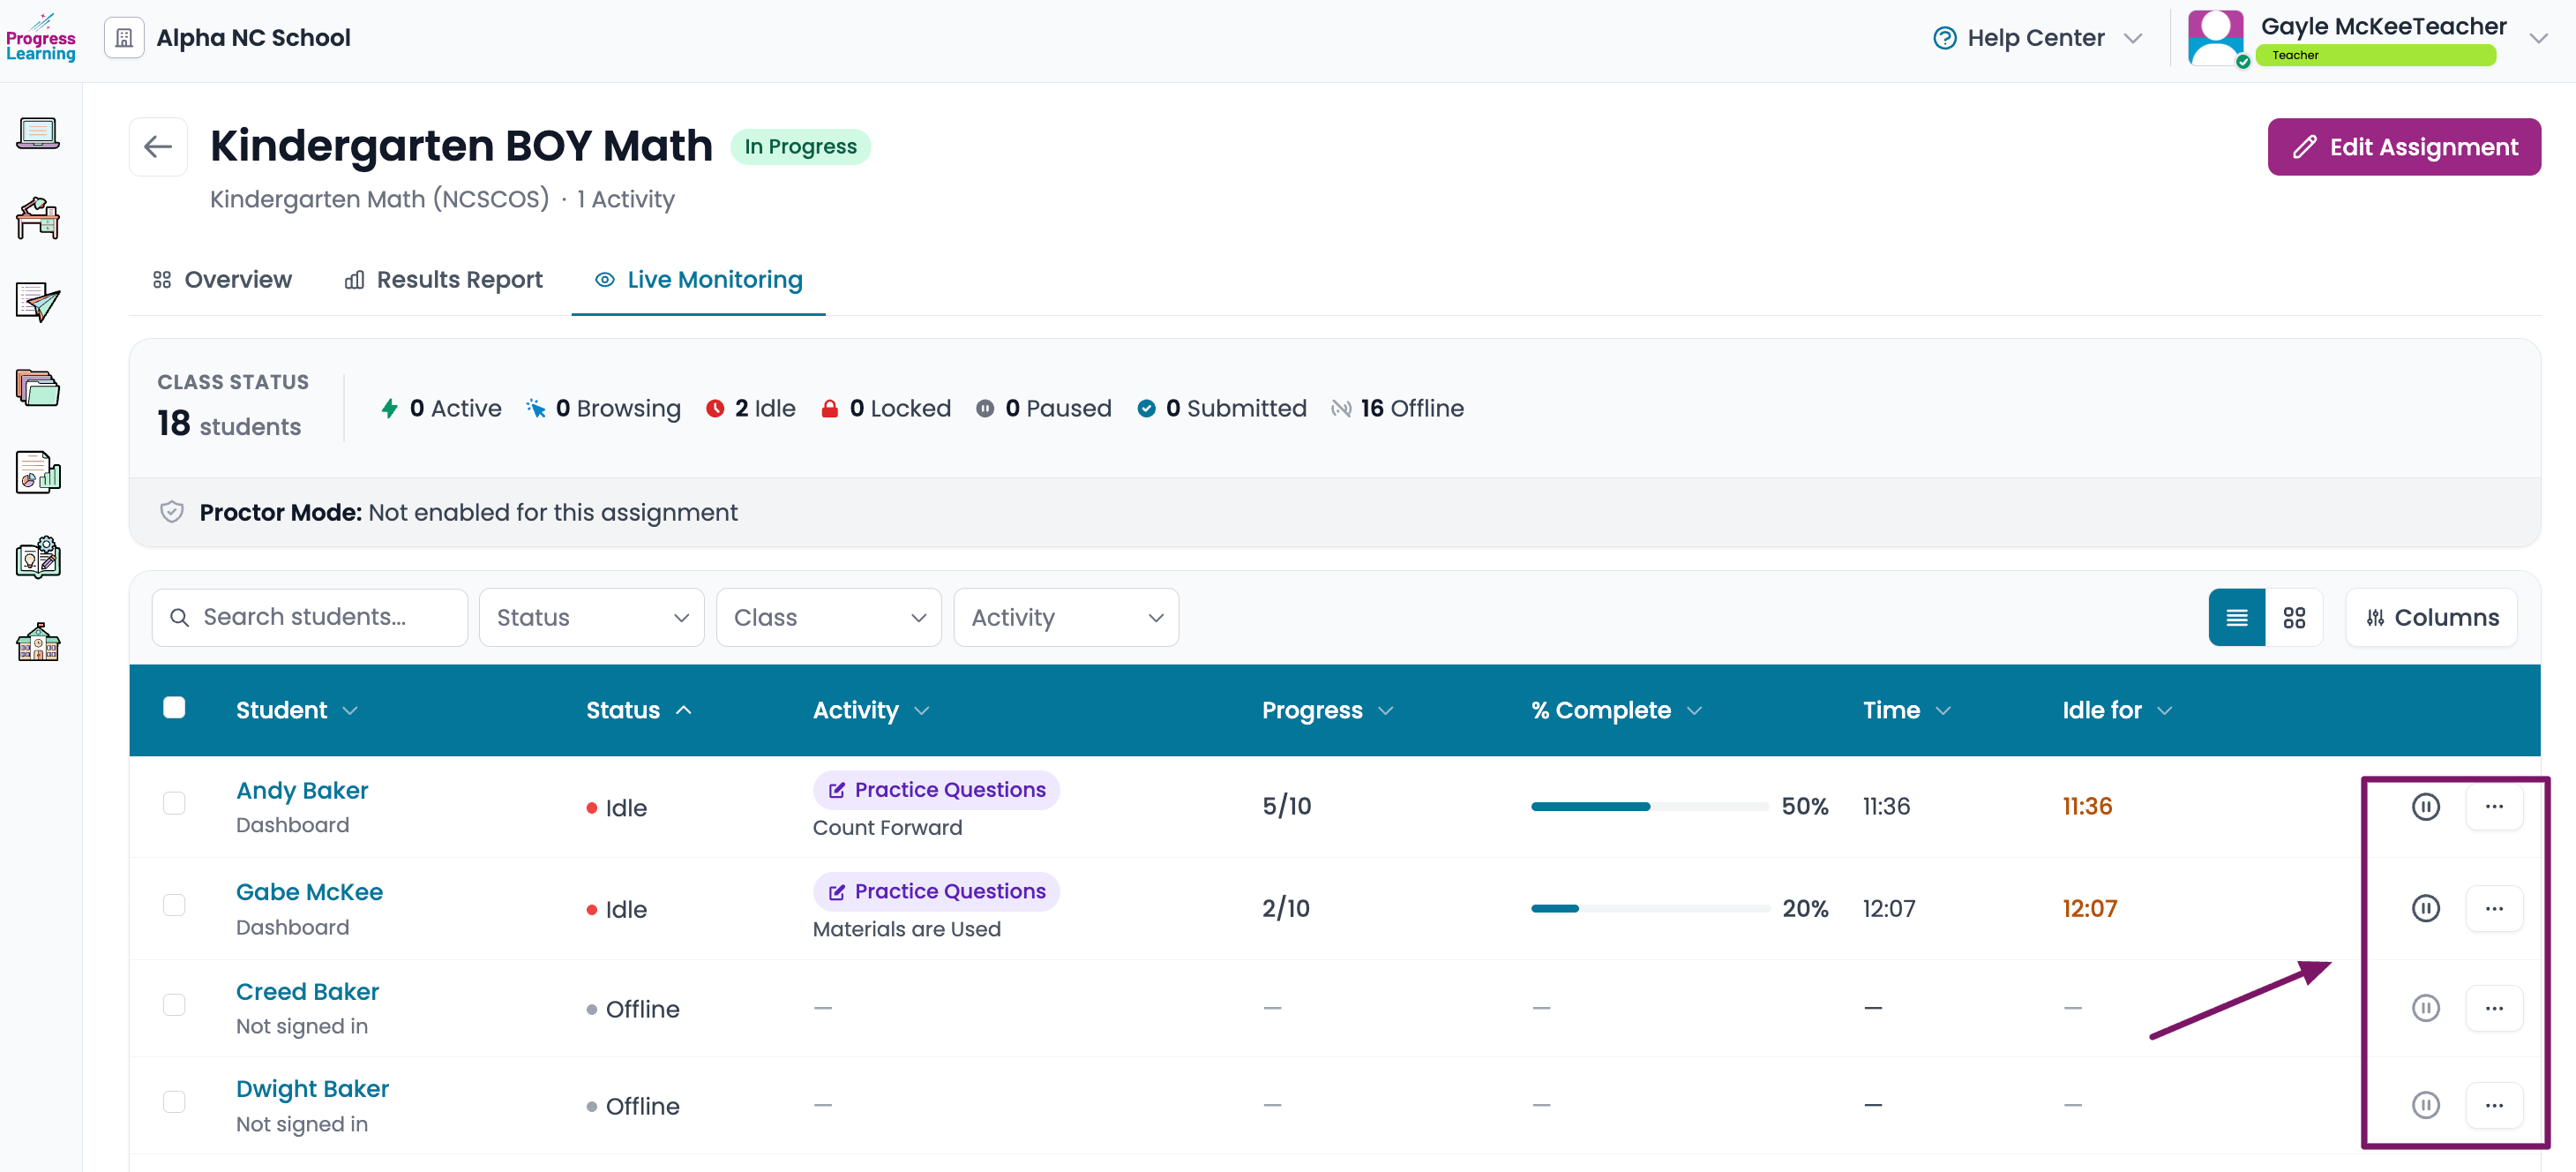
- Open Student Details: View information about a specific student’s current session.
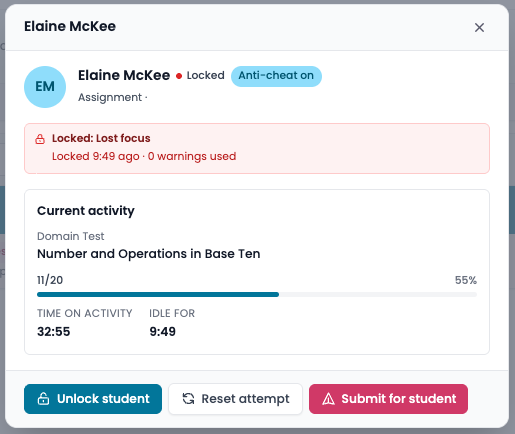
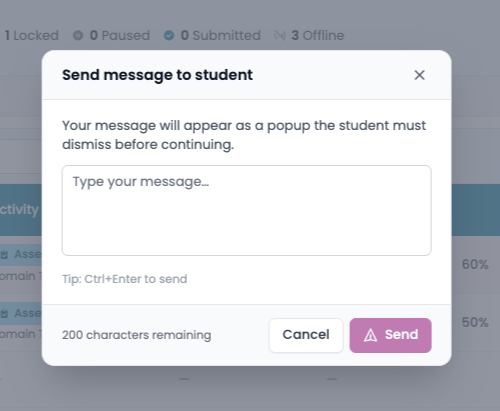
- Send Message: Send a message that appears in the student’s platform.
- Unlock Student: Unlock the activity so the student can resume working.
- Submit Attempt: Submit the student’s current attempt as is.
- Reset Attempt: Reset the attempt so the student can start the activity again.
View Options
- Choose between List View and Tile View.
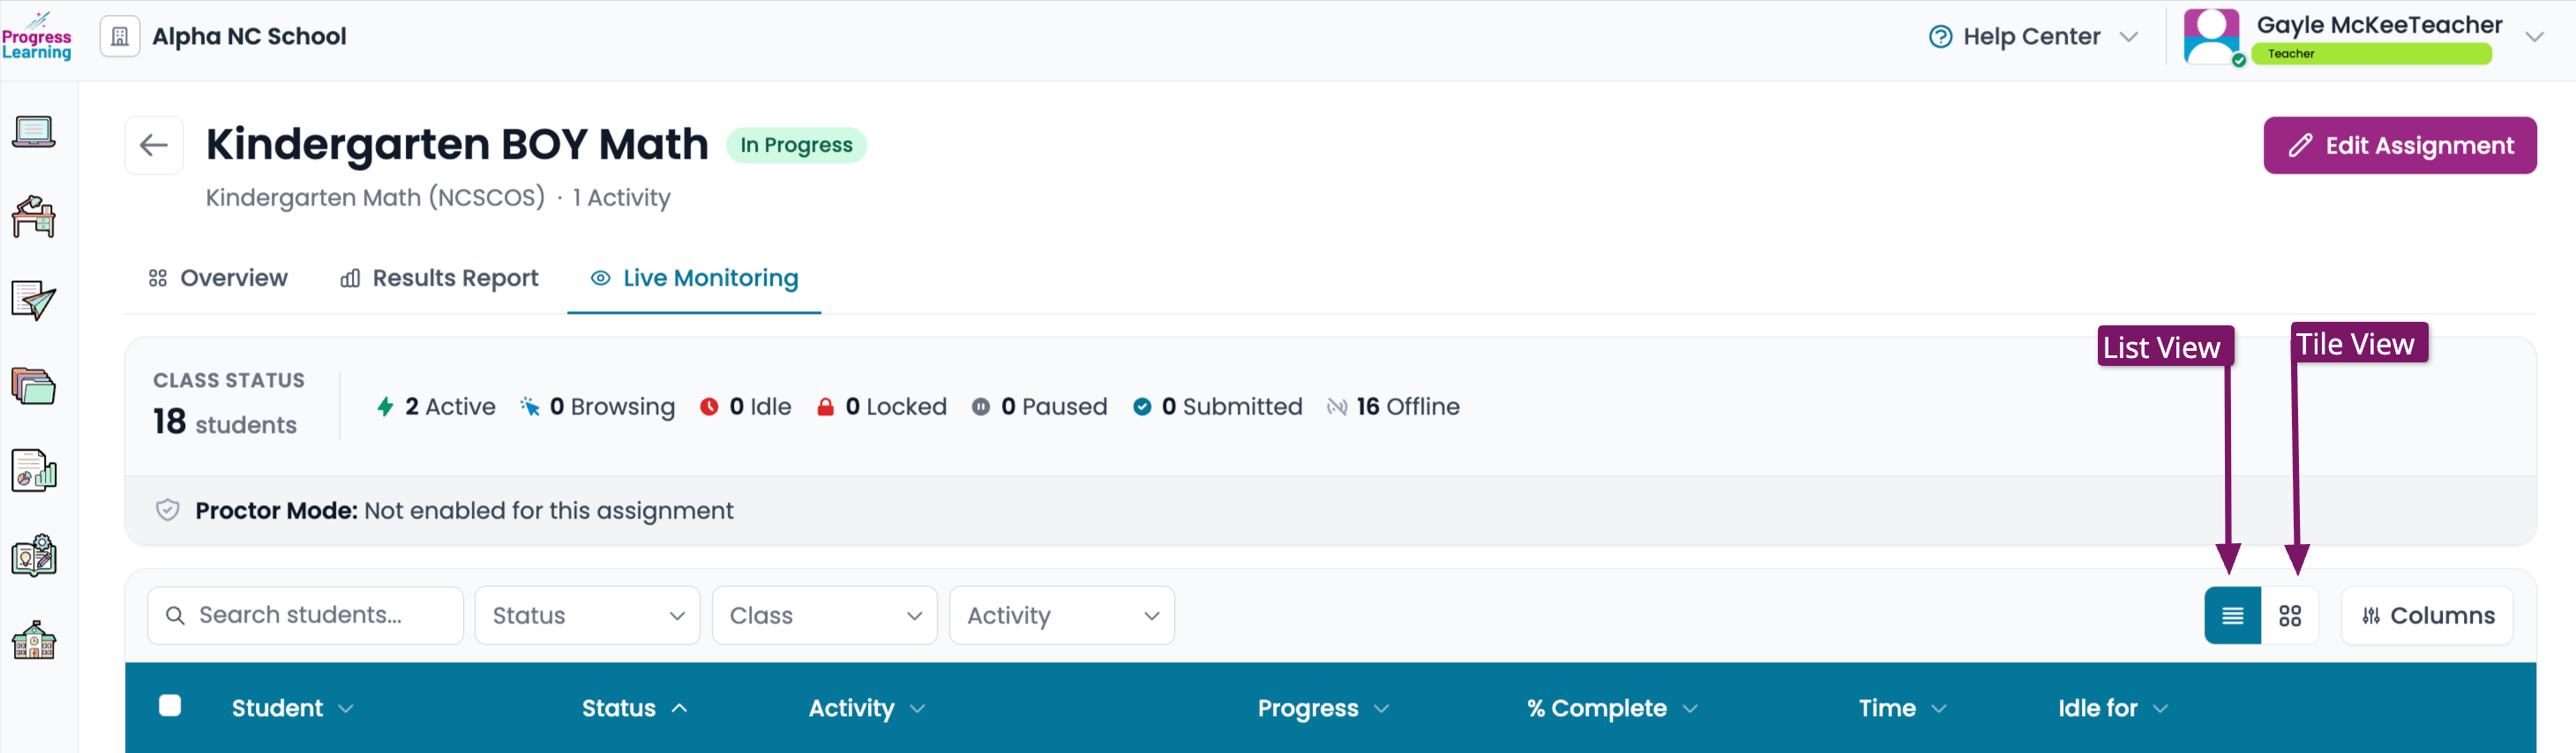
List View
- Displays students in a table with customizable columns.
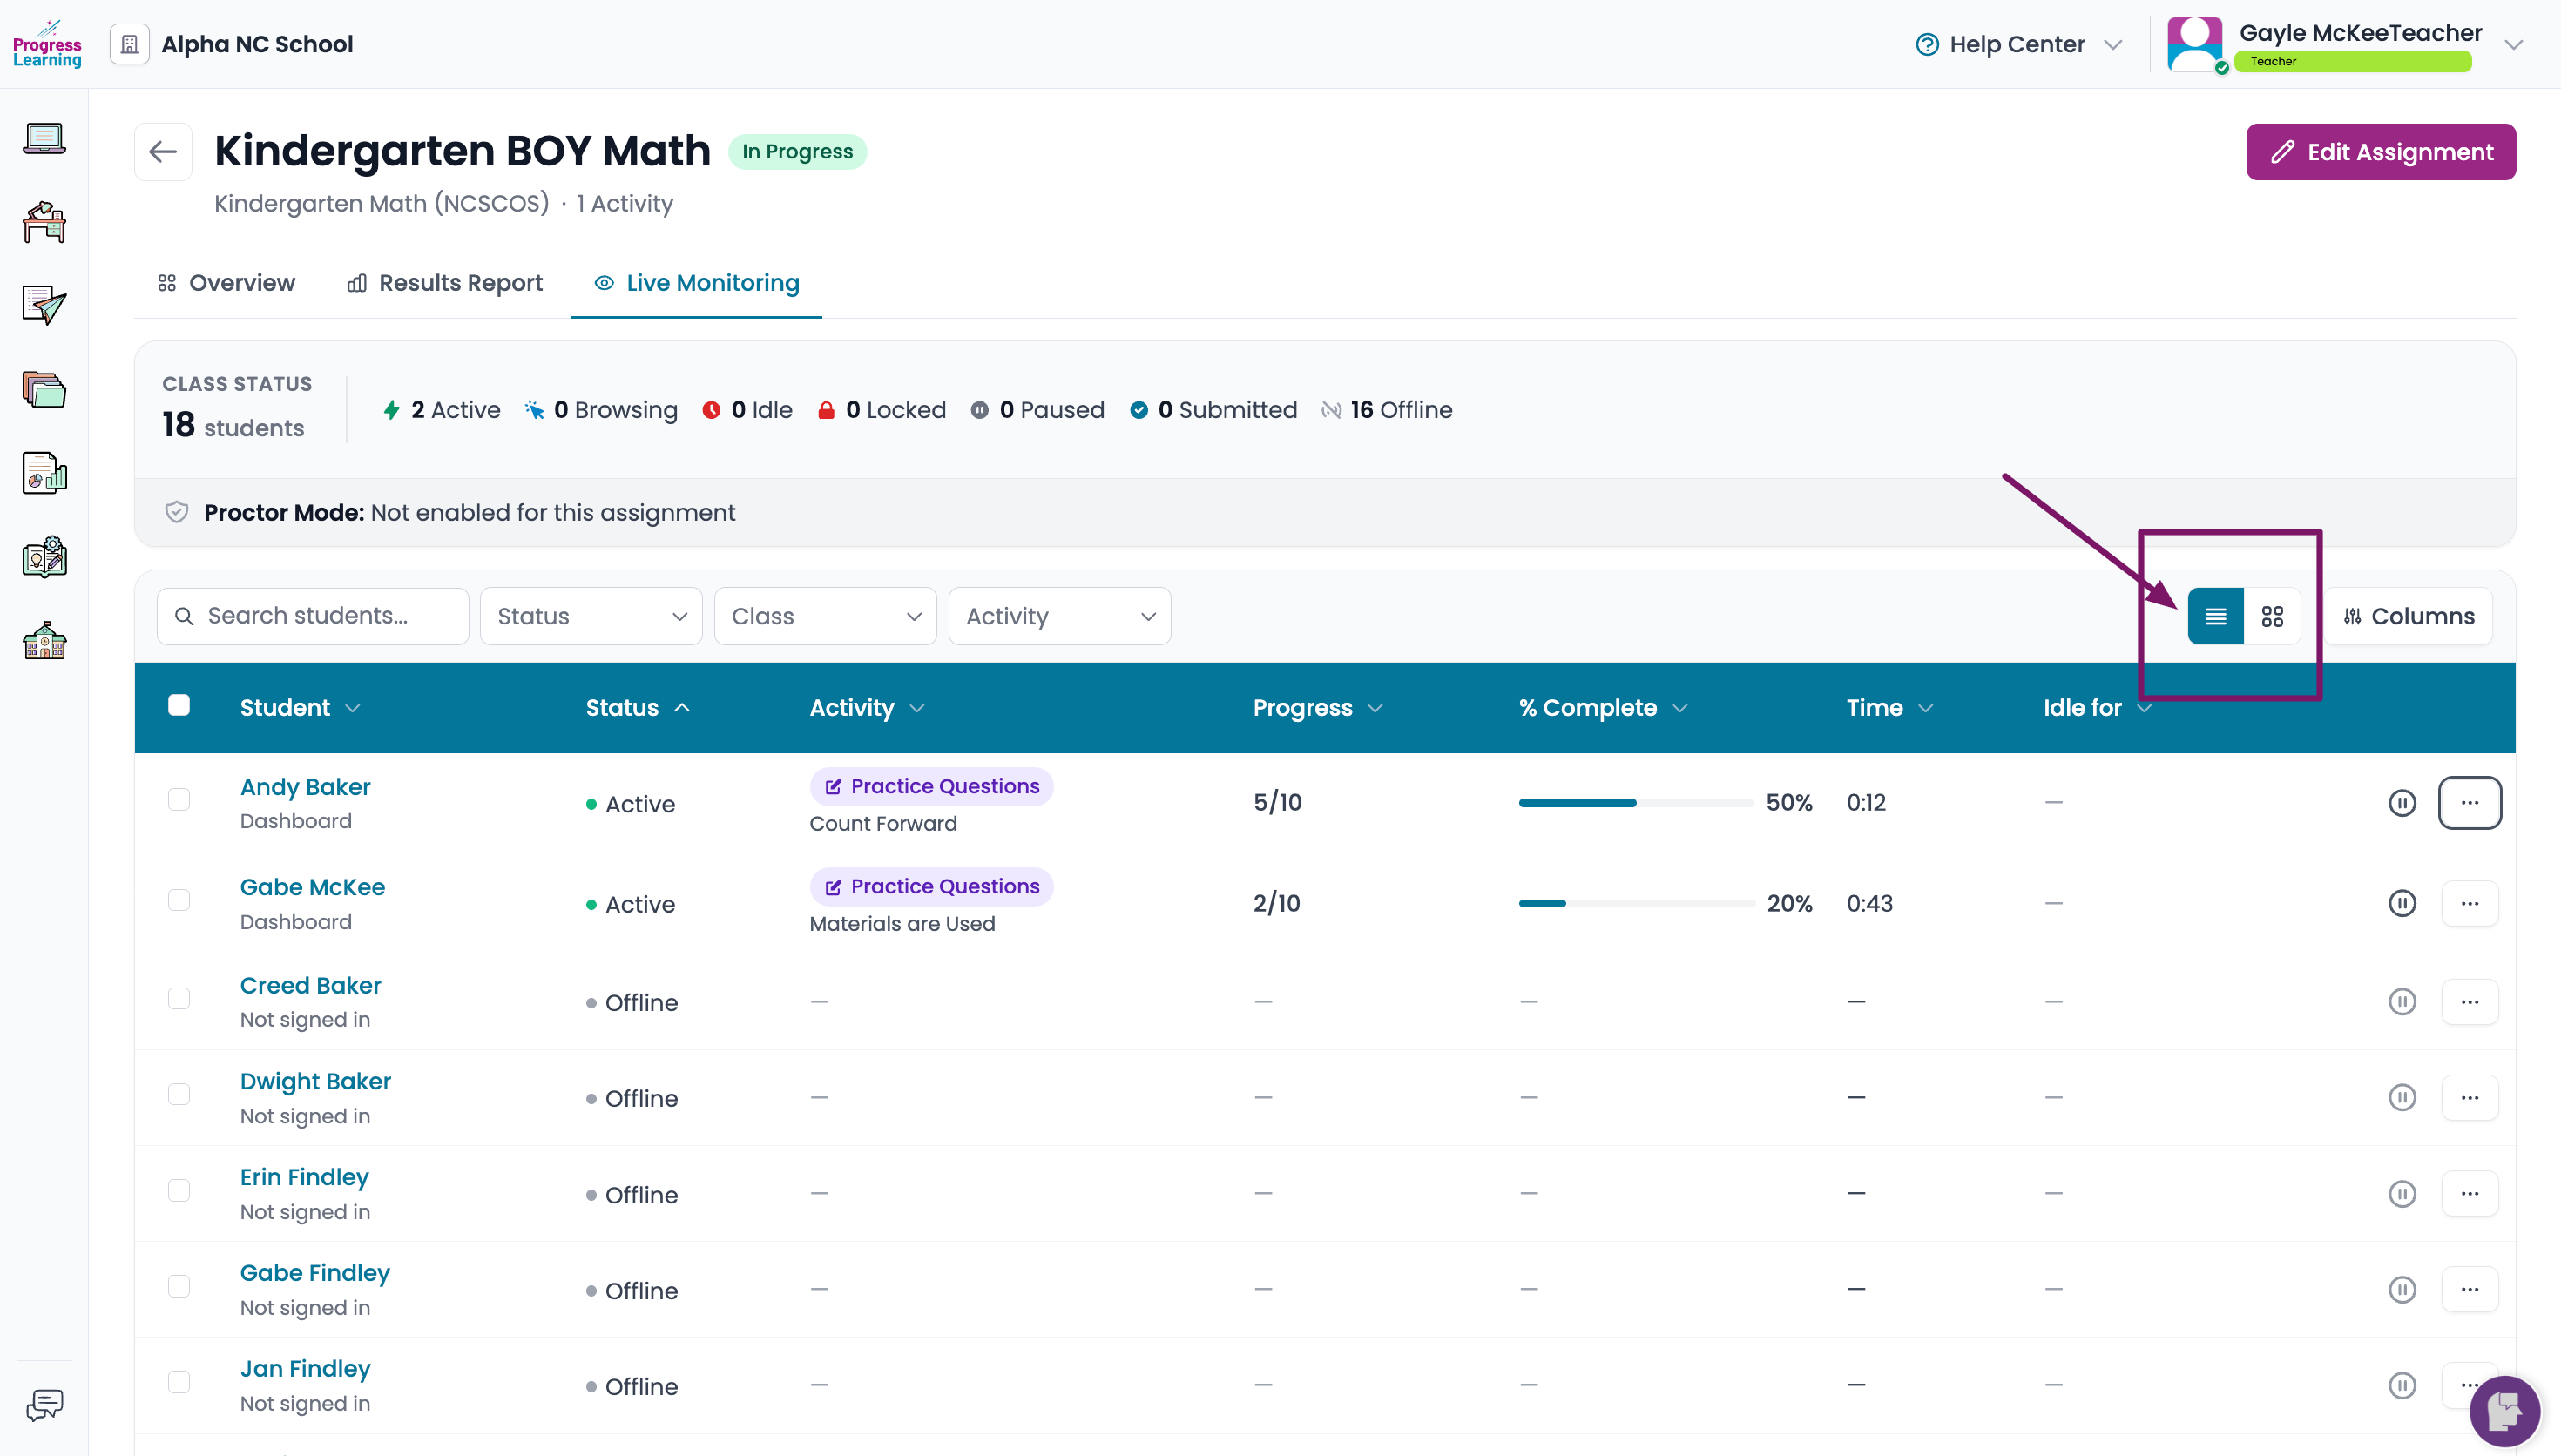
Tile View
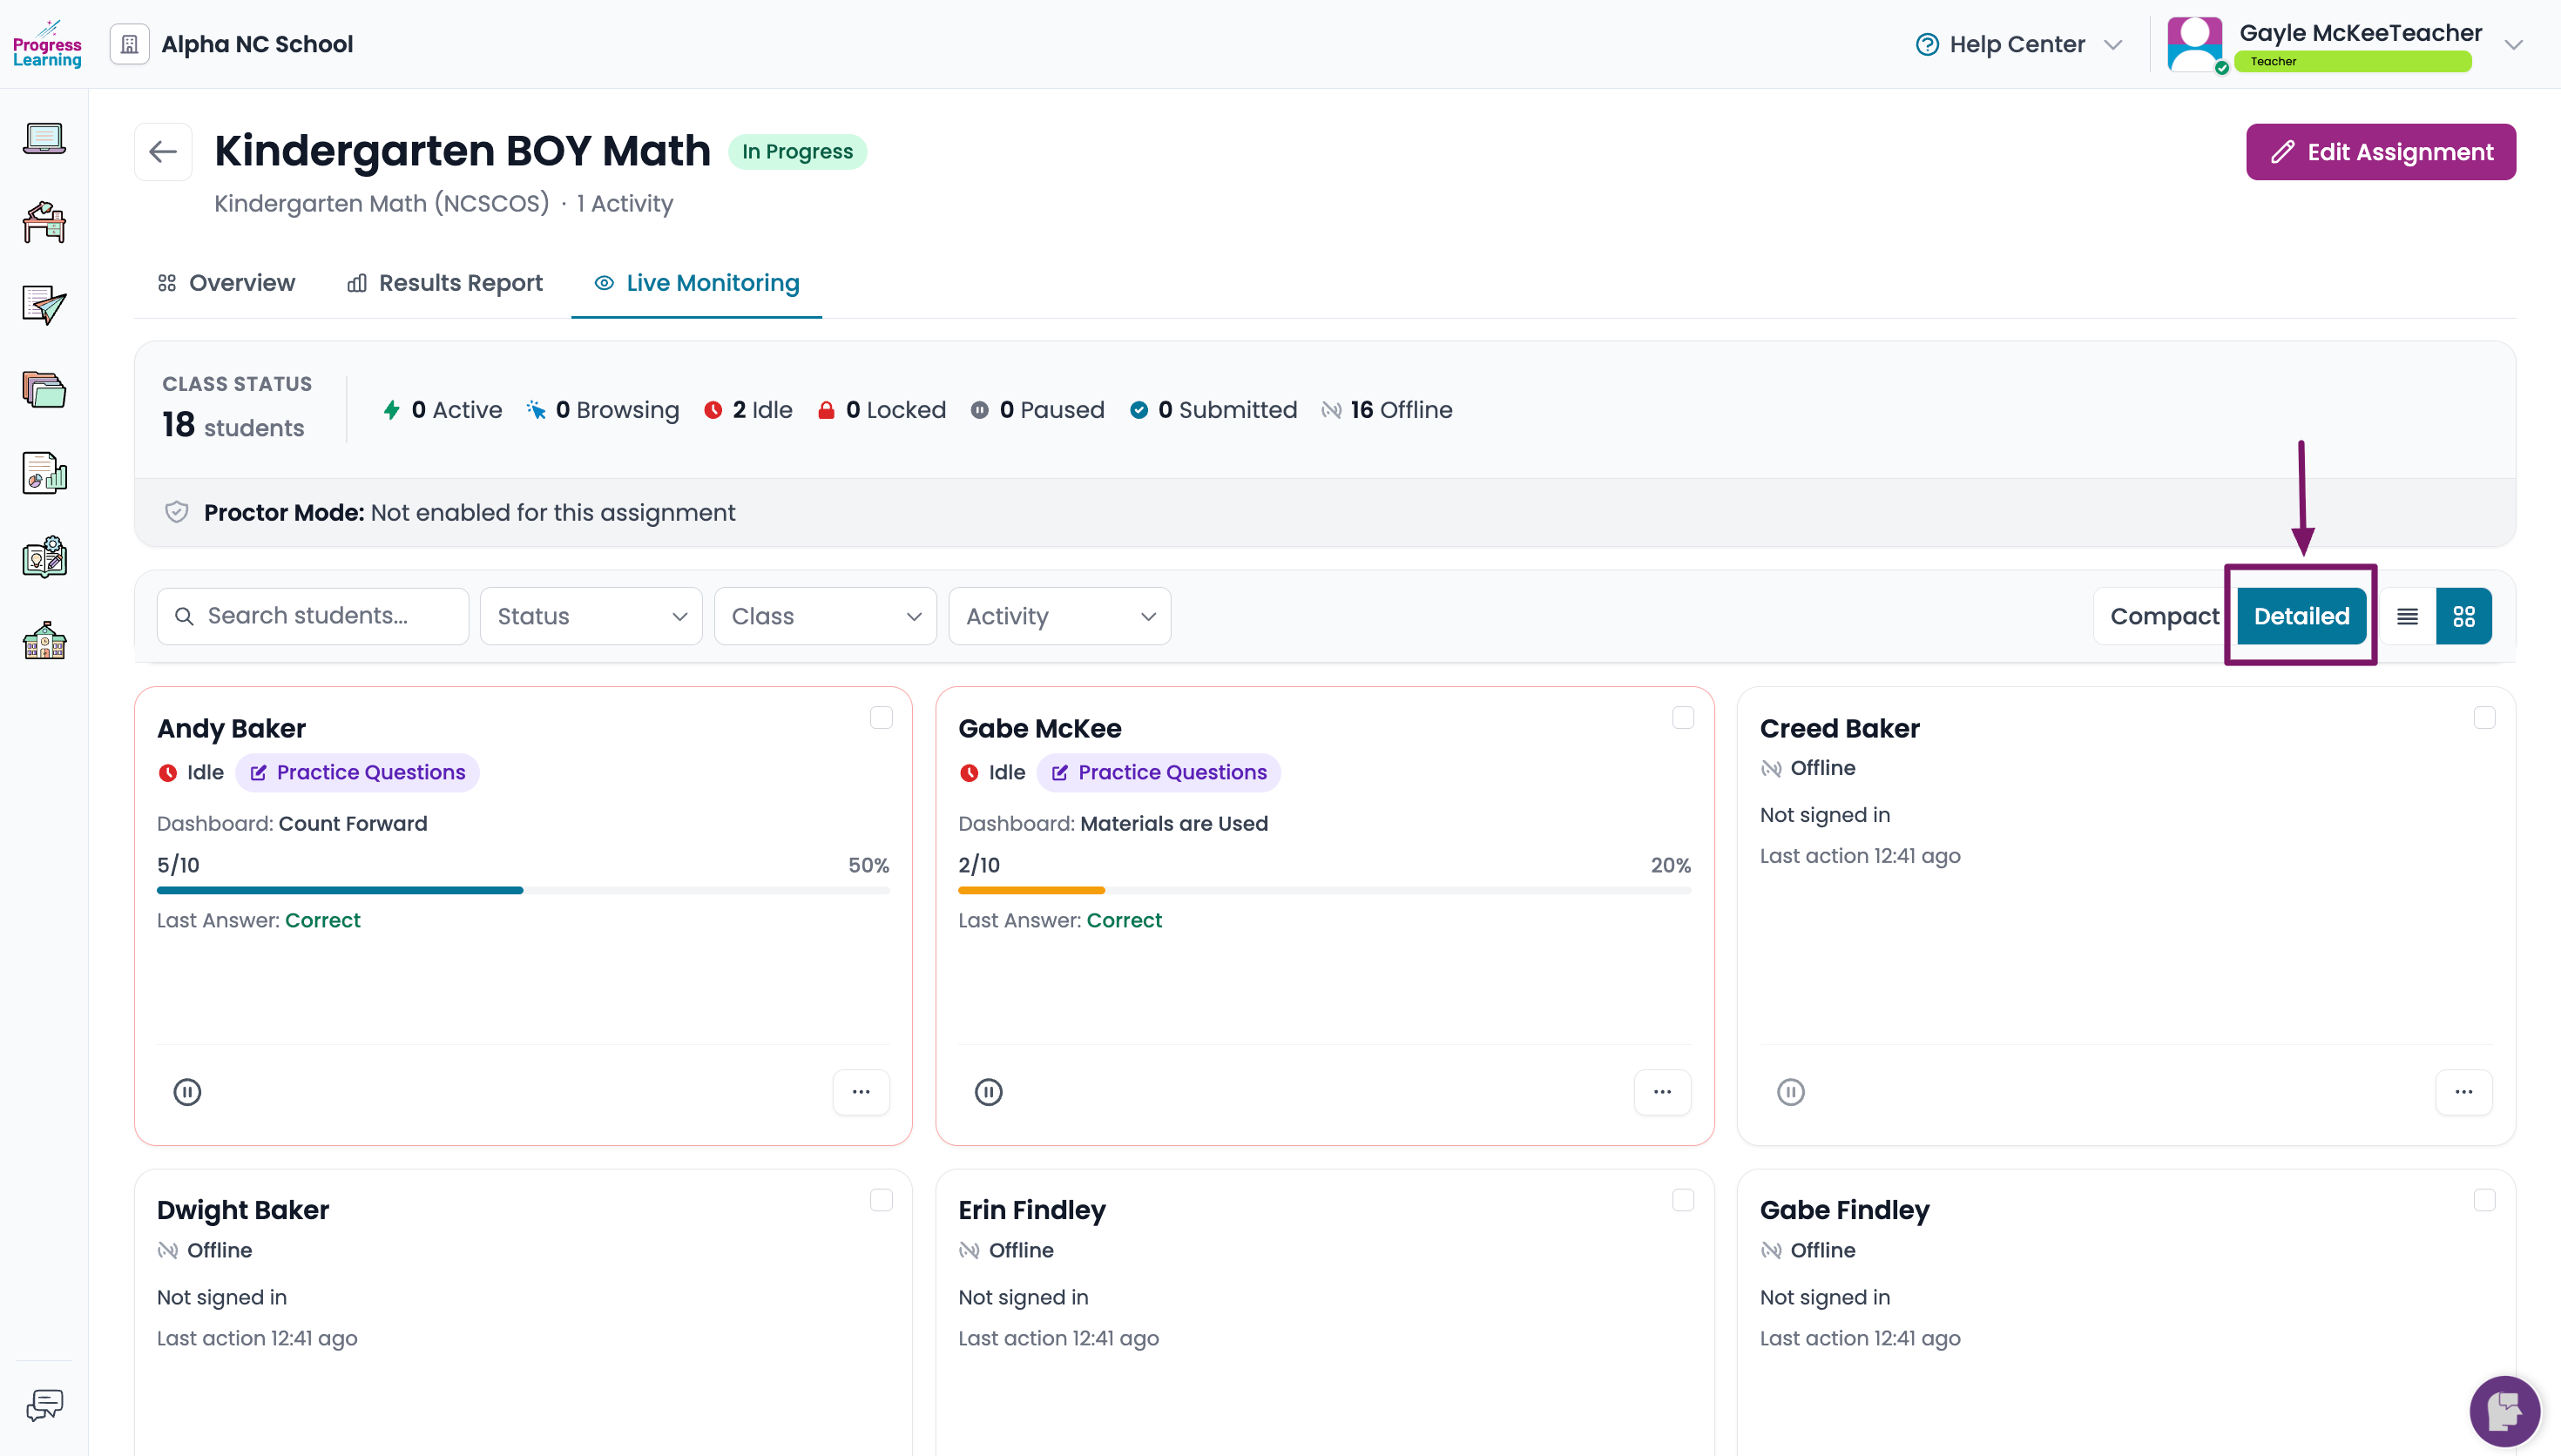
- Displays each student in an individual card. Choose Compact or Detailed to control how much information appears.
Compact View: Displays a condensed summary for each student.
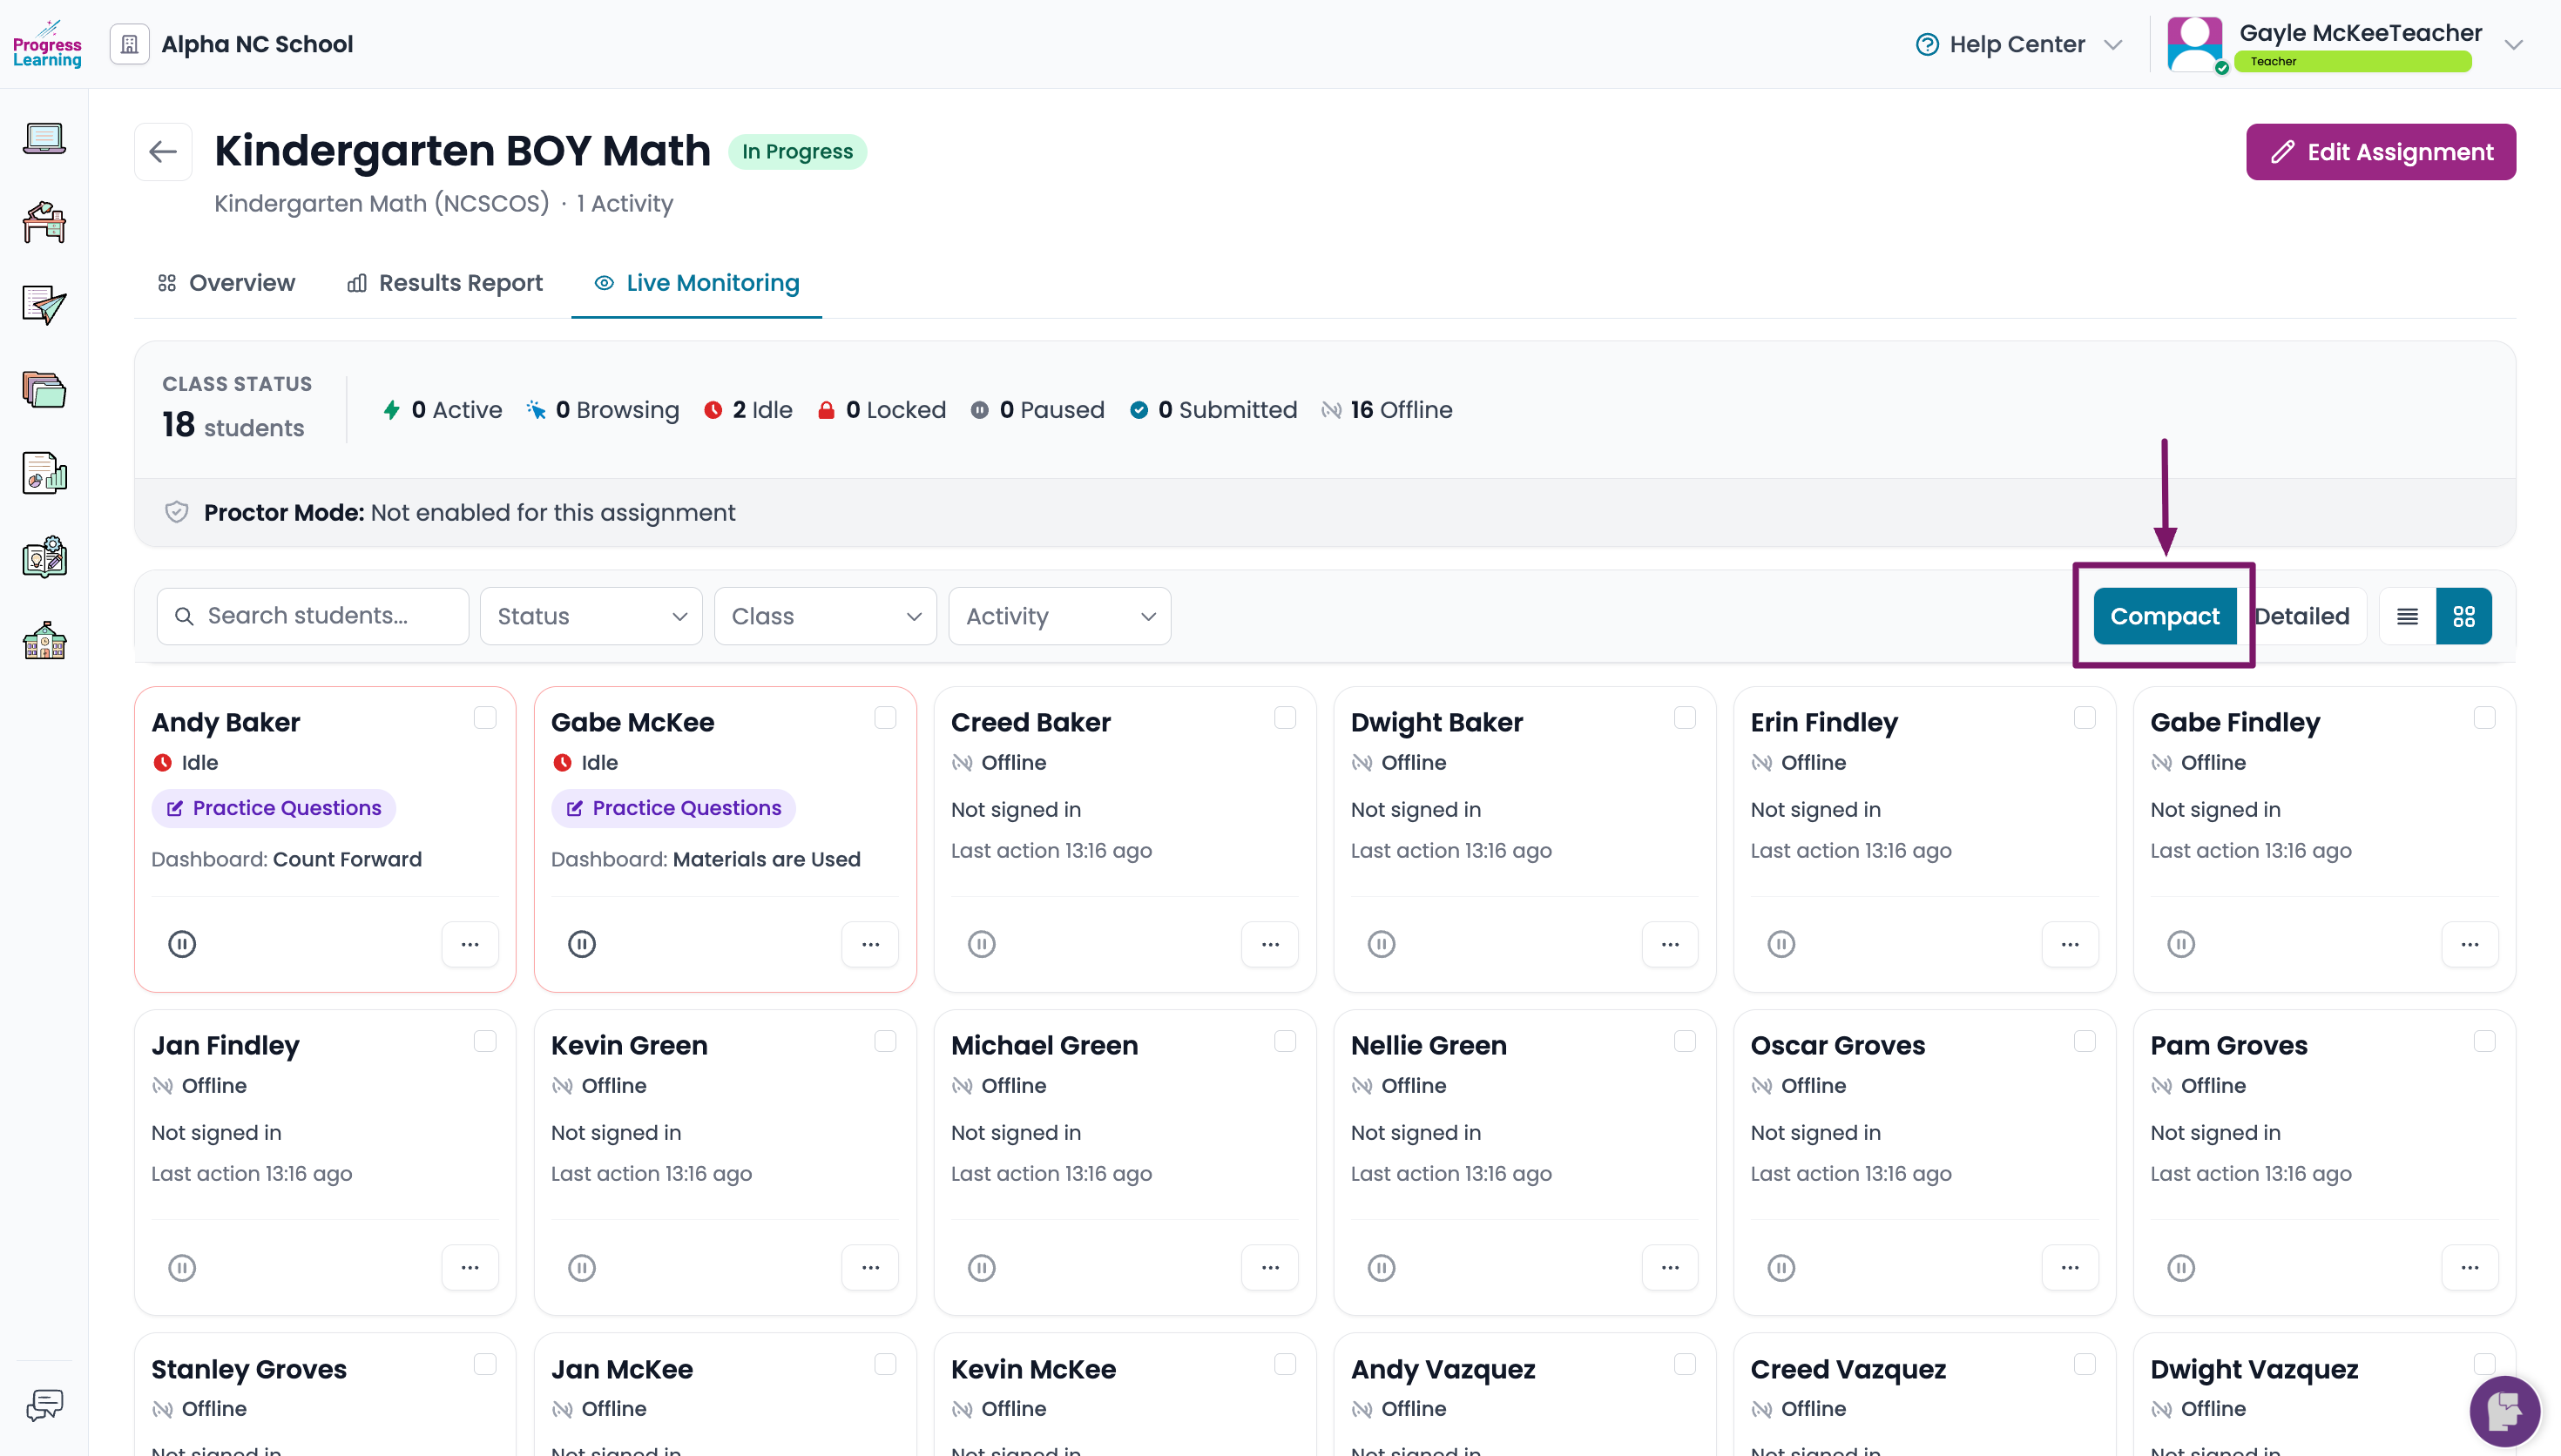
Detailed View: Displays additional information about each student’s activity, progress, and engagement.