How do I create a class?
 Updated
by
Gayle McKee
Updated
by
Gayle McKee
If you are rostered via Clever or Classlink, please click here for instructions on completing the set-up for your SSO classes. However, even if you roster with Clever or Classlink, you CAN still create your own classes in Progress Learning by following the directions below.
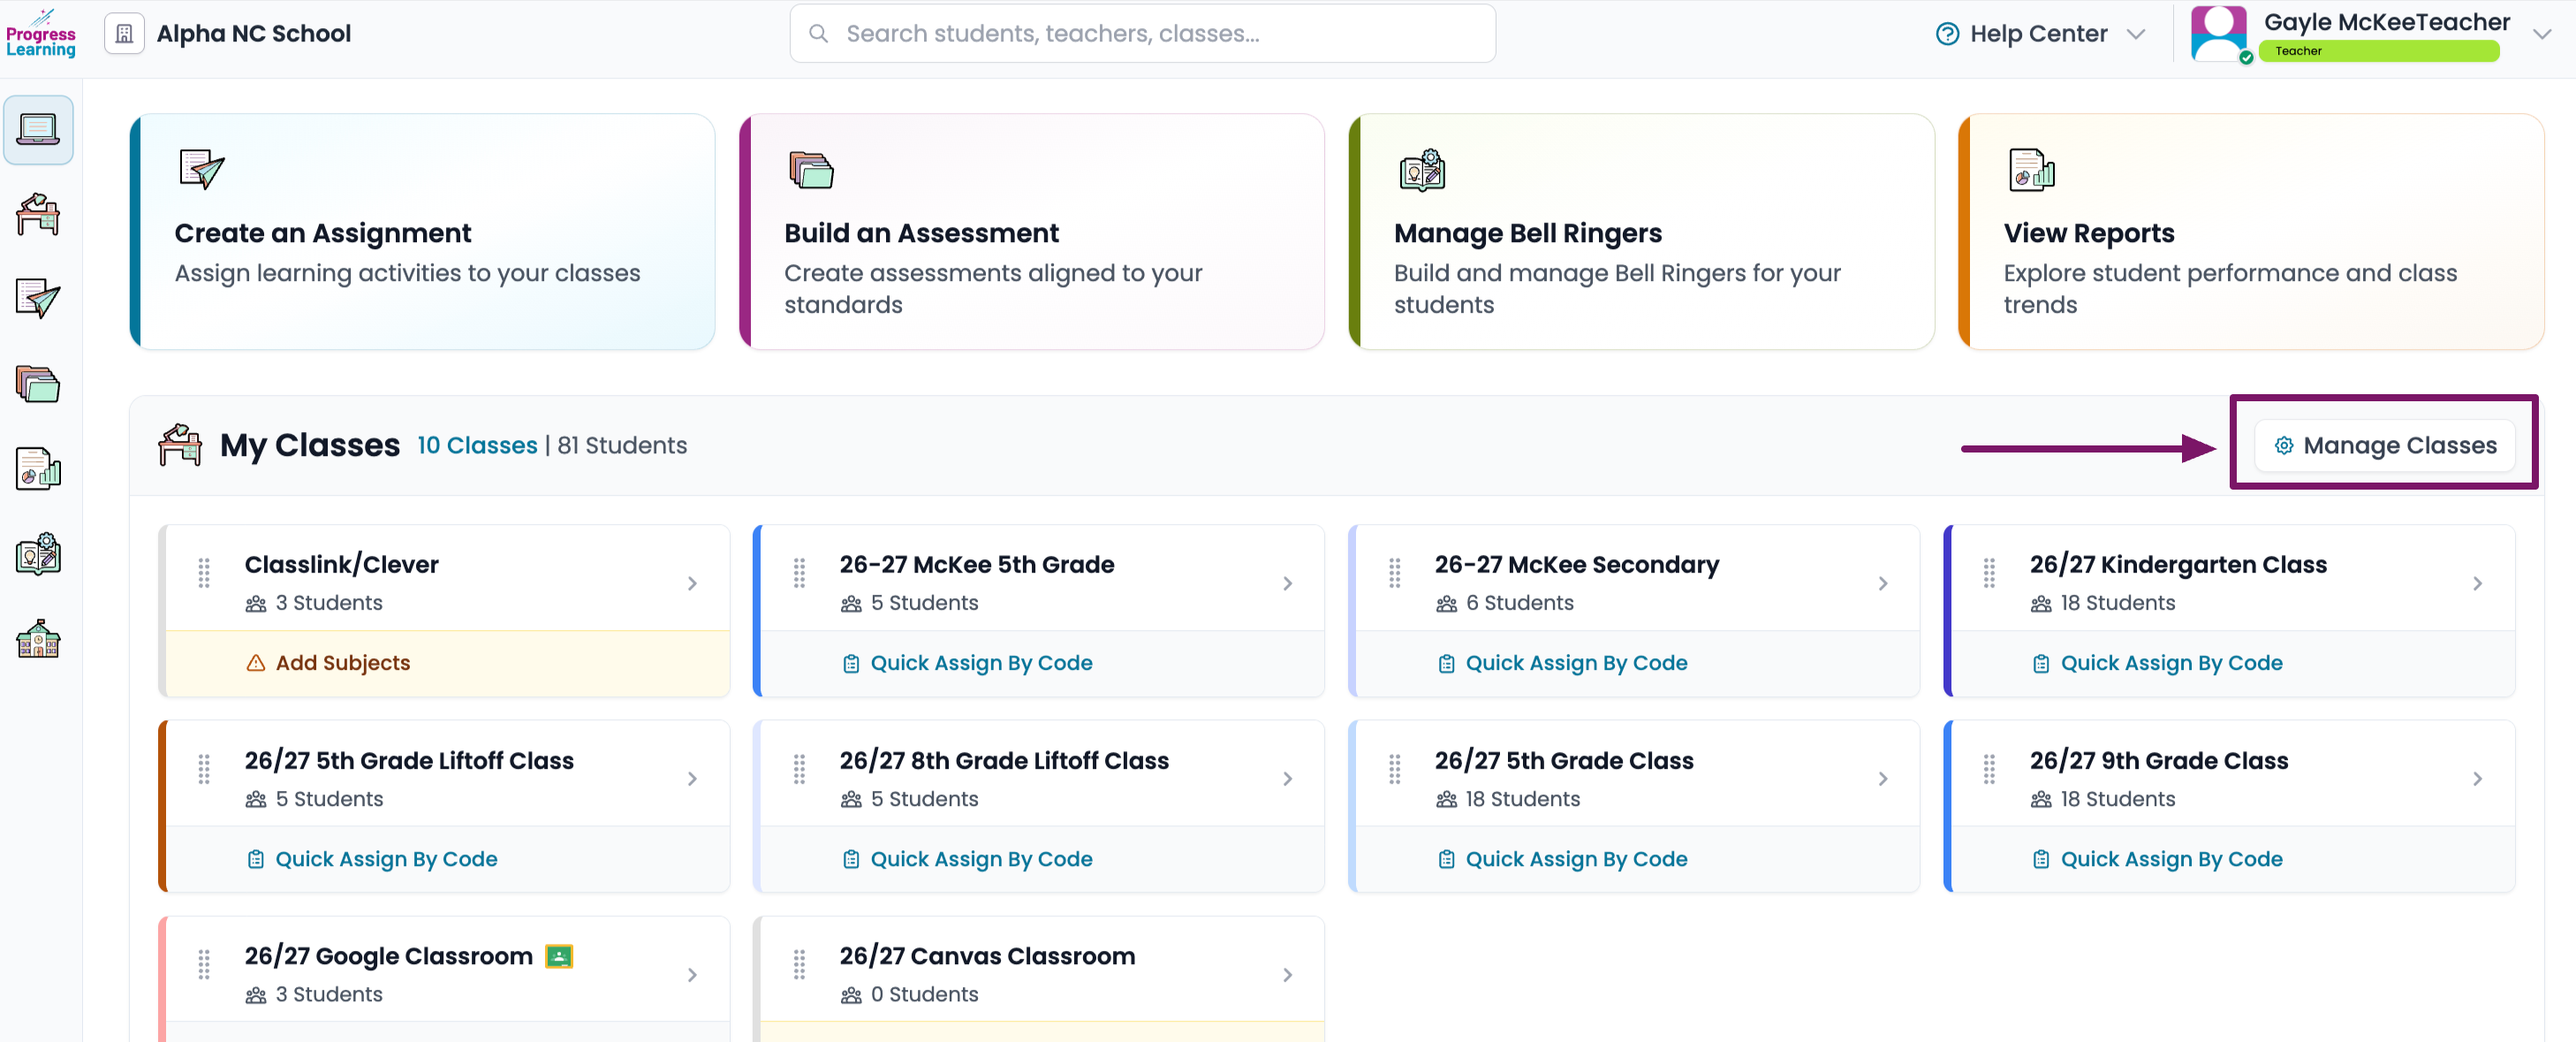
- Click on Manage Classes from your home page.
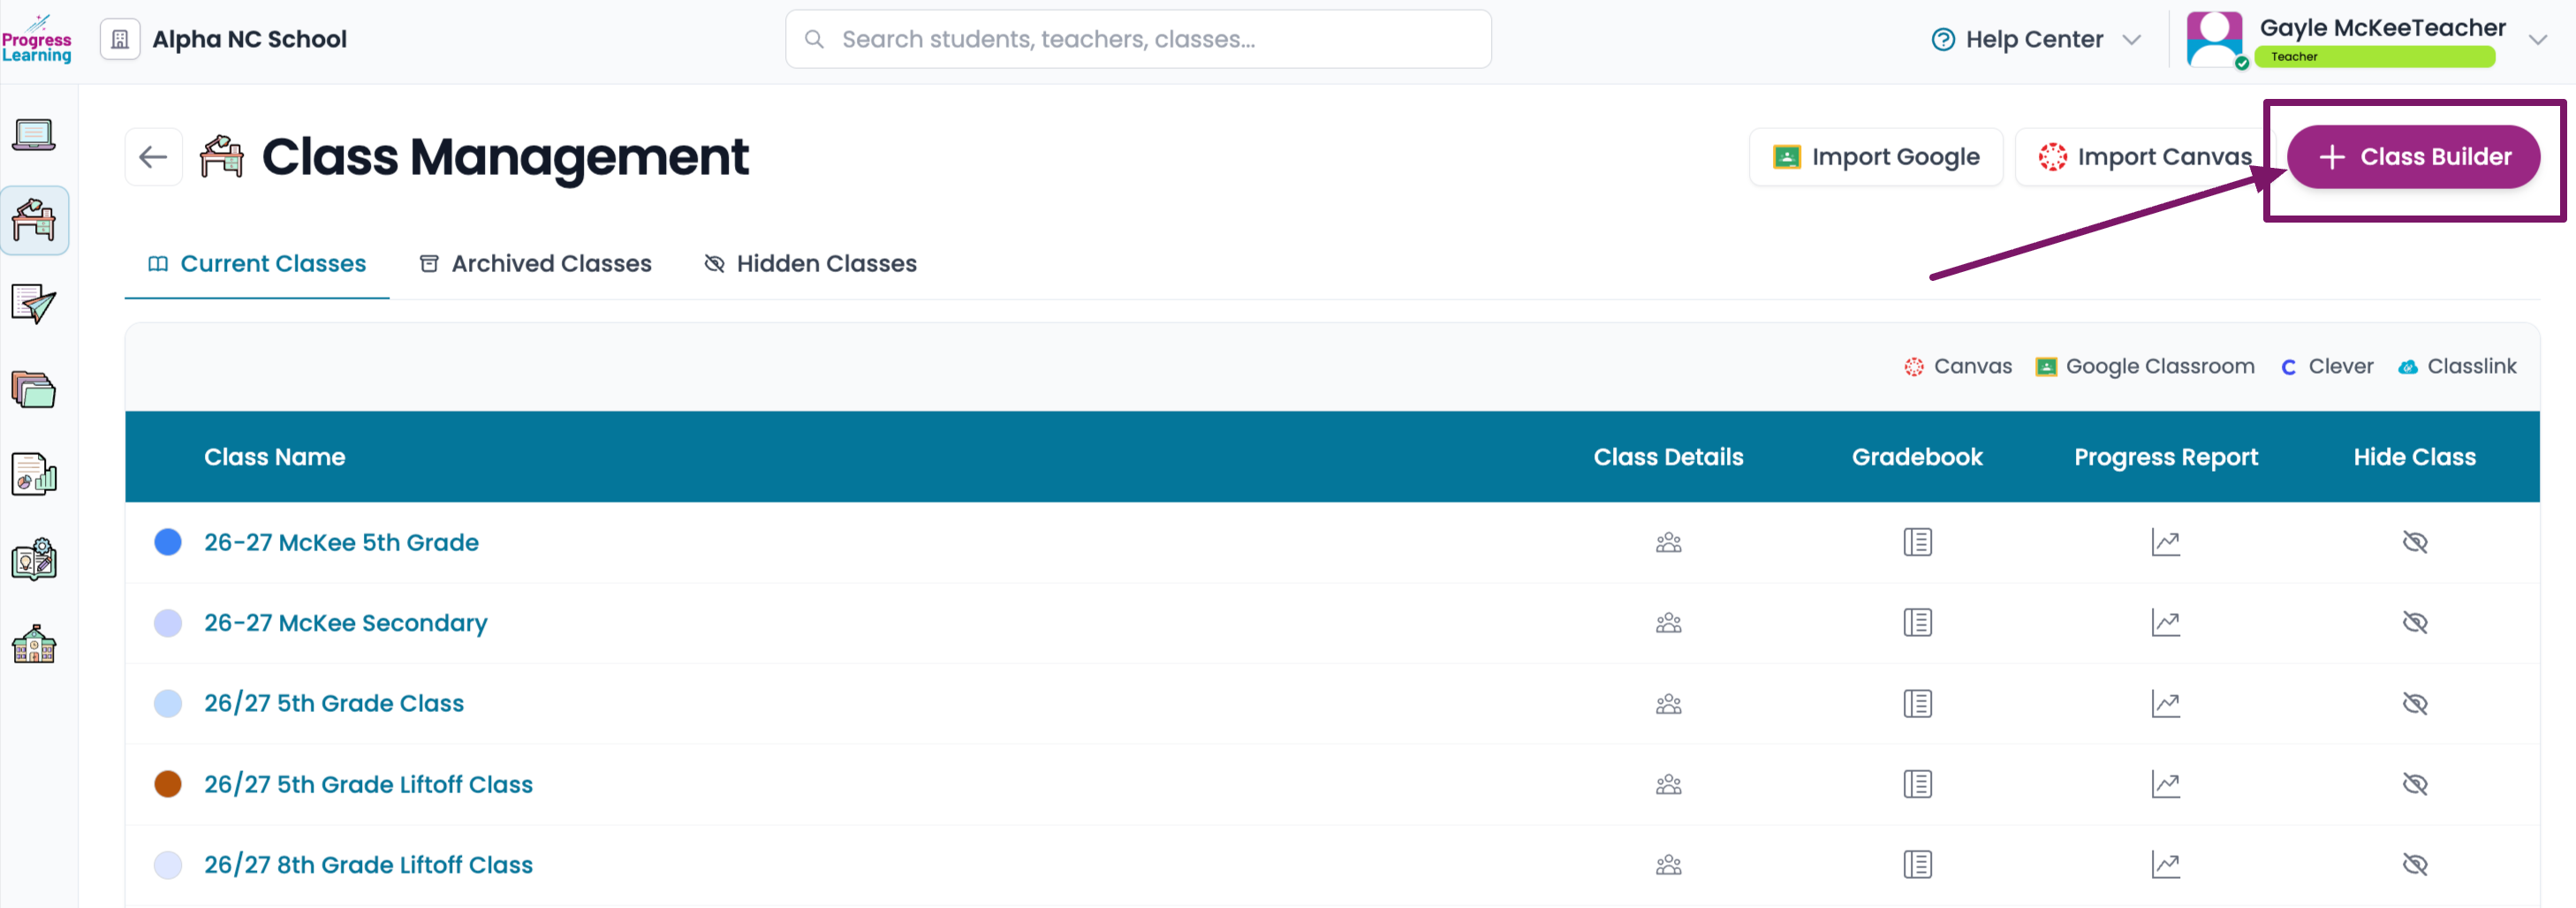
- Click on Class Builder
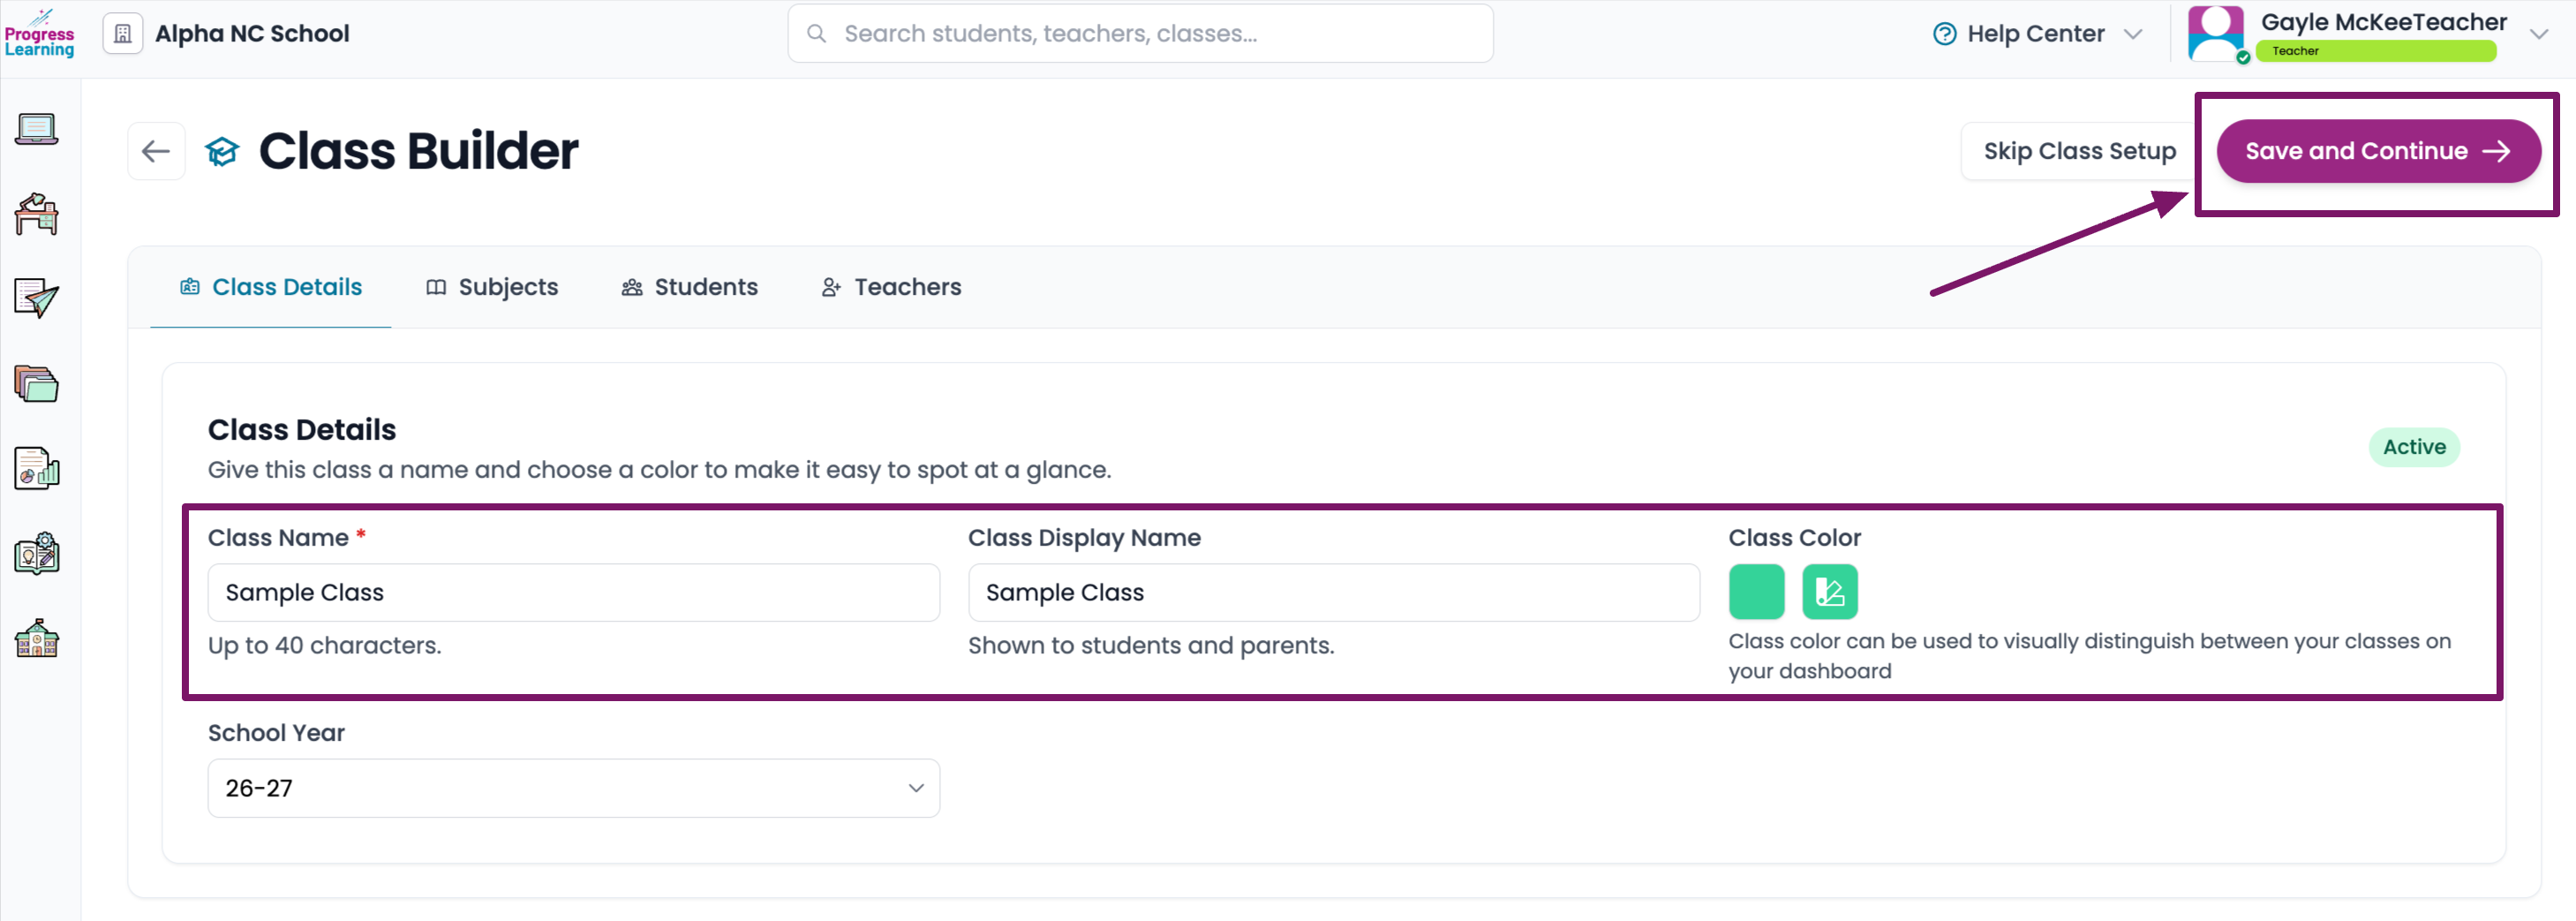
- Type in the Class Name (if you want the display name that your students see to be different, you may also customize that in the Class Display Name field). If you would like to customize your class further, choose a Class Color. Select Save and Continue.
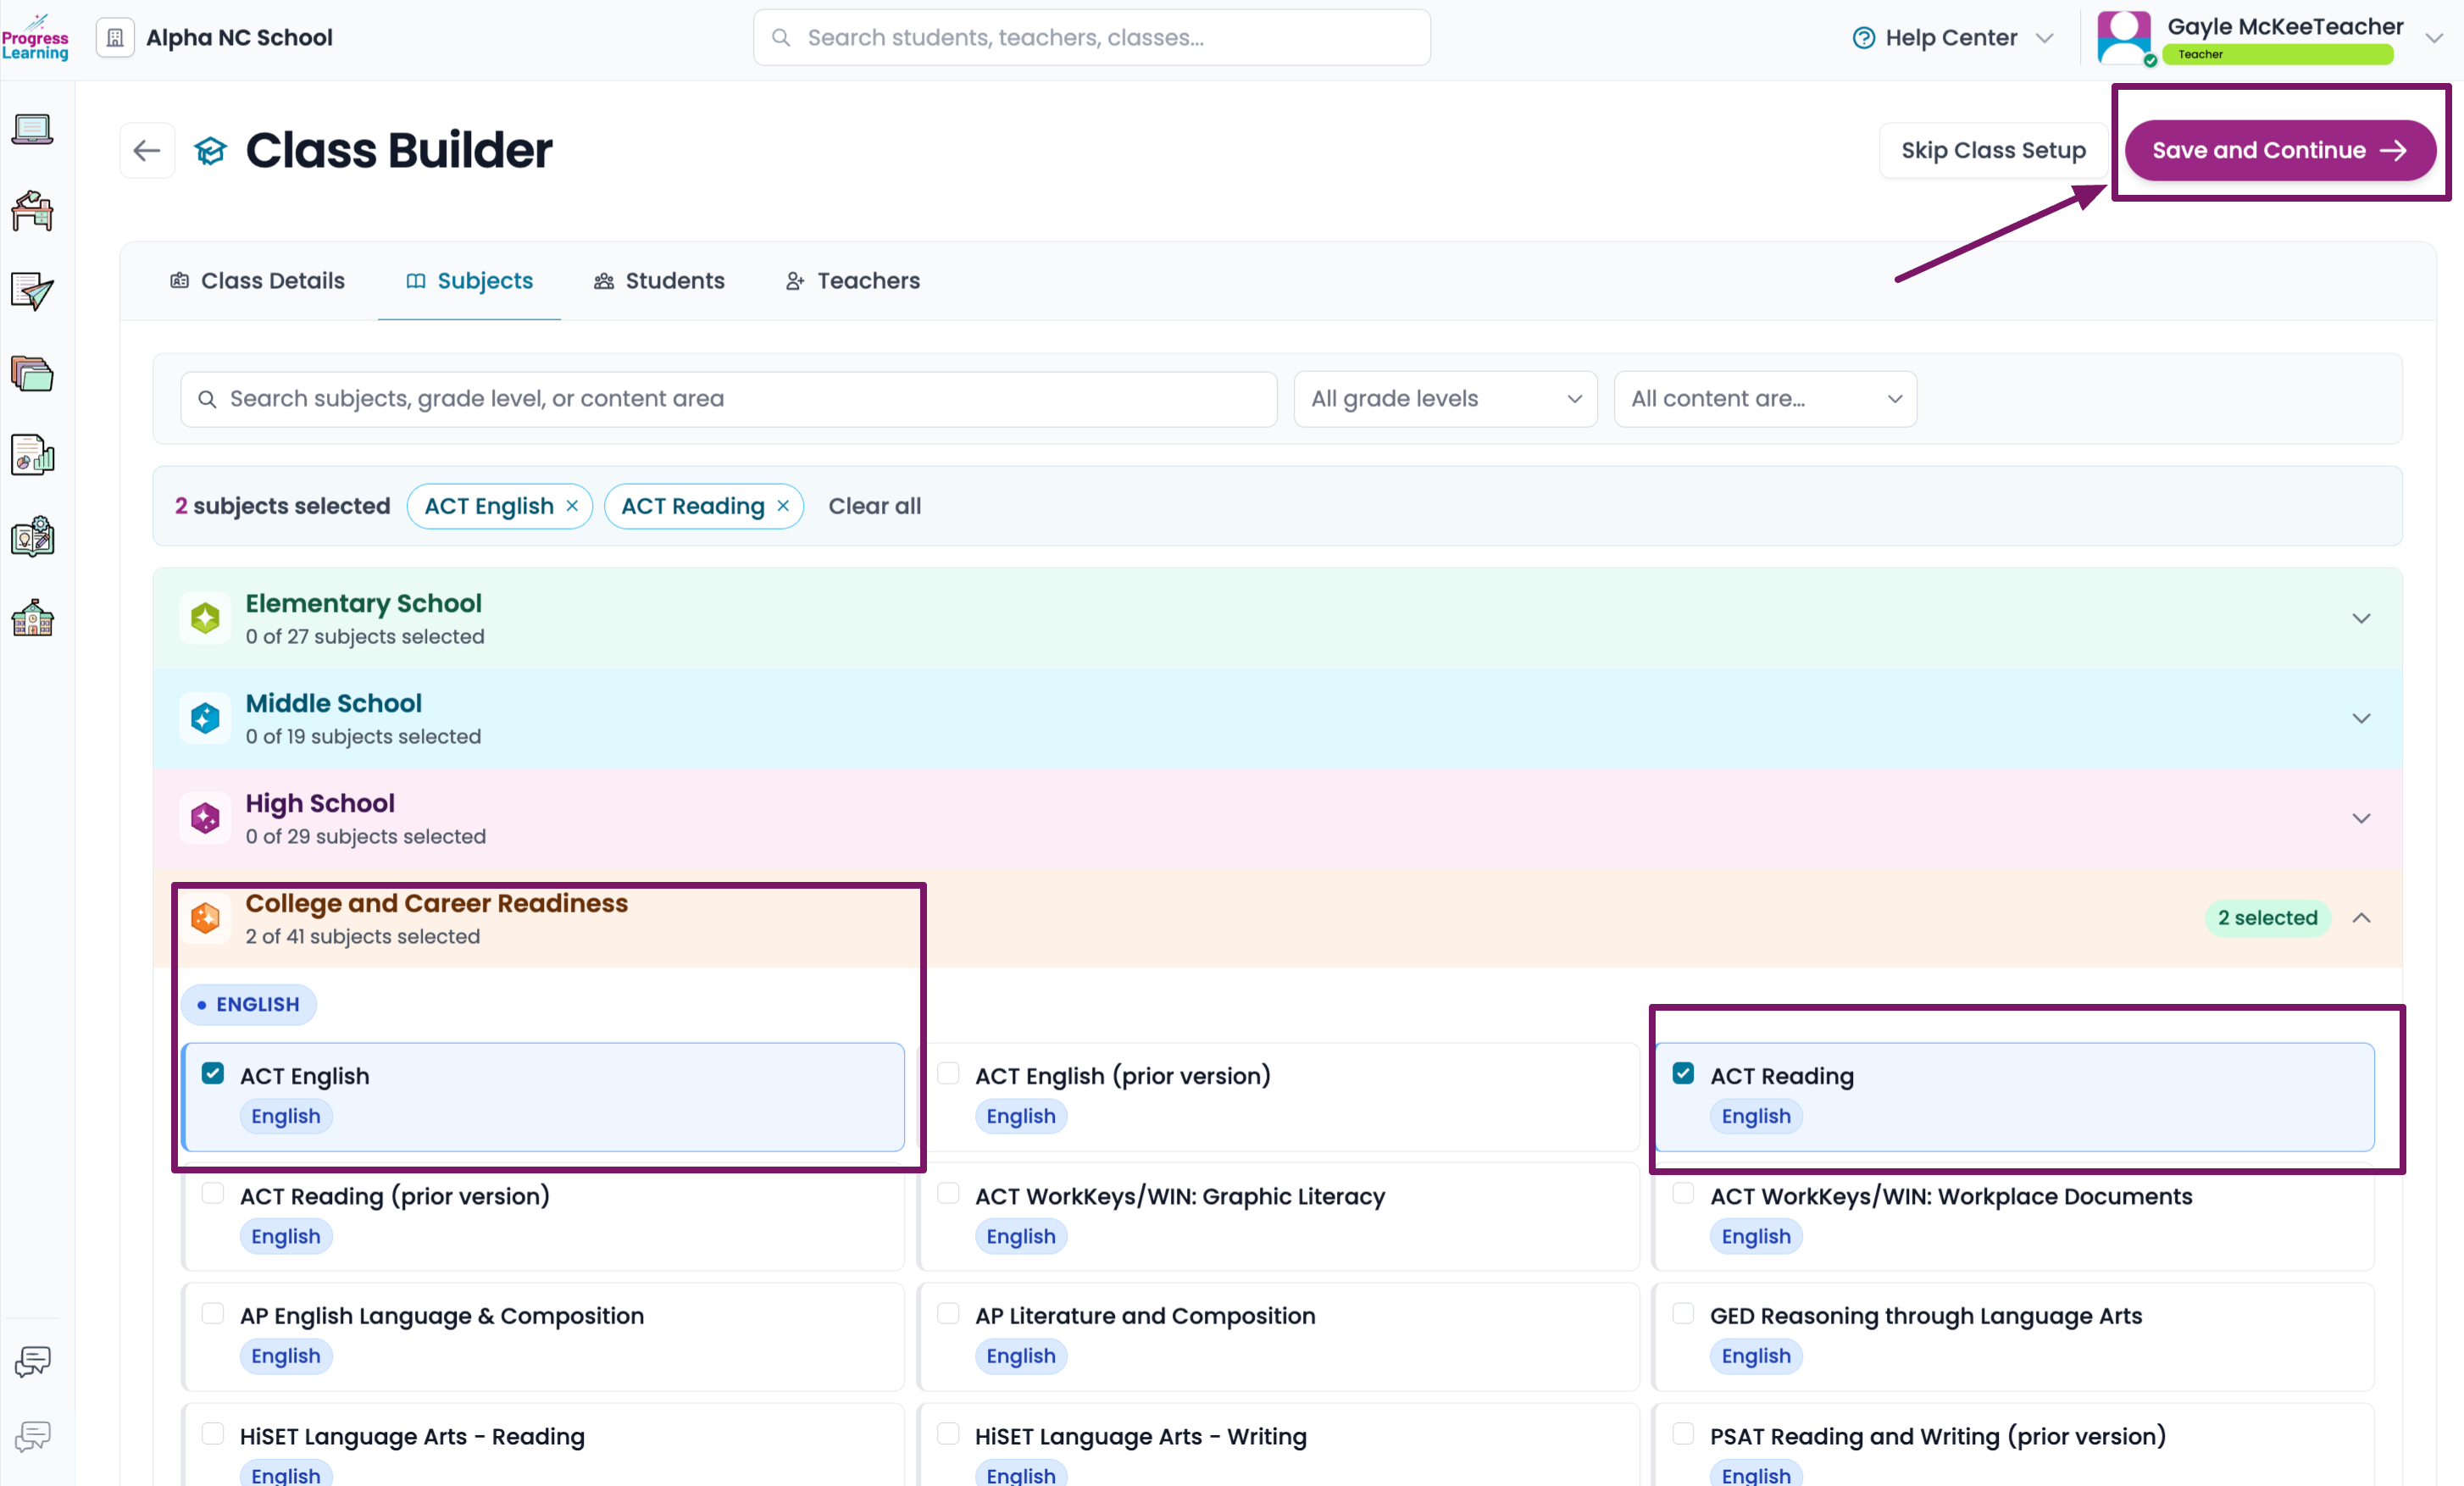
- Select the level which you teach and then select the Content Area. Click Save and Continue.
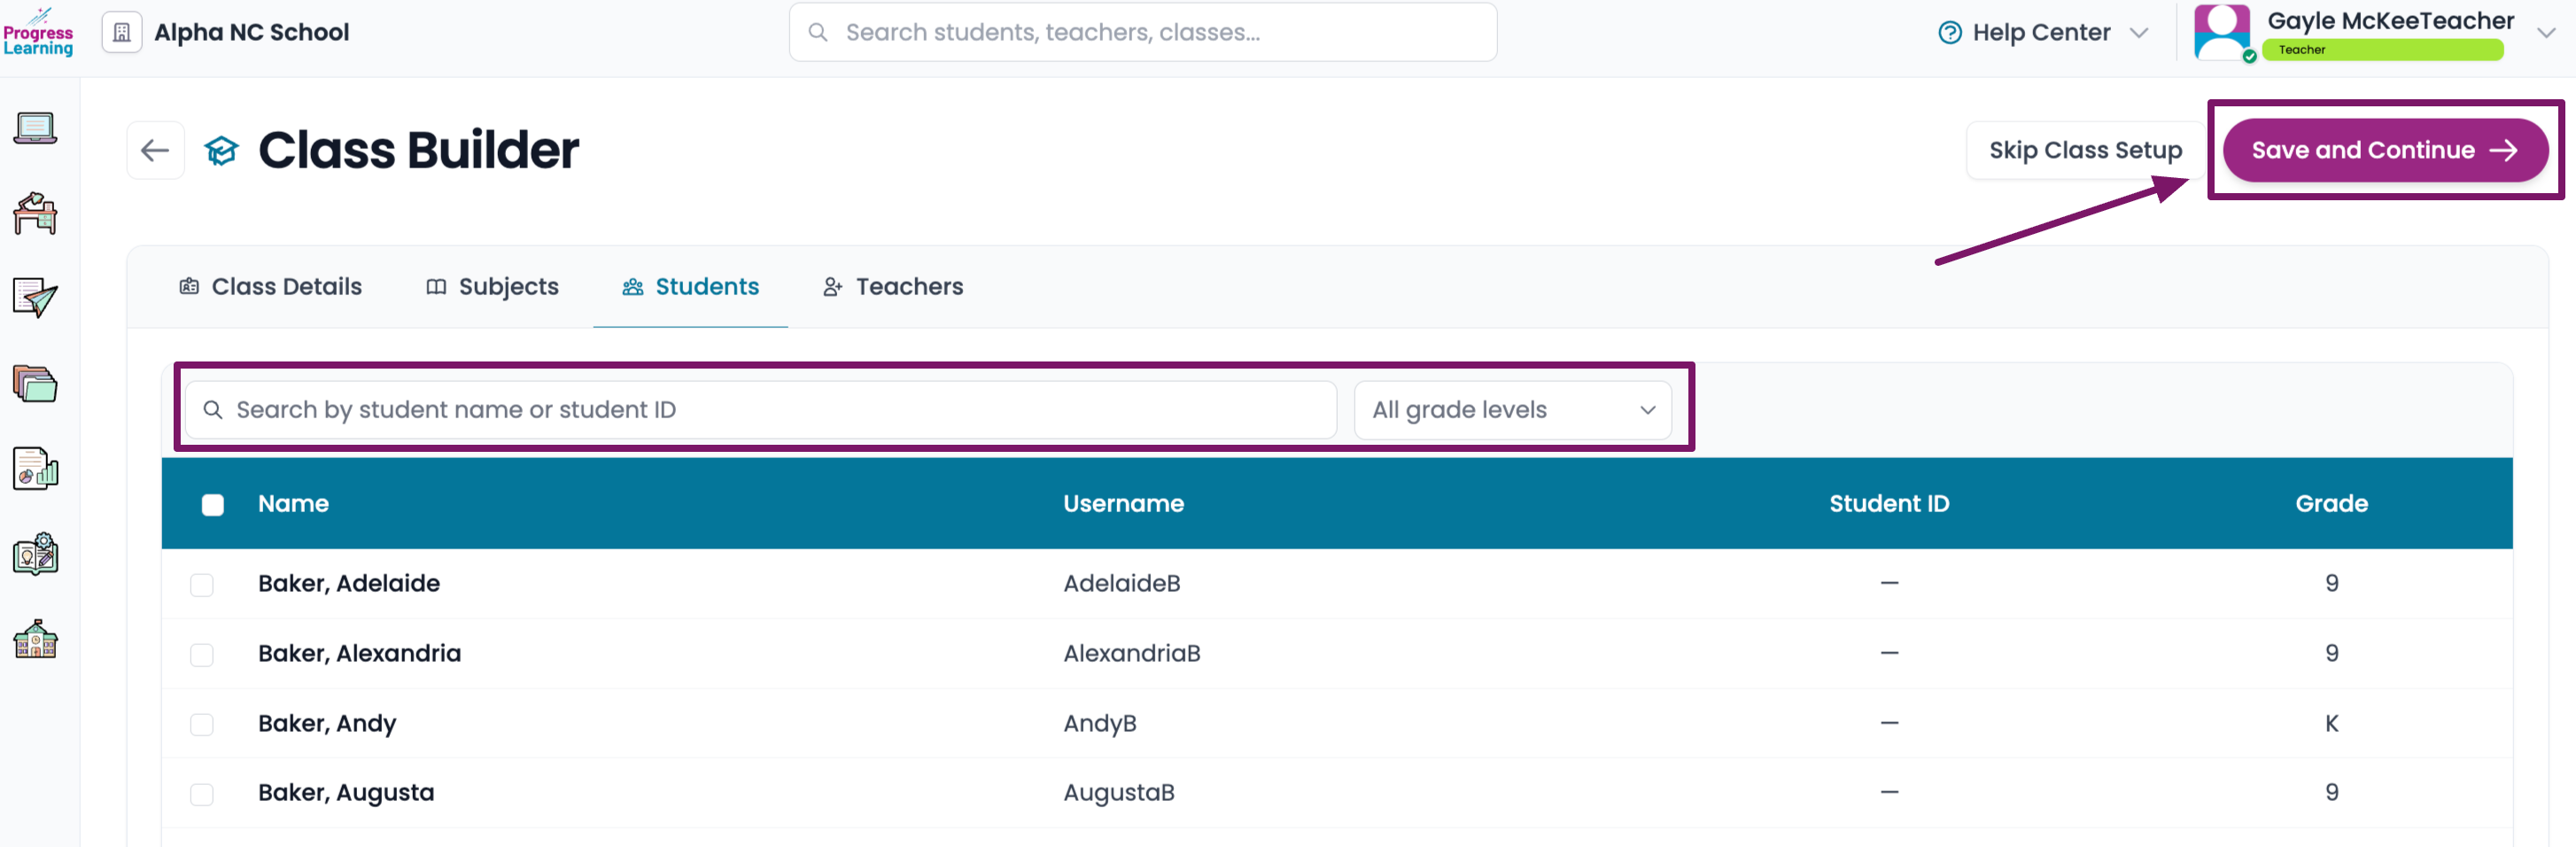
- This is where you will add students to your class. You may use the filters to search by student name or student ID as well as filtering by Grade Level. Check the box next to a student name to roster them into your class. Click Save and Continue.
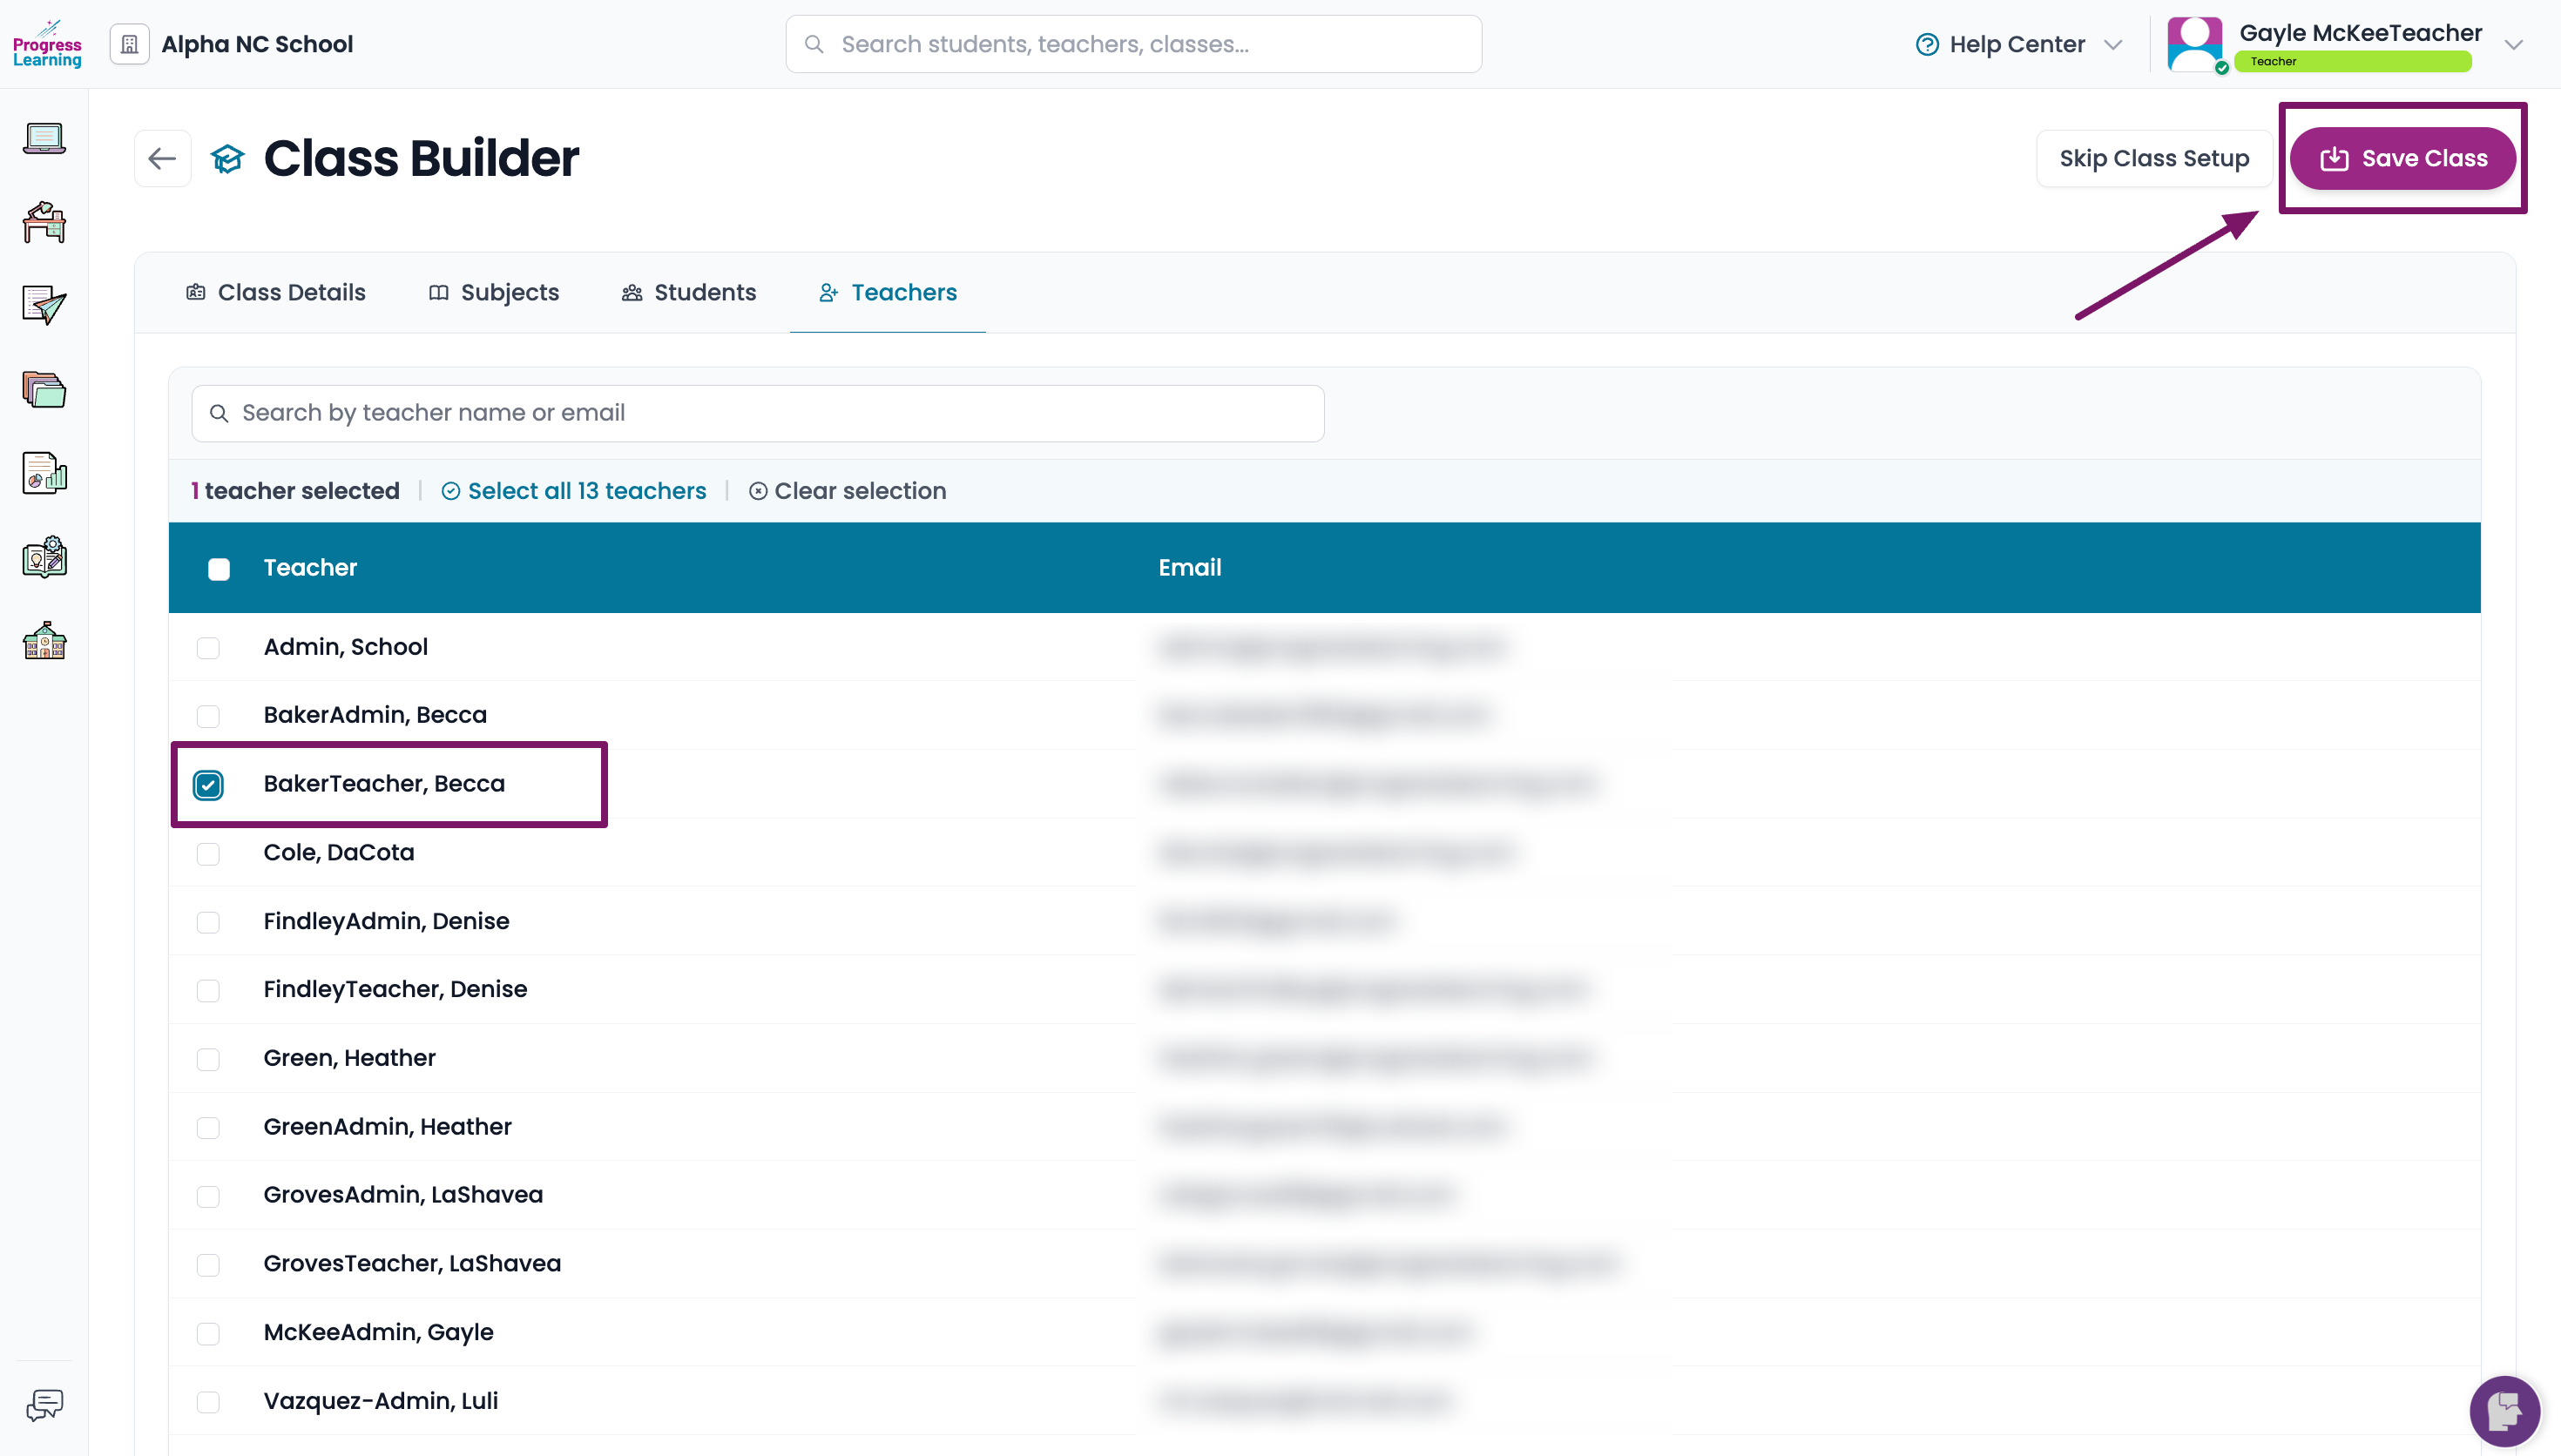
- Adding a co-teacher is an optional step. To add a co-teacher, you can search by teacher name or email. When you find the teacher, check the tickbox next to his/her name. This option will allow you to share this class with another teacher who needs access to the data for this class. Click on Save Class.
With Progress Learning, you can create small groups to help differentiate the subjects assigned to students in their Study Plans, as well as, helping filter the data that is exported with reports.
To create small groups for differentiation of practice and viewing data in reports, you will create Classes for each small group needed.
To create small groups for differentiation of practice and viewing data in reports, you will create Classes for each small group needed.