How do I create district assessments and view results?
 Updated
by
Gayle McKee
Updated
by
Gayle McKee
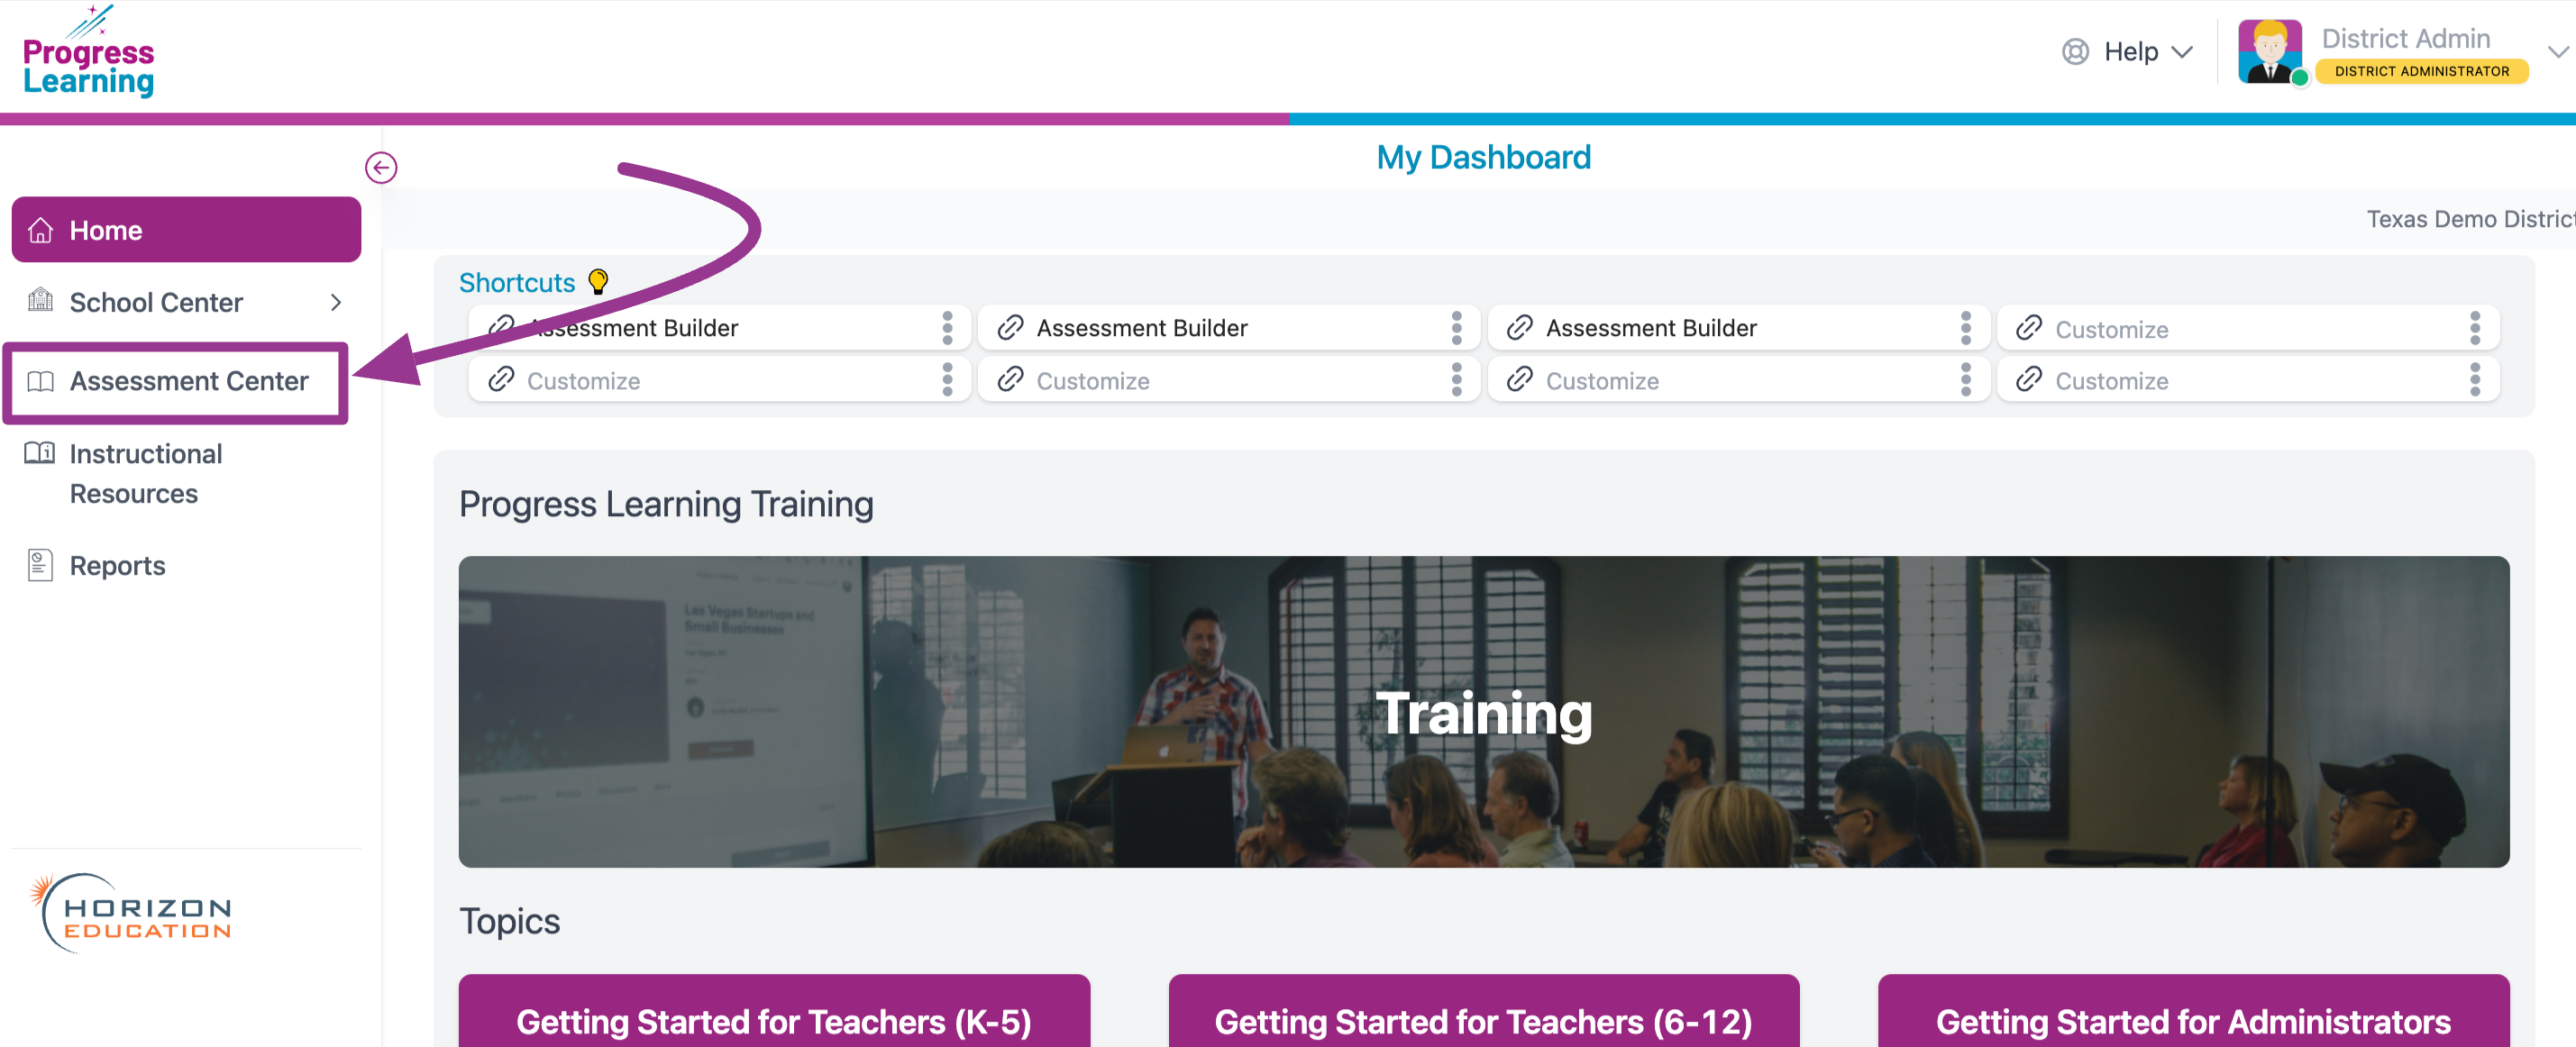
- Click on the Assessment Center on your district dashboard.
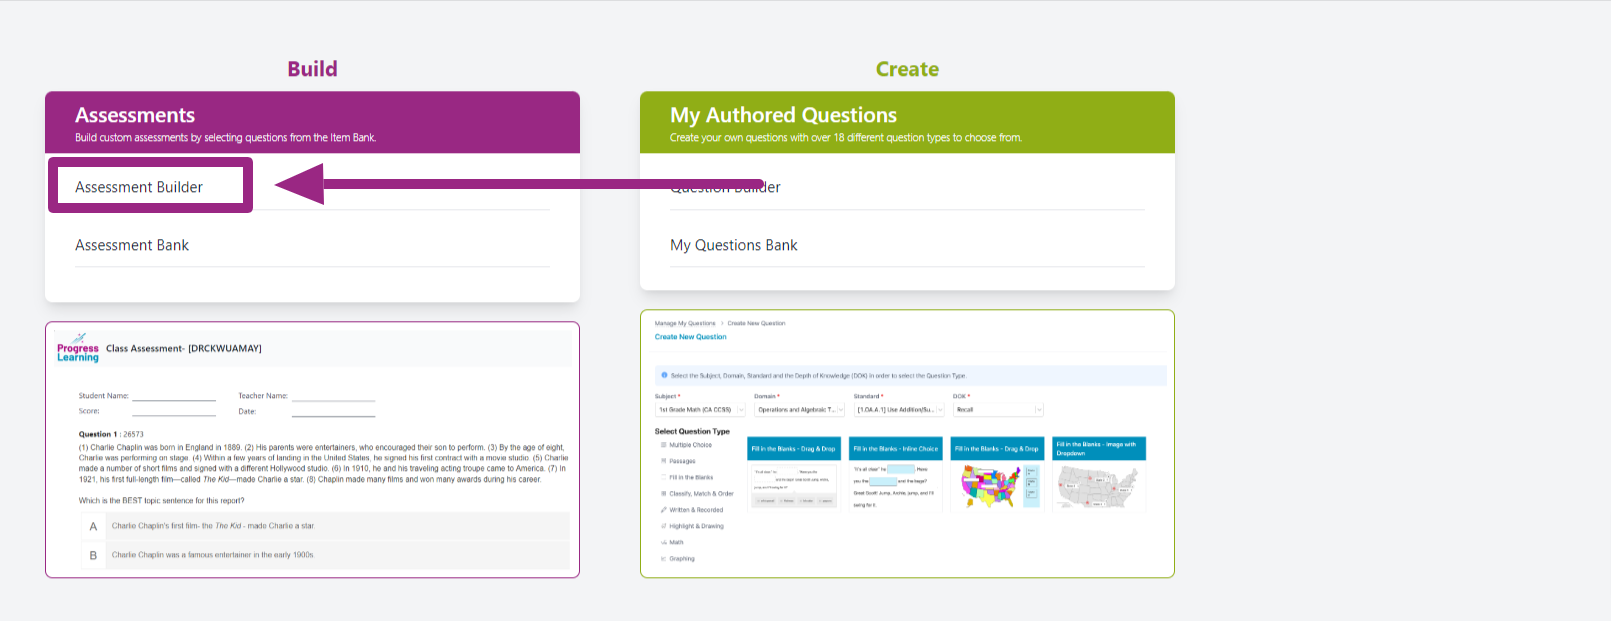
- Click on Assessment Builder.
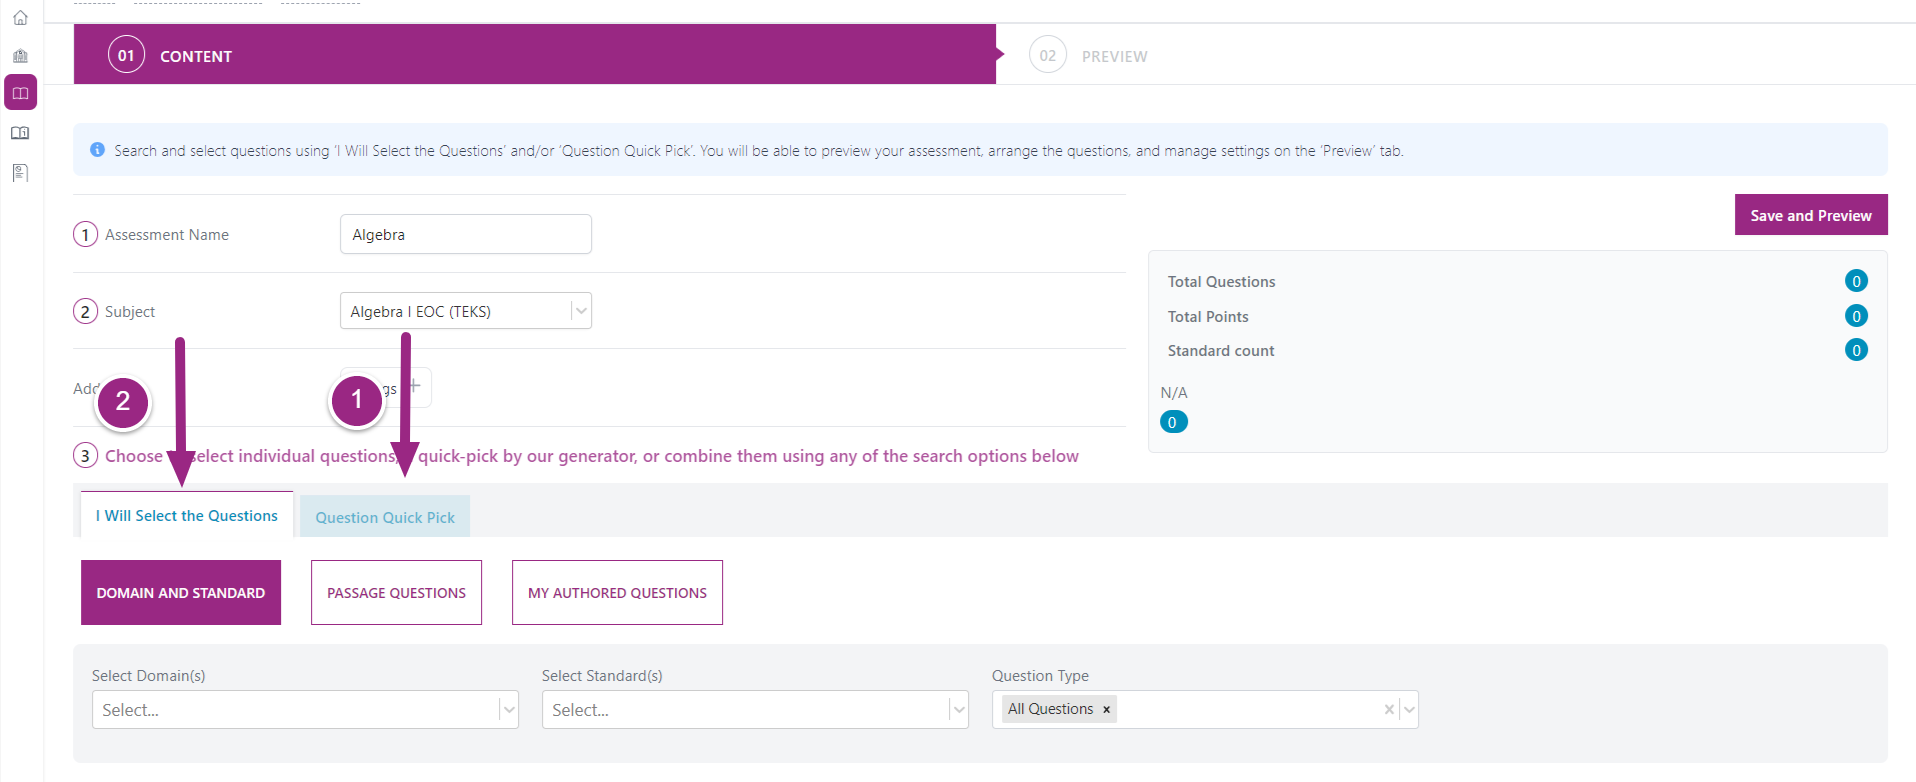
- You will begin building your assessment by typing an Assessment Name and selecting the Subject from the drop-down menu.
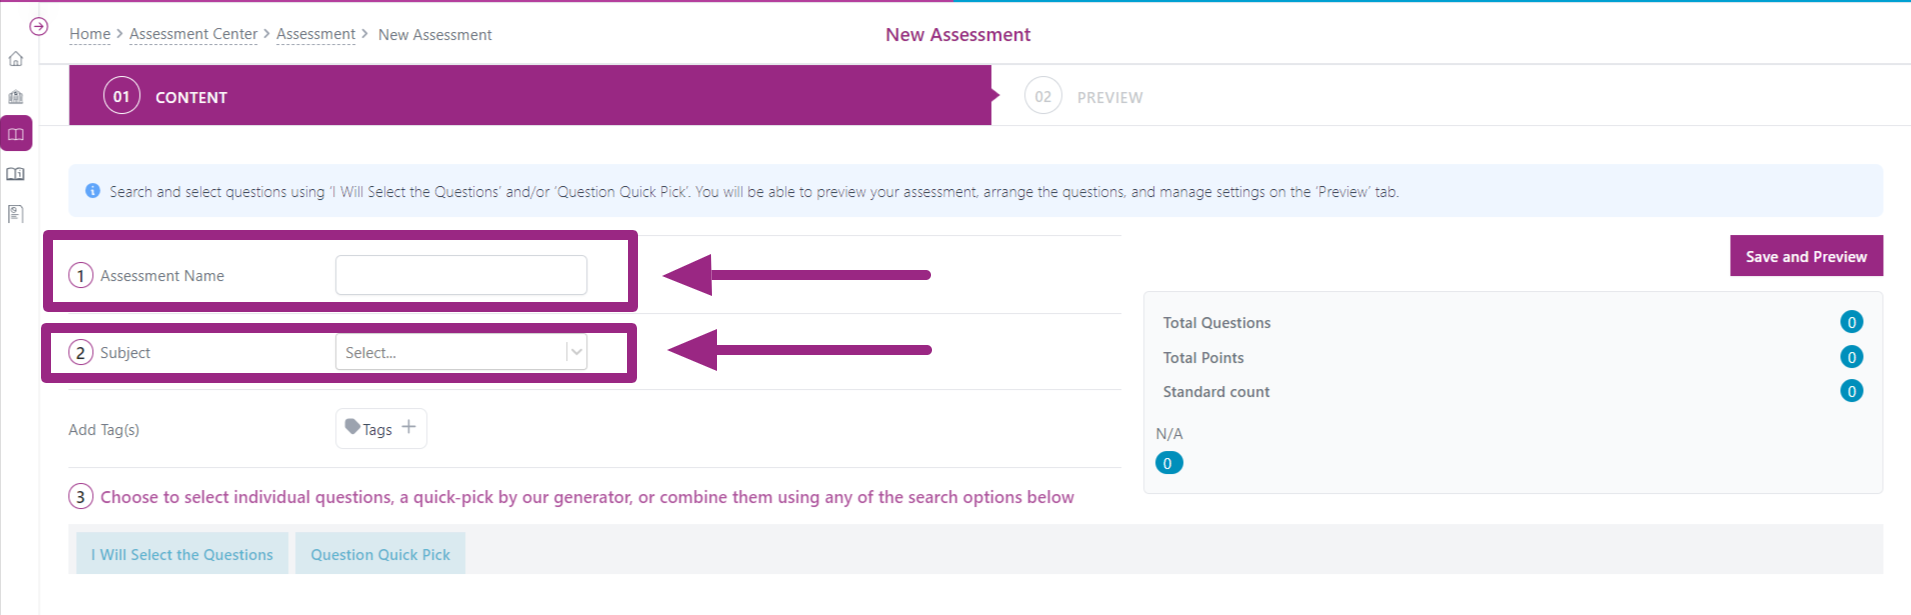
- You have two options when building your assessment: Question Quick Pick or I Will Choose the Questions.
Option 1: If you select Question Quick Pick, you will be able to determine the assessment length, and the platform will show how many questions are being pulled per domain from the library database of questions
Option 2: If you select I Will Select the Questions, this will allow you to decide the domain, standards, and questions you want included in your assessment. You can also select Passage Questions Only and My Authored Questions.
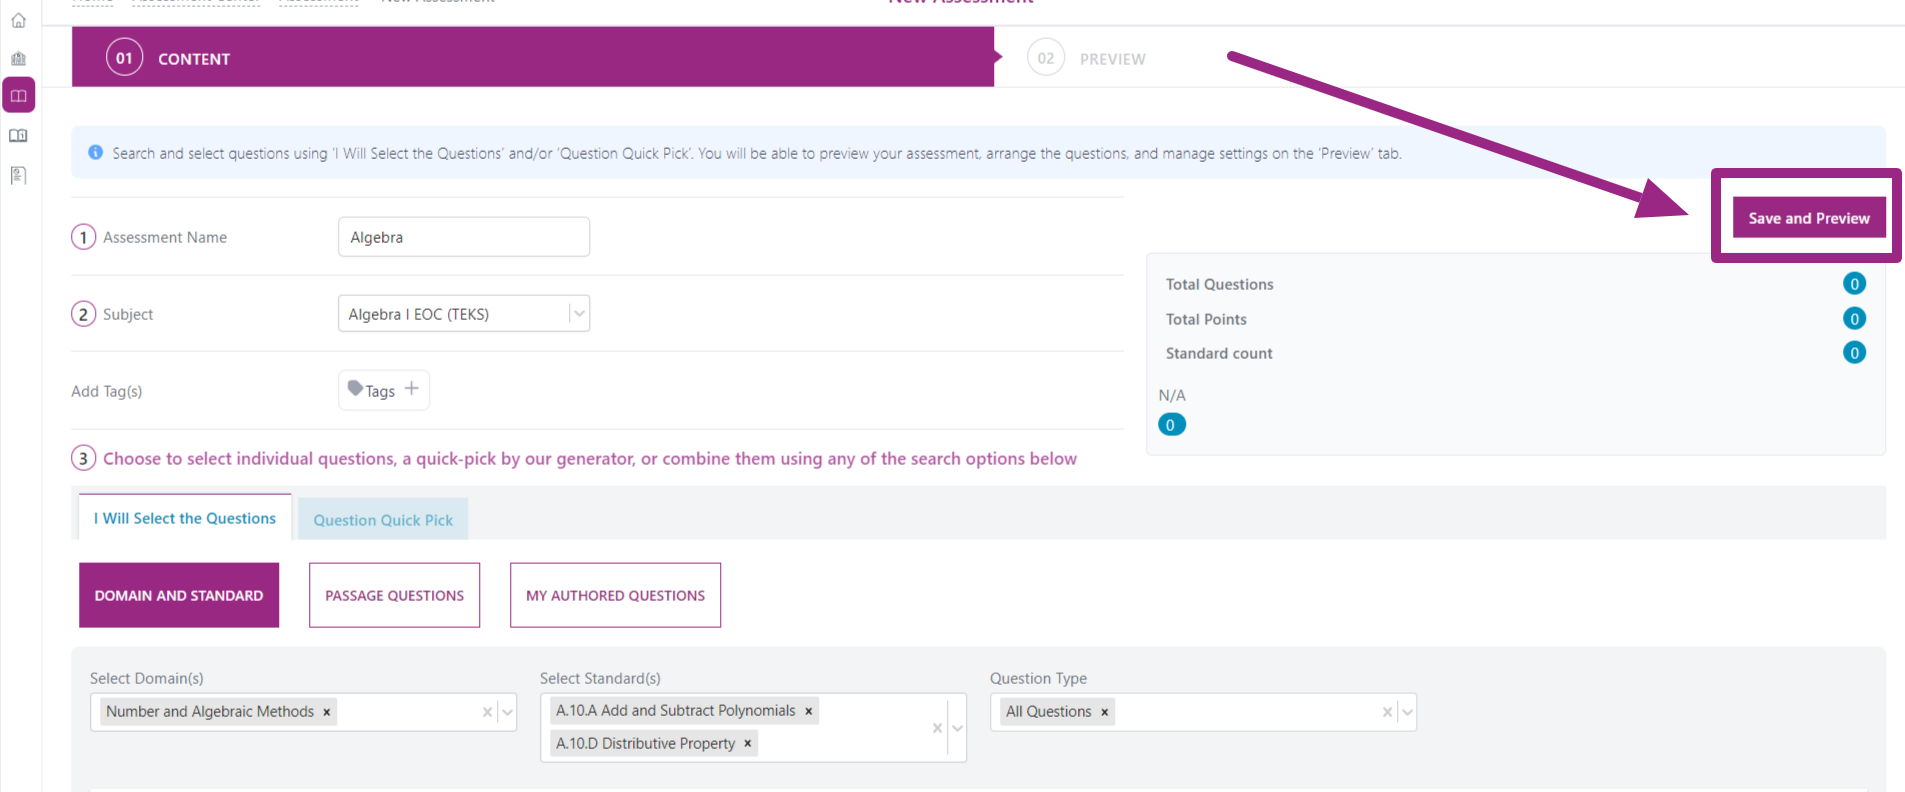
- Once you have selected all of the questions you want added to your assessment, you will then click Save and Preview.
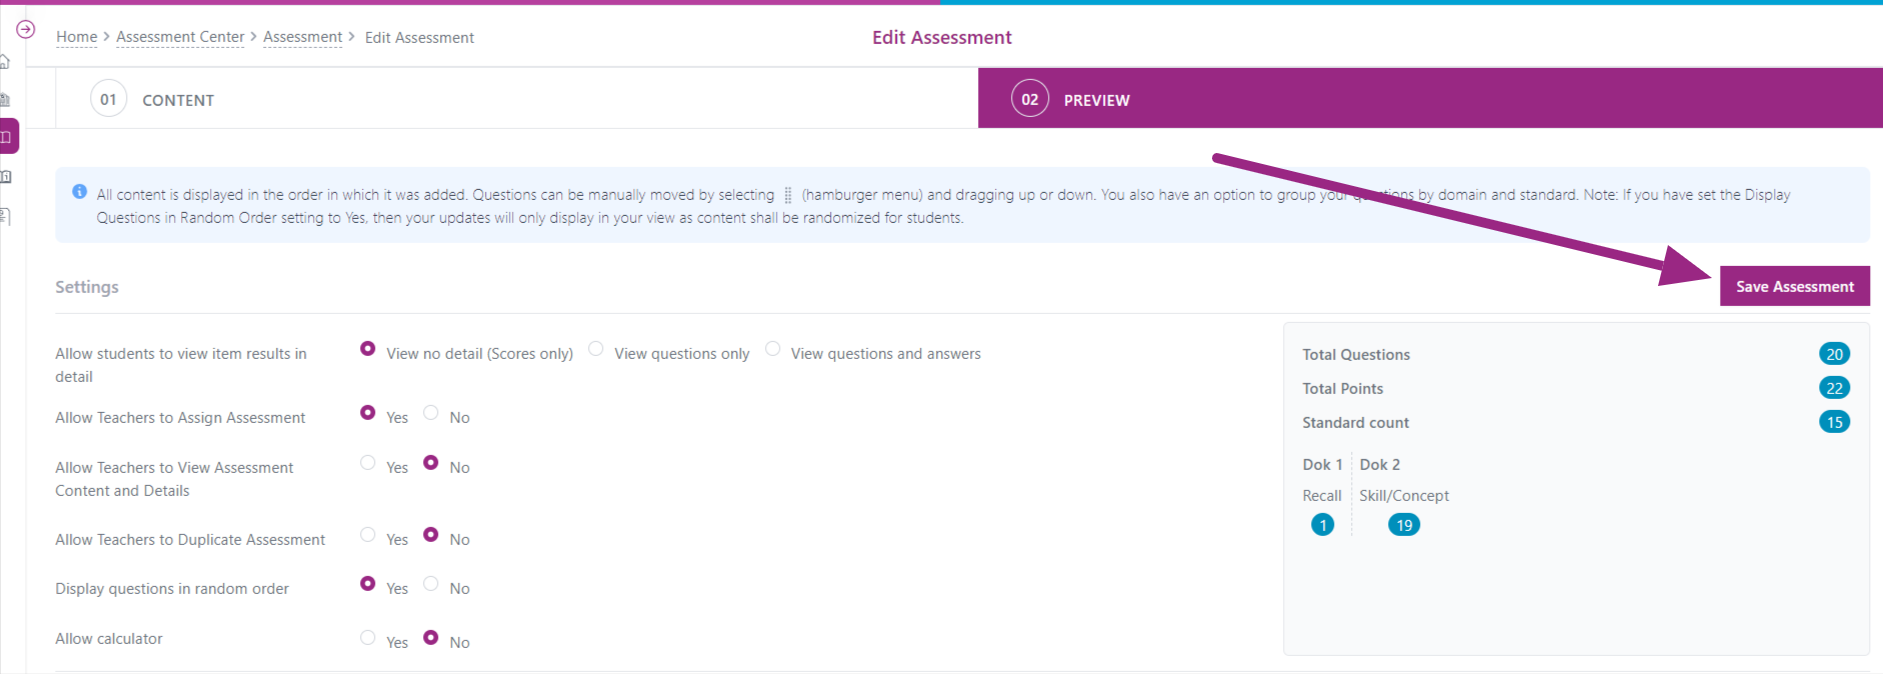
- In the Preview mode, you will select the Settings for your assessment. If Allow Teachers to Assign is set to Yes, it will show up for teachers and school admins in the assessment bank to assign. If the assessment is set to No for Allow Teachers to Assign, then the assessment code will need to be shared. If you toggle Allow Teachers to View/Duplicate to Yes, then your teachers will be able to preview the assessment before assigning it to students.
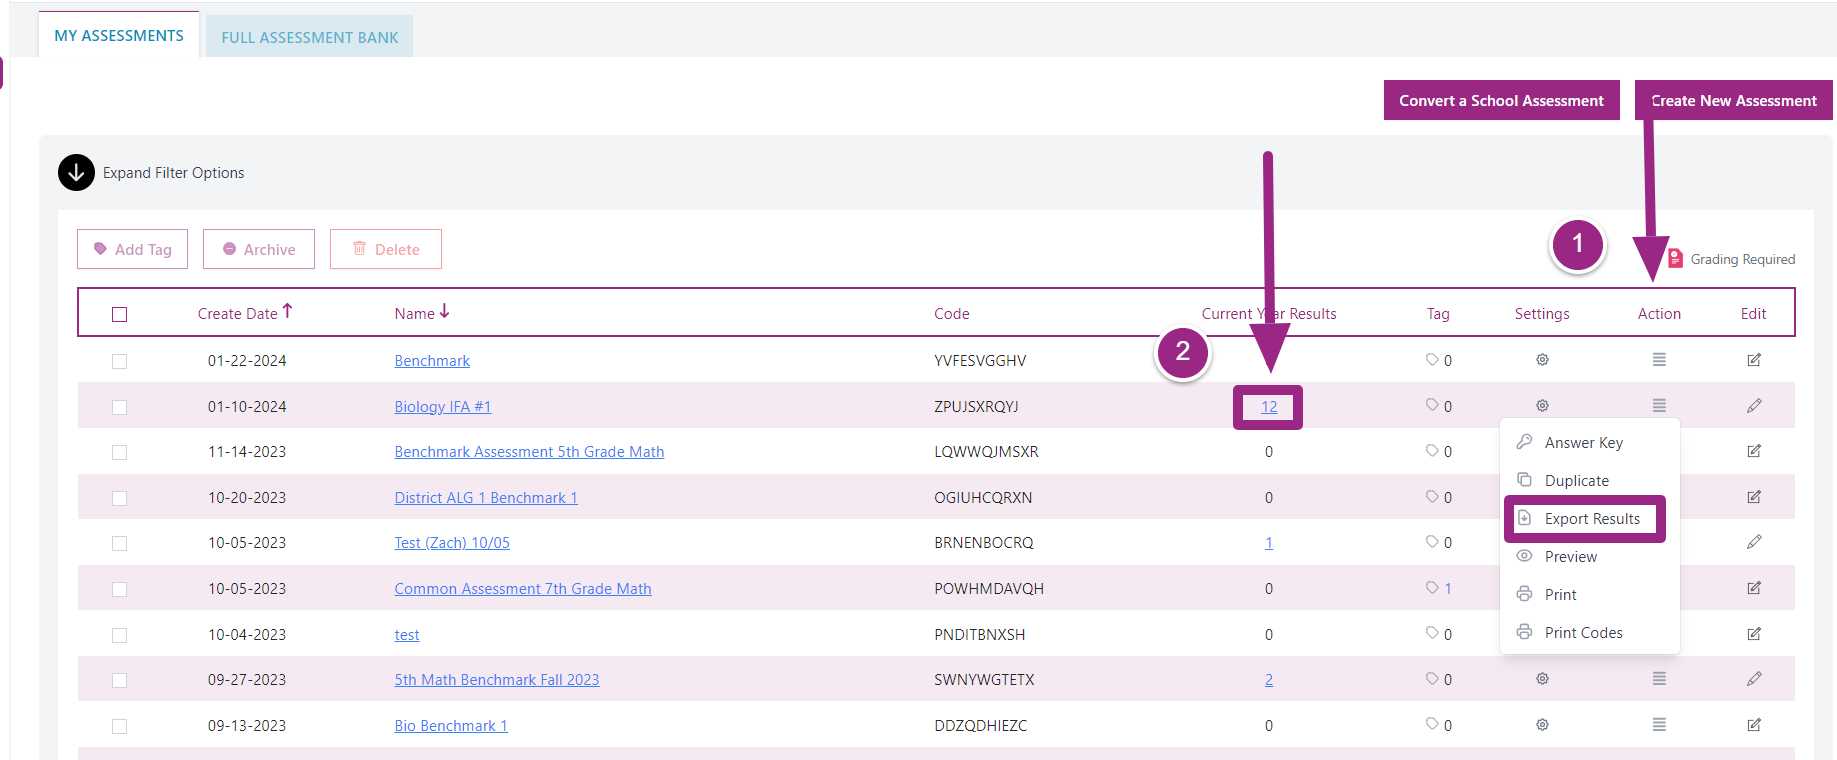
- You can view results by clicking My Assessments in your Assessment Bank section. You can view results in two ways:
Option 1: You can click Action next to the assessment you want to view results, and then click Export Results.
Option 2: You can click on the Results next to the assessment to view data on performance.